
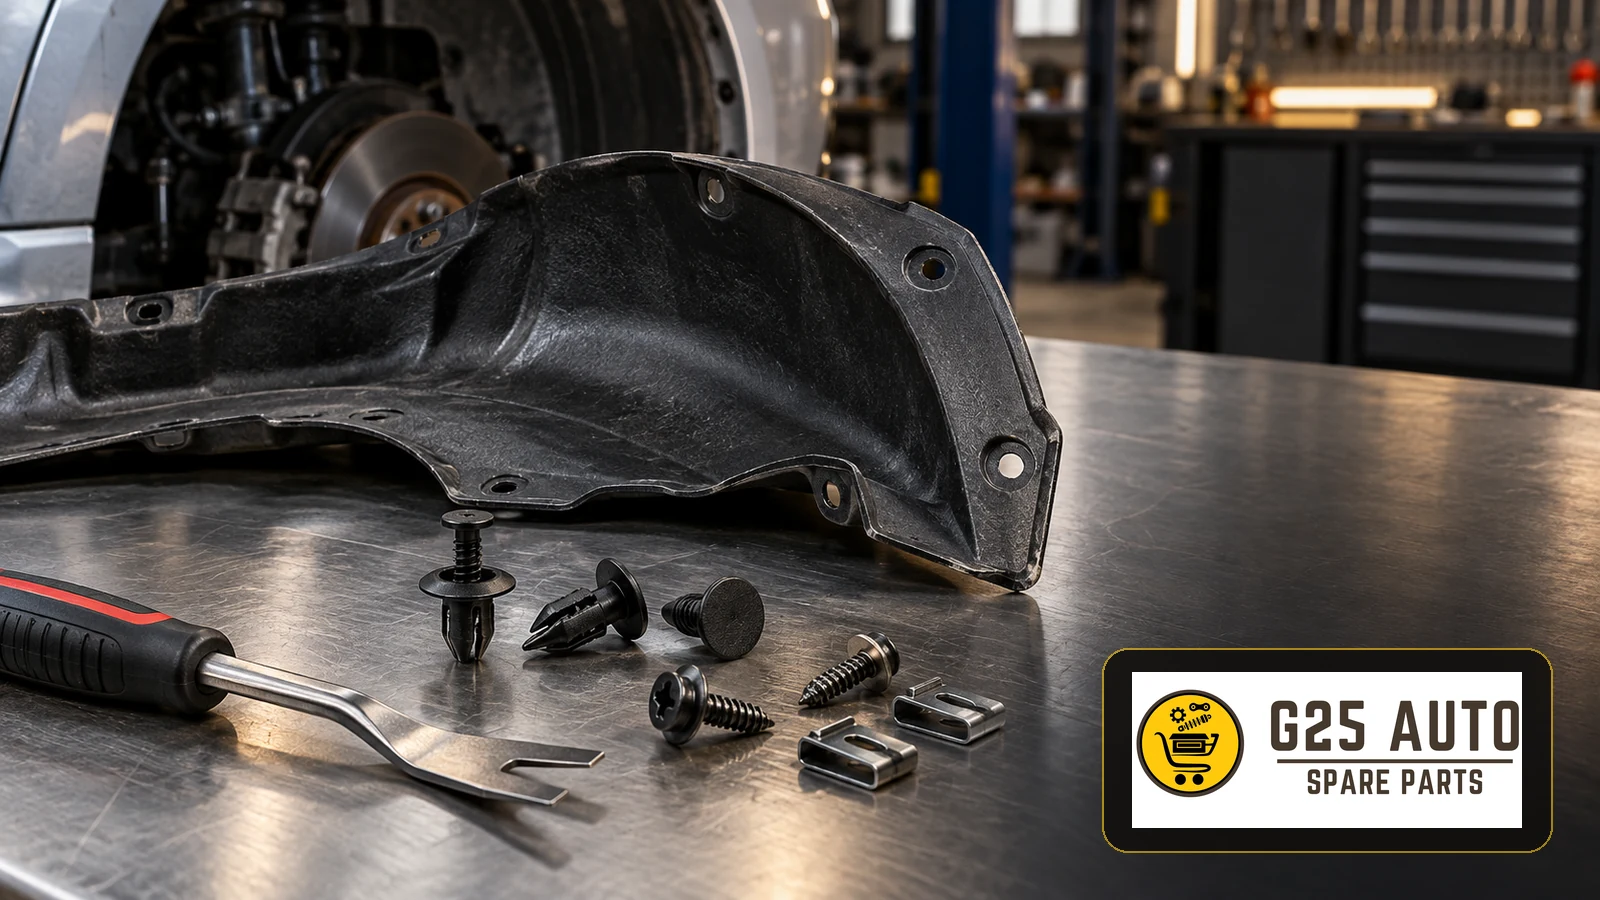
Select wheel arch liner clips and screws by the exact vehicle application and attachment position, then confirm the fastening design against the parts catalogue and repair information. A loose liner needs inspection of both the retainers and their mounting points before parts are ordered. Replacing a missing clip alone does not establish that a torn liner, damaged hole or displaced adjoining panel has been repaired. For workshops and parts buyers across Europe and the Balkans, a documented fastening request is more useful than a photograph of a similar-looking clip.
Identify the attachment before choosing the fastener
Do not assume every attachment around one wheel opening uses the same hardware. As a specific example, Tesla’s published procedure for the front left wheel arch liner on the 2012–2020 Model S distinguishes vehicle configurations and describes different combinations of rivets, nuts and clips. It also requires certain hose clips to return to their original locations. Those instructions apply to that vehicle documentation, rather than defining a universal arrangement. See the manufacturer’s liner procedure.
For each job, mark the relevant front or rear arch and left or right side on the work order. Record whether the attachment joins the liner to the body, another liner section, an undertray or adjacent trim. Keep any observed hose or cable retainers distinct from panel fasteners when making the parts request.
Investigate the loose liner, not just the noise
Record what inspection actually shows
Describe missing retainers, split clip bodies, an unseated centre pin, damaged screw heads, corrosion or visible liner displacement as findings. Treat rattling, scraping or flapping reported by the driver as symptoms to investigate. Avoid diagnosing a fastener solely from a sound that could originate elsewhere.
Ask the technician to document the condition of the surrounding liner edge, mounting holes and receiving hardware. A parts quotation should distinguish a fastener request from a possible liner or mounting repair. Where tyre contact or an unsecured section is suspected, arrange workshop assessment before a road test; a road test should not substitute for checking visible damage.
Preserve useful identification evidence
Photograph the attachment location before dismantling and label removed hardware by position. Retain an identifiable sample when useful, but flag deformation or previous repairs. An old fastener is supporting evidence, not proof that the previous installation used the correct part.
Match the complete fastening interface
Hole geometry, panel thickness and head design deserve separate checks. ISC Plastic Parts’ clip-screw rivet catalogue lists these characteristics separately and recommends the individual drawing for the selected reference. This illustrates why visual resemblance or one measured diameter is insufficient. The industrial catalogue does not establish approval for a particular vehicle’s wheel arch.
For a proposed substitute, request documented application information and the relevant product drawing or specification. Check the intended hole, material stack, head clearance and engagement arrangement against the identified joint. Record any catalogue supersession rather than silently treating an old reference as current.
If the joint uses a screw and a receiving clip or nut, identify both components. Do not resolve uncertainty by choosing a longer screw, substituting metal for plastic or enlarging a mounting hole. Refer damaged mounting features and proposed changes to the applicable repair method.
Parts-order checklist for workshops and distributors
- Record vehicle identification and the configuration details requested by the current catalogue.
- Specify the axle, side and exact attachment position, supported by a labelled photograph.
- Confirm the catalogue reference and check any replacement or supersession notes.
- Identify the fastener mechanism and all required mating components.
- Check documented hole geometry, panel thickness, head clearance and engagement requirements.
- Separate missing or damaged hardware from liner, bracket and mounting-hole repairs.
- Confirm quantities and kit contents against the repair scope, including any mandatory replacement items.
- Keep the supplier’s application confirmation and the technician’s unresolved questions with the order.
For enquiries passing between a regional distributor and a workshop, retain the original part reference alongside the agreed description. Ask for clarification when a quotation says only “universal arch clips”. Do not infer fitment, availability or equivalent performance from that wording.
Installation and repair handover
Use the vehicle’s current access, lifting, removal and installation instructions. Obtain the specified tightening information for each threaded attachment; this guide provides no generic torque value. Select the release method for the identified retainer rather than forcing an unfamiliar mechanism.
Reuse requirements are also procedure-specific. Tesla’s Model S mud flap installation guide expressly requires discarding the existing push clips at the described attachment points. That is a kit-specific instruction, not a rule that all liner clips are reusable or that all must always be discarded.
At handover, record the replaced hardware, any repaired mounting points and the completed checks required by the repair information. Confirm liner positioning and adjacent component routing against that information. If a reported noise remains unresolved, document it as outstanding instead of closing the job because new clips have been fitted.
Frequently asked questions
Can clips be selected by colour and head shape?
Those features can help identification, but they do not establish application. Check the documented fastening interface and vehicle position.
Must every fastener around the arch be replaced?
Follow the applicable replacement rules and inspection findings. Do not prescribe a blanket replacement interval or assume that intact hardware is automatically reusable.
Will a larger clip repair a damaged hole?
Do not assume so. Assess the damaged mounting feature and use the documented repair solution before specifying replacement hardware.
Does a VIN guarantee the correct clip?
Use it to support catalogue identification, together with the attachment position, configuration and relevant service information. Confirm the selected reference rather than treating one identifier as a fitment guarantee.