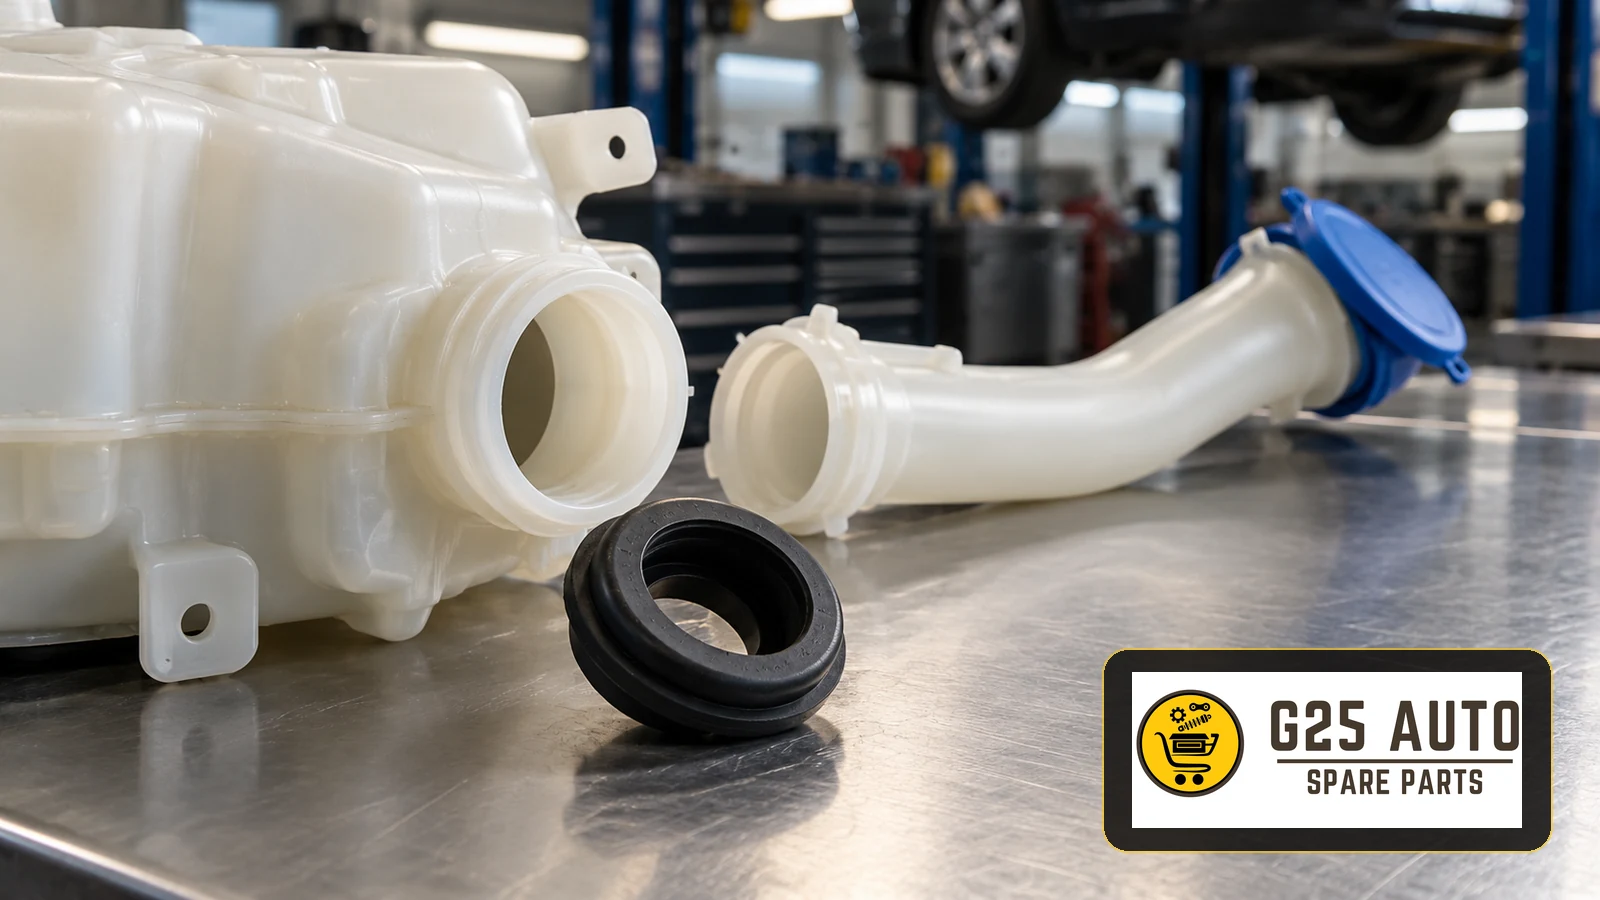
A washer reservoir filler neck seal closes the joint between a separate filling tube and the reservoir on designs that use this arrangement. If fluid appears around that joint after topping up, inspect the seal, the neck and their seating surfaces before ordering parts. A wet wheel arch or falling fluid level alone does not identify a failed seal: locate the leak and confirm the vehicle’s actual washer-system design first.
Identify the joint before diagnosing the leak
The filler neck seal is different from the filler cap and from seals fitted around a washer pump or level sensor. Parts catalogues may describe it as a grommet, sealing ring or O-ring, depending on the design. Establish where the component sits in the assembly rather than relying on a translated product name or a photograph.
For workshops and parts distributors serving European and Balkan fleets, a useful enquiry starts with the vehicle identity, a clear photograph of the affected connection and a description of when leakage occurs. Keep those details with the job record so the supplier and technician are discussing the same component.
Find the leak before replacing the seal
Separate filling spillage from a continuing leak
Record whether wetness appears only while pouring, after the reservoir reaches a particular level, while parked or during washer operation. Clean away previous spillage using an appropriate method, then inspect the accessible area during a controlled refill within the vehicle manufacturer’s instructions. Observe where fresh fluid first appears; its final drip point may be some distance from the source.
If the filler connection stays dry, extend the investigation to the reservoir body, pump and sensor connections, and accessible hoses. Poor spray performance needs its own diagnosis. It does not establish that the filler neck seal is leaking, and replacing that seal should not be presented as a guaranteed cure for weak jets.
Inspect the mating components as well
Where access and the prescribed procedure allow, look for a displaced or damaged seal, contamination at the seat, and damage or distortion of the filler neck and reservoir connection. A new ring cannot be assumed to compensate for a damaged mating component. Avoid forcing the tube into place or adding an improvised sealant to conceal an unresolved fit problem.
Manufacturer examples show why diagnosis matters. Ford’s 2024 Ranger service message describes leakage at this joint caused by warped filler-neck surfaces. BMW’s SIB 61 10 25, covering specified U10 and U11 vehicles, directs technicians to check filler-channel installation before replacing the reservoir and identifies an extruding O-ring as a condition requiring filler-channel replacement. These are application-specific examples, not repair instructions for other vehicles; check current information for the vehicle being repaired.
Order the correct repair scope
Use the VIN and the applicable parts catalogue to identify the assembly, then confirm relevant production and equipment distinctions. Check whether the seal is supplied separately, included with a filler neck or available only within another assembly. A reference number is a starting point for catalogue verification; similarity of appearance does not prove interchangeability.
Ask the supplier to confirm the documented application and package contents. Do not assume that an aftermarket item includes the same seals or retaining parts as another listing. Equally, an original-equipment label does not remove the need to verify the selected application. Base the purchasing decision on identification and documented supply scope rather than unsupported promises about quality, service life or availability.
Workshop and purchasing checklist
- Record the VIN, vehicle identity and relevant catalogue application details.
- Identify the exact joint: filler neck, cap, pump or level sensor.
- Record when the leak occurs and where fresh fluid first appears.
- Inspect the neck, seal seat and reservoir connection before choosing repair scope.
- Confirm the current reference and any applicable replacement information.
- Check whether seals and retaining components are included or ordered separately.
- Review the vehicle-specific access, removal and installation instructions.
- Document the refill, leak inspection and washer-function checks at handover.
Plan installation and verify the result
Access requirements vary, so inspect the repair information before estimating labour or dismantling surrounding trim. Handle drained fluid according to the workshop’s environmental procedures. Keep dirt out of open connections and protect the sealing surfaces during removal and cleaning.
Follow the specified seal orientation, insertion method and retaining arrangement. Use an installation aid only when the relevant procedure permits it; there is no universal lubricant, adhesive or pressure-test instruction for every washer reservoir. If the parts do not seat correctly, stop and resolve the cause rather than applying extra force.
After assembly, refill as directed and inspect the repaired connection and surrounding components for fresh leakage. Check the washer functions fitted to the vehicle using its prescribed procedure. Record the observed result and explain any remaining fault separately. For seasonal servicing, select washer fluid according to the vehicle guidance and the product’s stated conditions of use, without assuming that a new seal changes those requirements.
Frequently asked questions
Does a leak after filling always mean the seal has failed?
No. Spillage, incorrect seating, neck distortion or another leaking component can produce similar observations. Trace fresh fluid to its origin before selecting the repair.
Can the seal always be replaced separately?
No universal supply arrangement applies. Check the catalogue and repair information for the specific vehicle and confirm what the replacement assembly contains.
Can a similar-looking ring be substituted?
Appearance alone is insufficient. Use a seal with a documented application for the connection and follow the specified fitting procedure.
Is there a fixed replacement interval?
Do not assign a generic age or mileage limit. Follow applicable maintenance information and investigate leakage, visible damage or incorrect seating when found.