
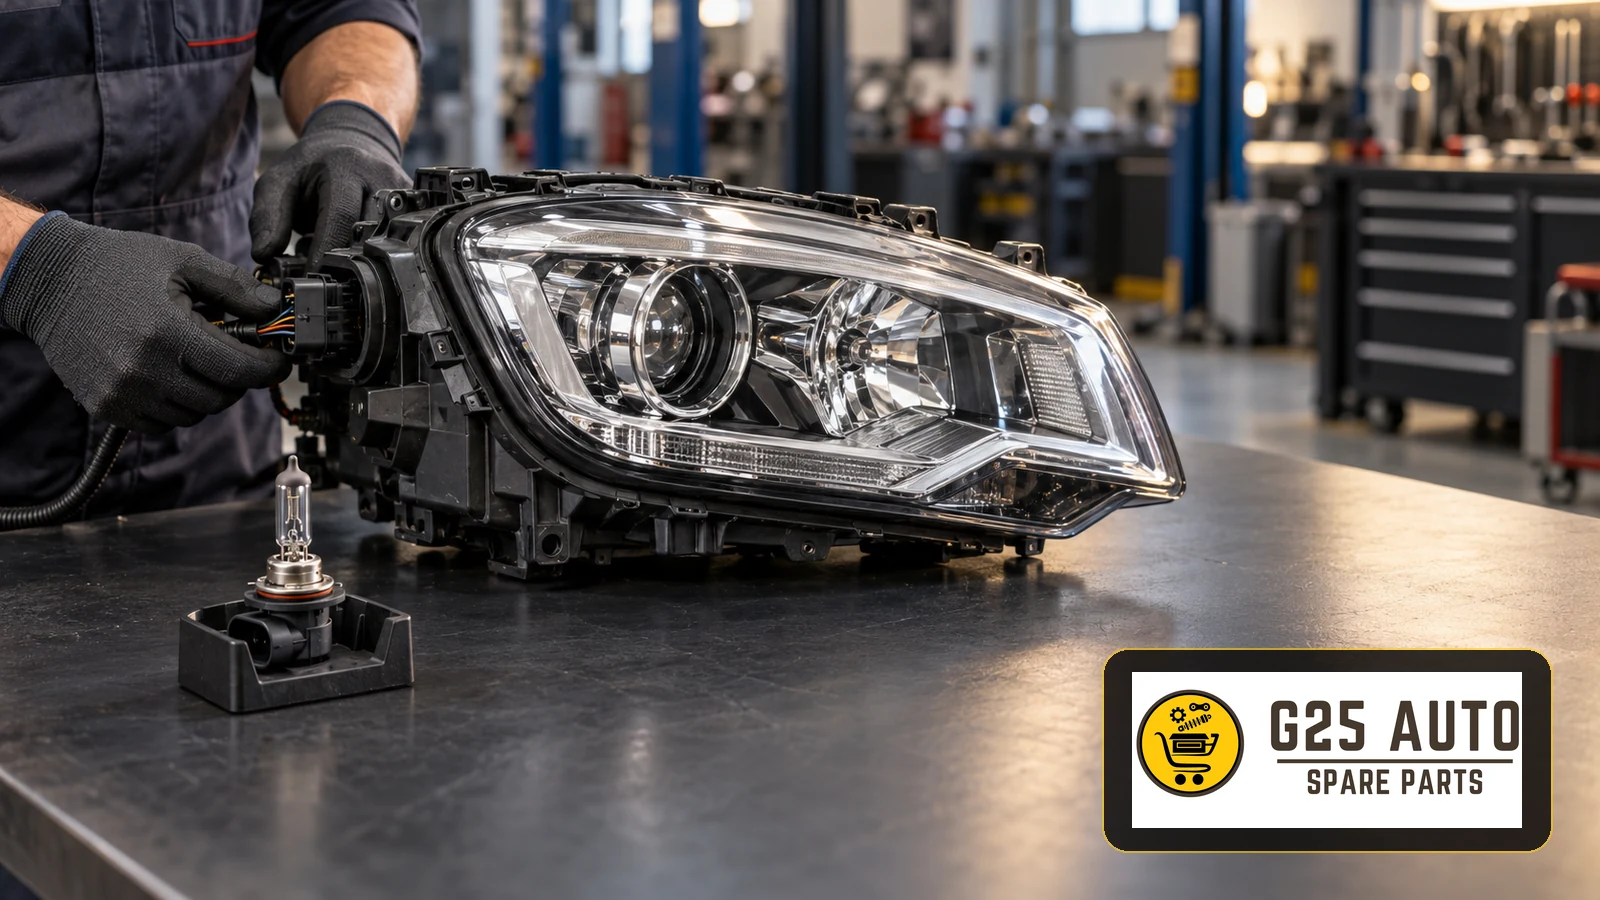
Check a vehicle’s lighting system by testing every fitted function, inspecting the lamps and connections, and verifying headlamp aim with suitable workshop equipment. A lamp that illuminates can still have an incorrect beam or an intermittent fault. For European and Balkan workshops, fleets and parts distributors, a useful inspection connects the driver’s complaint to documented findings and the exact replacement specification.
Start with the vehicle and the complaint
Record the vehicle identification, fitted lighting technology and relevant equipment before preparing a parts enquiry. Ask which function fails, when it happens and whether the concern started after a repair, impact or water exposure. Distinguish poor road illumination from a warning message, flickering, missing signals or visible damage. Photographs and a clear job description help the technician and purchasing team discuss the same issue.
For imported vehicles or mixed fleets, retain the original market specification in the job record. Do not approve a lamp from a model name or an exterior photograph alone. Use the vehicle manufacturer’s current maintenance information to plan inspections; a universal bulb replacement age is not a reliable purchasing rule.
Test functions individually and together
Front, rear and side lighting
On a secured stationary vehicle, operate the fitted dipped and main beams, position lamps, daytime running lights, direction indicators and hazard warning lamps. Check brake lights, including the centre lamp, then reversing, fog and number plate lighting where fitted. Use a safe workshop procedure for functions requiring pedal or gear selection. Check relevant interior and load-area lights separately.
Observe the lamps directly and record each result. A dashboard indication alone does not document the condition of every exterior lamp. Test combined functions as appropriate: a tail lamp working by itself does not close a complaint about its behaviour during braking or signalling. Record symptoms precisely instead of writing only that the lights are faulty.
Lens, mounting and moisture inspection
Inspect for damaged lenses, loose mountings and displaced covers or seals. Follow the component instructions for cleaning. Light internal misting is not automatically evidence of a failed assembly; persistent droplets or collected water require investigation. HELLA’s condensation guidance distinguishes fogging from water accumulation and explains the role of ventilation and moisture-related corrosion. Check the specified sealing and ventilation arrangements rather than blocking openings with improvised sealant.
Diagnose the circuit before ordering a lamp
Preserve warning messages and relevant diagnostic information. Follow the vehicle test plan to distinguish a failed light source from a holder, connector, supply or control fault. HELLA’s signal-light troubleshooting guidance covers light sources, corroded holders, fuses, damaged connectors and pulse-width-modulated control. On controlled circuits, use the specified diagnostic equipment and waveform checks rather than treating a single voltage reading as conclusive.
Use the prescribed isolation and access procedures, particularly for xenon and electronically controlled systems. Do not apply power to unidentified terminals or substitute a higher-rated fuse. If damage is found, document the affected connection and the authorised repair method. Replacing the visible lamp without resolving the diagnosed cause leaves the original complaint open.
Verify beam aim as a separate workshop check
Correct illumination requires a properly directed beam. Use a suitable beamsetter, the required test surface and the vehicle preparation specified by the manufacturer. Tyre condition, loading and suspension state belong in that preparation. Some systems require a diagnostic basic-setting mode or subsequent adjustment procedure. HELLA’s adjustment guide explains these dependencies; its examples are not universal settings for every vehicle.
For LED headlamps, identify the relevant optical elements and follow the application procedure when positioning the tester. HELLA’s LED headlamp guide illustrates why a multi-source assembly needs particular attention. Record the actual test result. A photograph of light on a wall is not a substitute for the required workshop measurement.
Prepare a complete B2B parts enquiry
Give the supplier the vehicle identifiers, installed lamp reference where available, fitting side, lighting technology and documented fault. Ask whether the proposed item is a light source, serviceable module or complete assembly, and which associated components are included. Confirm the application in current catalogue and repair information. Matching plugs or similar housings alone do not establish compatibility.
For a proposed technology conversion, obtain application-specific documentation and confirm the applicable requirements for the destination market before approving the purchase. Do not treat an LED substitute as automatically interchangeable. Keep the supplier’s response with the job record so any unresolved detail is visible before installation.
Workshop inspection checklist
- Record vehicle identity, fitted system and the driver’s exact complaint.
- Test all fitted lighting functions and relevant combinations safely.
- Inspect lenses, mountings, covers, seals and ventilation.
- Retain warning messages and diagnostic findings before repair.
- Confirm the failed component using the vehicle test plan.
- Verify the replacement reference, specification and supplied components.
- Complete required beam adjustment and diagnostic procedures.
- Repeat functional checks and record any unresolved concern at handover.
Frequently asked questions
Should bulbs be replaced after a fixed number of years?
Follow the applicable maintenance information and assess the reported fault. Do not impose a universal service life across different bulbs, vehicles and operating conditions.
Does moisture always mean a new headlamp is needed?
No. Assess the pattern and persistence, inspect the prescribed ventilation and sealing, and follow the relevant repair guidance before deciding the repair scope.
Can every LED lighting fault be repaired with a bulb?
Confirm how the fitted assembly is serviced. Request the documented replacement unit and any required setup rather than assuming a removable bulb is present.
What should a fleet retain after the inspection?
Keep the complaint, function results, diagnostic evidence, selected part reference and final checks together. Note outstanding work explicitly so the next workshop visit starts with usable evidence.