
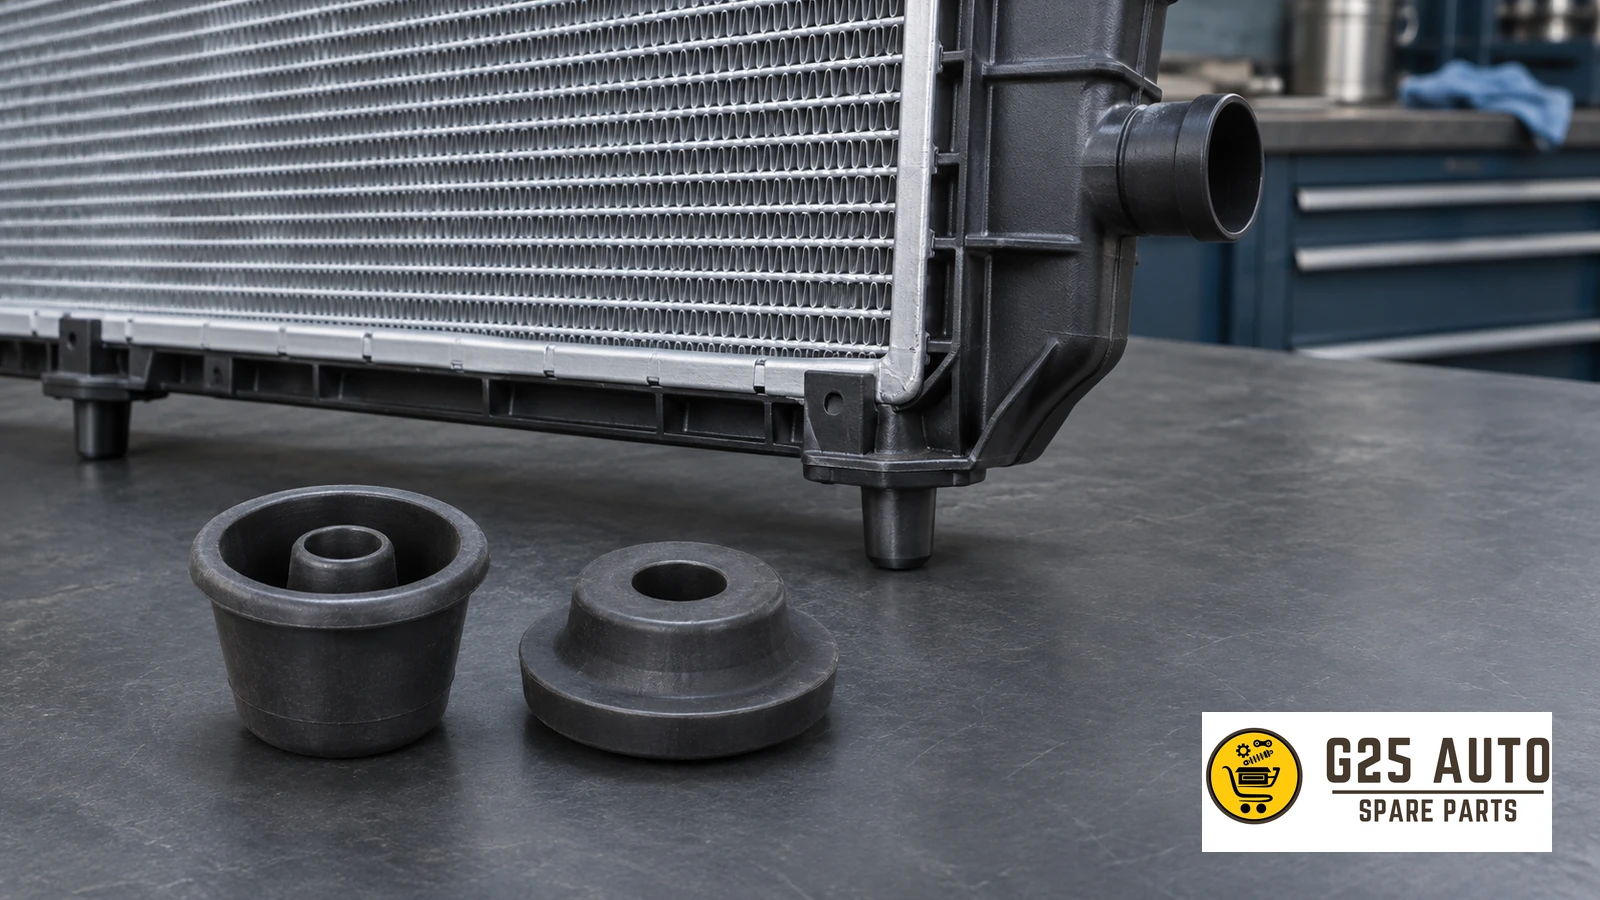
Upper and lower radiator mounts hold the radiator in position and absorb vibration. As the mounts harden, crack or tear, the radiator can move excessively and become damaged. Radiator hose fittings form sealed connections between the hoses, the radiator and the engine.
What Are Radiator Mounts and Connections?
Radiator mounts are flexible cushions that secure the radiator to the vehicle’s structure and absorb shocks and vibration. Their number and position depend on the vehicle. Radiator fittings are the plastic or metal connections that attach the hoses securely to the radiator.
Sound mounts keep the radiator aligned and cushion it against movement. Properly seated hose connections keep coolant from leaking at the joints.
What Do Radiator Mounts Do?
- Hold the radiator in place. The mounts limit movement while the vehicle is on the road.
- Dampen vibration. The flexible cushions absorb vibration from the engine and road.
- Protect connections. Limiting radiator movement reduces strain on the hoses and their fittings.
- Reduce noise. The cushions separate parts that could rattle against one another.
- Maintain clearance. They keep the radiator in position relative to the fan and nearby components.
Signs of Worn Mounts or Faulty Connections
What to Look and Listen For
- Rattling or knocking from the engine compartment
- A radiator that sits visibly tilted or out of position
- Coolant leaking at the hose connections
- Excessive play in the mounted radiator
- Cracked, torn or broken mounts
- Rubber cushions that have hardened and lost their flexibility
- Coolant residue around the radiator
- Reduced clearance or contact between the radiator and the fan
How a Workshop Checks the Fault
These signs can point to a mounting or connection problem. A technician can check the source by inspecting the radiator assembly:
- Inspect the radiator and its mounting points from all accessible sides.
- Check the mounts for damage and loss of flexibility.
- Check the hose joints for leaks.
- Confirm that the radiator is seated correctly.
- Check the clearance around the fan.
- Pressure-test the cooling system where appropriate.
Choosing Original or Aftermarket Parts
Both original and aftermarket radiator mounts and connections may be available. Confirm fitment before choosing a replacement.
| Feature | Original Part | Aftermarket Part |
|---|---|---|
| Fitment | Check the part number against the vehicle maker’s catalogue. | Check the fitment listing and its cross-reference to the original part number. |
| Specification | Identify the part specified for the vehicle configuration. | Check the listed specification for the replacement. |
Checklist for Choosing the Right Part
- Original part number. Note the number on the existing part if it is legible.
- Vehicle identification number (VIN). Have it ready when checking the parts catalogue.
- Engine code. Check the engine variant if the catalogue distinguishes between engines.
- Production date. Confirm the month and year of manufacture if the catalogue lists a production change.
- Model year. This may differ from the calendar year in which the vehicle was built.
- Radiator type. Check whether the listing distinguishes between manual and automatic transmission versions.
- Air conditioning. Check whether the mounting arrangement differs for vehicles with or without it.
- Mounting points. Confirm the number and location of the mounts.
- Mount material. Check the specification for the vehicle.
- Connection type. Verify the fitting design against the original connection.
Why Fitment Verification Matters
The same model can use different radiator mounts depending on its configuration.
Engine variants. Radiator size and mounting positions can vary by engine. Use the engine code where the catalogue calls for it.
Production changes. A manufacturer can revise a design within the same model year. Check the build date against any change noted in the catalogue.
Equipment levels. Cooling system configurations can vary with equipment. The VIN helps identify the version.
Market differences. Vehicles sold under the same model name can use different specifications in different markets. Verify the original part number for the vehicle.
Risks of Fitting the Wrong Part
- Excess movement that can damage the radiator
- Leaks at the hose connections
- Contact between the radiator and fan
- Loss of cooling system pressure
- Engine overheating if the cooling system is compromised
- Premature failure and repeated repairs
Installation and Replacement
The work requires mechanical knowledge. The exact procedure depends on how the radiator and surrounding components are fitted.
General Replacement Sequence
- Let the engine cool. Follow the vehicle’s service procedure for draining coolant if the circuit must be opened.
- Remove the components that obstruct access, such as an air duct or the fan assembly, as specified for the vehicle.
- Release the radiator fasteners and disconnect hoses where the procedure requires it.
- Remove the radiator if the mounts are inaccessible with it in place.
- Remove the worn cushions and seat the replacements at their mounting points.
- Check the connections and clean the mating surfaces where fittings are being replaced.
- Refit the radiator in the correct position and check fan clearance.
- If the cooling circuit was opened, refill it with the specified coolant and bleed it according to the service procedure.
- Check for leaks after reassembly.
Access varies by vehicle. Some designs require removing the front bumper or front panel to reach the radiator.
Maintenance Tips
- Include the radiator and mounts in routine visual checks.
- Monitor the coolant level. An unexpected drop can indicate a leak.
- Look for coolant staining around the radiator and its fittings.
- Investigate unusual rattles or knocks from the engine compartment.
- Ask the workshop to inspect the mounts during routine servicing.
What to Check Before Ordering
Read the part description and verify the listed fitment. If the listing is unclear, have the VIN, engine code and build date ready so the part can be checked against the vehicle.
Frequently Asked Questions
How often should radiator mounts be replaced?
Check the mounts for cracks, hardening or tears during inspection and replace them as their condition requires.
Do all mounts need replacing if one is damaged?
Inspect the remaining mounts while they are accessible. Their condition and the work required to reach them again can help determine whether to replace more than one.
Are polyurethane mounts better than rubber mounts?
Choose the mount specified for the vehicle. The material and stiffness affect how the mount supports the radiator and isolates vibration.
What else can be checked while replacing the mounts?
If the radiator is already out, inspect it along with the hoses and clamps. Check whether the coolant is due for replacement.
Can improvised materials replace a radiator mount?
Use a mount designed for the vehicle. Foam or scraps of rubber can fail to support and position the radiator correctly.
Conclusion
Upper and lower mounts keep the radiator in position, and the hose fittings maintain the coolant connections. Investigate unusual noise, visible movement or coolant traces. When replacement is needed, verify the part number and vehicle details before fitting it. A qualified workshop can diagnose the fault and check radiator position and clearance after installation.