
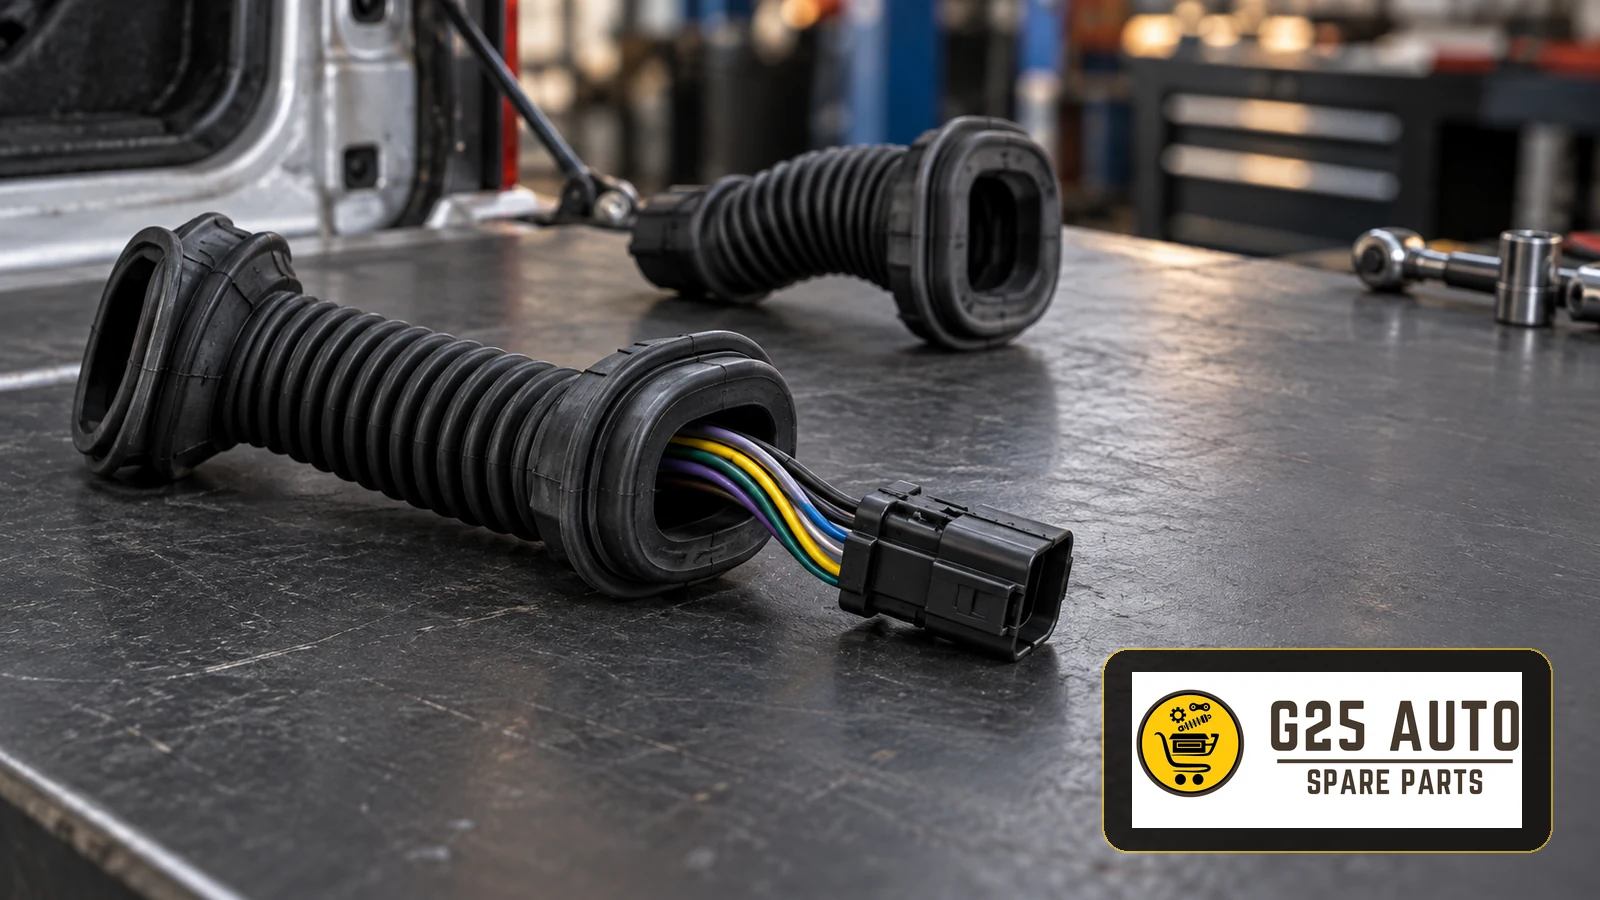
A damaged tailgate wiring boot needs inspection of both the protective gaiter and the harness beneath it. Replacing the rubber alone will not restore a broken electrical connection. For workshops and parts distributors, the practical approach is to identify the affected circuit, establish the repair scope and verify the correct boot or harness assembly before ordering.
What the wiring boot protects
The flexible boot bridges the opening between the body and the tailgate, enclosing wiring as the panel moves. Its folds accommodate movement, while its end seals fit the body openings. Cracks, displaced sealing lips or a distorted gaiter deserve attention, even when the connected equipment still operates.
The wiring layout depends on the vehicle. Equipment may include lighting, a camera or an electrical latch. Do not assume that every rear electrical function shares one passage, or that a visually similar boot has the correct attachment profile.
Intermittent symptoms need circuit diagnosis
A complaint that changes with tailgate position is useful evidence to record, but it does not identify the failed component. HELLA describes repeated bending around the hatchback as a cause of harness damage and also identifies connector corrosion, supply interruptions and actuator or control faults. Its hatchback diagnostic guidance combines visual checks, fault memory, operating parameters and electrical tests.
Record the complaint before disturbing the harness
Ask which function fails, whether the fault is intermittent and under what conditions it appears. Save relevant fault information before clearing it. Where safe, document the complaint with the tailgate stationary at the position reported by the customer. Avoid repeatedly cycling a visibly trapped harness simply to reproduce a symptom.
Use the vehicle wiring diagram and the prescribed test method to assess the affected circuit. Choose test equipment suitable for that circuit; a generic test-lamp instruction should not be applied to every wire. Record measured results against the manufacturer’s requirements instead of treating a fault code as a replacement instruction.
Inspect the boot, its seats and the wiring route
Arrange safe access and secure the tailgate as required by the vehicle procedure. Follow the specified electrical isolation and reconnection instructions before disconnecting or repairing wiring. Photograph the original routing, retainers and sealing interfaces so the technician has a reference during reassembly.
Inspect for split folds, displaced ends, crushed sections and contact with adjacent panels. If access beneath the boot is required, use the prescribed release method without cutting an otherwise serviceable gaiter. Check the exposed harness for abrasion, damaged insulation and connector deterioration. Moisture requires investigation of its entry path; a damp area alone does not establish which seal failed.
A Tesla Model X liftgate harness bulletin illustrates the importance of this combined inspection: it addresses wiring pinched between the body and liftgate, requires checks beneath the boot and specifies correct seating of the sealing edges. Its repair applies to the stated vehicles. Do not transfer its routing changes, parts or dimensions to other applications.
Define the repair before requesting parts
Separate protective damage from electrical damage
Write the diagnosis and the proposed repair as separate entries on the job card. A boot request should state whether the wiring has been checked and whether further electrical work is required. If conductor or connector damage is found, consult the manufacturer’s harness repair policy before quoting a local repair or a replacement assembly.
Access can involve more than the visible gaiter. For example, the Tesla Model Y liftgate harness procedure includes trim access, multiple electrical connections, retainers and fastening the grommet to the body and liftgate. This is an application example, not a universal removal sequence or a labour estimate.
Give the distributor a complete identification request
For European and Balkan trade orders, provide the VIN, production information, body style and relevant tailgate equipment through the supplier’s established identification process. Add a clear photograph of each mounting end and any legible existing reference. Ask the supplier to confirm the catalogue application, reference revision and supplied contents in writing.
Clarify whether the offer covers a separate boot, a repair kit or a harness assembly. Request the product’s documented application and installation information. Treat an original-equipment reference as identification evidence rather than an unconditional fit guarantee. Compare documented suitability and traceability when evaluating original and aftermarket offers; do not infer durability or availability from price or branding.
Workshop completion checklist
- Record the affected functions and the diagnostic findings.
- Confirm the selected part and the agreed repair scope.
- Follow the applicable electrical and harness repair instructions.
- Check sealing interfaces and retainers during reassembly.
- Confirm that the harness route follows the vehicle procedure.
- Observe movement safely for trapping, pulling or displaced ends.
- Test the affected equipment and review relevant fault information.
- Document any prescribed leakage check and unresolved concern before handover.
Keep photographs, the fitted part reference and the final test results with the job record. For repeat fleet work, this gives the purchasing team a useful application history without assuming that the next vehicle uses the same assembly.
Frequently asked questions
Will a new boot fix an intermittent camera or lamp?
Only diagnosis can establish the cause. A protective boot cannot repair damaged conductors or resolve an unrelated equipment fault.
Can a universal gaiter be selected by appearance?
Appearance is insufficient. Obtain documented application information and confirm the mounting interfaces and supplied contents before ordering.
Should protective spray be applied routinely?
Use only products and methods approved for the particular assembly. This guide does not prescribe a universal dressing or maintenance interval.
When should the workshop replace the complete harness?
Base that decision on the damage assessment and the manufacturer’s repair policy. Record why the chosen repair addresses both the electrical defect and the protection or routing concern.