
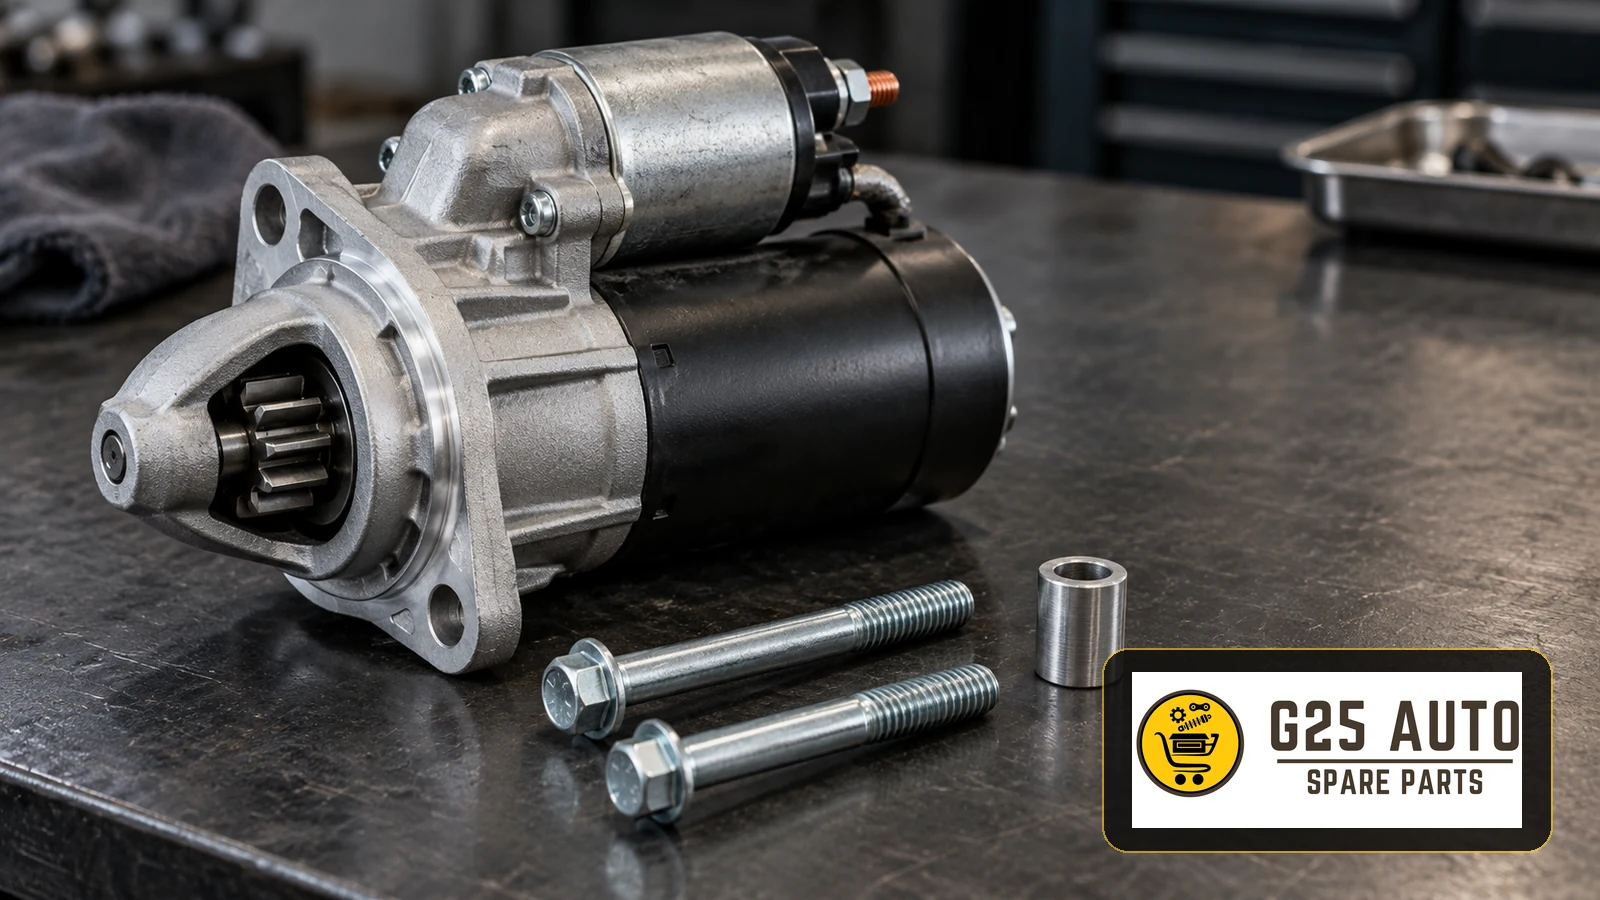
Starter motor mounting bolts and spacer sleeves are small components that secure and position the starter in relation to the engine or transmission housing. Correct mounting helps the starter pinion engage the flywheel as intended. Loose bolts or a worn spacer can contribute to vibration, noise and starting difficulties.
What Are Starter Motor Mounting Bolts and Spacer Sleeves?
A starter motor mounting bolt secures the starter to the engine block or transmission housing. Its material, strength, length and thread must match the requirements of that particular installation; a general-purpose bolt should not be assumed suitable.
A spacer sleeve, where specified, forms part of the starter positioning arrangement. Its dimensions and location depend on the vehicle and starter design. Different applications may use different spacers, so the correct working position must be established from the relevant technical information.
Fault Symptoms
Problems with starter mounting bolts or spacer sleeves may be associated with several symptoms. These observations require diagnosis and do not identify the mounting hardware as the sole possible cause.
Early Warning Signs
- Unusual starter noises: Squeaking, rattling or metal rubbing sounds during starting.
- Delayed response: A delay before the starter engages when the key is turned.
- Mild vibration: Irregular vibration felt while starting the engine.
- Intermittent starting difficulties: Normal operation on some attempts and difficulty on others.
More Advanced Symptoms
- Loud cracking or grinding: Possible abnormal contact between the starter pinion and flywheel teeth.
- Movement of the starter: Severely loose mounting bolts may allow the unit to move.
- Failure to start: The pinion may fail to engage or may spin without cranking the engine.
- Electrical connection problems: A loose mounting arrangement may put strain on cable connections.
- Smoke or a burning smell: Overheating needs prompt professional investigation; the symptom alone does not establish its cause.
Diagnostic Methods
Symptoms can suggest a problem, but a reliable diagnosis requires professional inspection of the assembly and its mounting arrangement.
Visual Inspection
After removal in accordance with the vehicle procedure, inspect the bolts, spacer and mounting surfaces. Look for cracks, deformation, wear and corrosion, and assess whether the mating surfaces are in suitable condition.
Measurement Checks
Spacer thickness can be checked with a suitable measuring instrument such as a micrometer. Any specified pinion-to-flywheel clearance must be measured using the method and equipment required by the vehicle manufacturer. Compare the results with the applicable tolerances rather than a generic value.
Functional Testing
Where appropriate, a professional starter test can assess pinion movement, engagement and operating noise. Mounting fasteners must be checked and tightened according to the specified procedure with suitable torque equipment; a generic tightening figure is insufficient.
Original Equipment and Aftermarket Parts Compared
| Feature | Original equipment part | Aftermarket part |
|---|---|---|
| Application suitability | Verify the listed vehicle and starter application. | Verify the specific application and documented cross-reference. |
| Material requirements | Check the specification for the particular part. | Check the manufacturer’s documented specification. |
| Price | Confirm a current quotation. | Confirm a current quotation; no general saving is assumed. |
| Availability | Confirm current supply with the supplier. | Confirm current supply with the supplier. |
| Warranty terms | Read the applicable written terms. | Read the applicable written terms. |
| Packaging and labelling | Check the part identification and origin. | Check the manufacturer and part identification. |
Checklist for Selecting the Correct Part
Use the following checks when selecting starter mounting bolts and spacer sleeves:
- Prepare the vehicle details: Record the make, model, model year and engine capacity.
- Check the VIN: Use the vehicle identifier to support the application lookup.
- Identify the engine code: Obtain it from the relevant vehicle identification information.
- Confirm the production date: Parts may differ within the same model year.
- Inspect the existing starter: Record the part number and manufacturer shown on the unit.
- Identify the number and type of bolts: Confirm the actual mounting arrangement rather than assuming all starters are alike.
- Measure the existing spacer: Record its thickness where applicable and compare it with the specified replacement requirements.
- Confirm the application with the supplier: Have the selected part checked against the vehicle and starter details.
Why Verify the OEM or Part Number?
Starter mounting arrangements can differ between vehicles. Even within one make and model, engine versions, production years or equipment variants may require different components.
Verification Using the VIN
The VIN supports identification of the vehicle in the relevant catalogue. Use it alongside the engine, production and starter information available. It should not be treated as a standalone guarantee of compatibility.
Verification Using the Engine Code
The engine code helps distinguish engine types and versions. Engines of the same capacity may use different starters or mounting hardware, so capacity alone is not a sufficient ordering reference.
Verification Using the Production Date
Manufacturers may change components during a model’s production run. The production date can therefore help resolve application differences that the model year alone does not show.
Verification Using the OEM Part Number
The number on the existing part is a useful reference for a replacement search. Ask the supplier to check its application and any proposed cross-reference; a matching search result alone does not establish technical equivalence.
Installation and Maintenance Advice
Professional Installation
Installing starter mounting bolts and spacers requires experience and appropriate equipment. Incorrect tightening can damage a bolt or leave the mounting insecure. An incorrect spacer can affect starter positioning and may damage the starter or flywheel teeth.
Tightening Torque
Use the tightening specification and procedure for the particular vehicle and fastener. Torque is commonly expressed in newton-metres and applied with suitable torque equipment. Excessive or insufficient tightening can compromise the joint.
Inspection Timing
Follow the manufacturer’s maintenance and installation instructions. Situations in which the mounting may need inspection include:
- After starter replacement, where a follow-up check is specified.
- During engine overhaul or transmission removal.
- When the fault symptoms described above appear.
- After unusually severe vibration or demanding off-road operation.
Points to Consider When Choosing Original or Aftermarket Parts
Assess each candidate part against the actual technical and purchasing requirements. The following factors help organise that comparison.
Quality Standards
Review the manufacturer’s documentation and any relevant quality credentials. A management-system certificate or a familiar brand name does not by itself prove that a particular bolt or spacer meets the required application specification.
Cost and Benefit
Compare current quotations alongside documented suitability and the requirements of the vehicle’s use. Vehicle age and budget may affect purchasing decisions, but neither replaces verification of the mounting specification.
Warranty Terms
If the vehicle is under warranty, check the applicable written conditions and service requirements. For any replacement, confirm the part supplier’s terms rather than assuming coverage or an advantage based only on whether the part is original or aftermarket.
Choosing a Reliable Parts Supplier
Use a supplier that can identify the proposed starter mounting bolts and spacers and check the application against the vehicle details. Poorly matched or unsuitable components can compromise the mounting and lead to mechanical damage.
Frequently Asked Questions
How often should starter bolts be replaced?
Follow the vehicle manufacturer’s replacement requirements. Inspect the bolts when the starter is removed, including their threads and any corrosion or damage. Do not assume a universal replacement interval or unrestricted reuse.
Can the starter work without a spacer?
That depends on the mounting design. If a spacer is specified, omitting it or using an incorrect thickness can disturb the working position and risk wear or damage. Whether the starter still turns does not establish that the assembly is correct.
Can bolts from another brand be used?
A replacement must meet the specified strength, thread, length and other application requirements. Brand alone is insufficient; verify the exact part specification before installation.
How is spacer thickness determined?
Consult the vehicle manufacturer’s technical information. Where a clearance measurement is required, a professional should use the prescribed method to determine the correct spacer. Do not estimate thickness from appearance.
What happens if starter bolts become loose?
The starter may vibrate or operate noisily, and movement can strain electrical connections. Severe looseness may allow significant displacement and damage to the engagement components. Have the mounting inspected when the first symptoms appear.
Are original and aftermarket spacers different?
Compare the documented material and dimensional requirements of the specific parts. Correct thickness and the required properties matter; neither equivalence nor inferior quality can be inferred from the product category or price alone.
Conclusion
Starter mounting bolts and spacer sleeves are small components with an important role in secure mounting and correct starter positioning. Their condition, suitability and installation can affect starter operation and the risk of damage to the engagement components.
Pay attention to noise, vibration and starting difficulties, and arrange professional inspection promptly. Identifying the actual cause is necessary before choosing replacement parts.
Check the vehicle identifier, engine code and relevant part numbers during selection. Original and aftermarket candidates both require verification against the application, alongside consideration of the vehicle’s use, budget and applicable warranty terms.
Have an experienced technician install the parts using the correct mounting and tightening procedure. Appropriate installation is central to a reliable repair.