
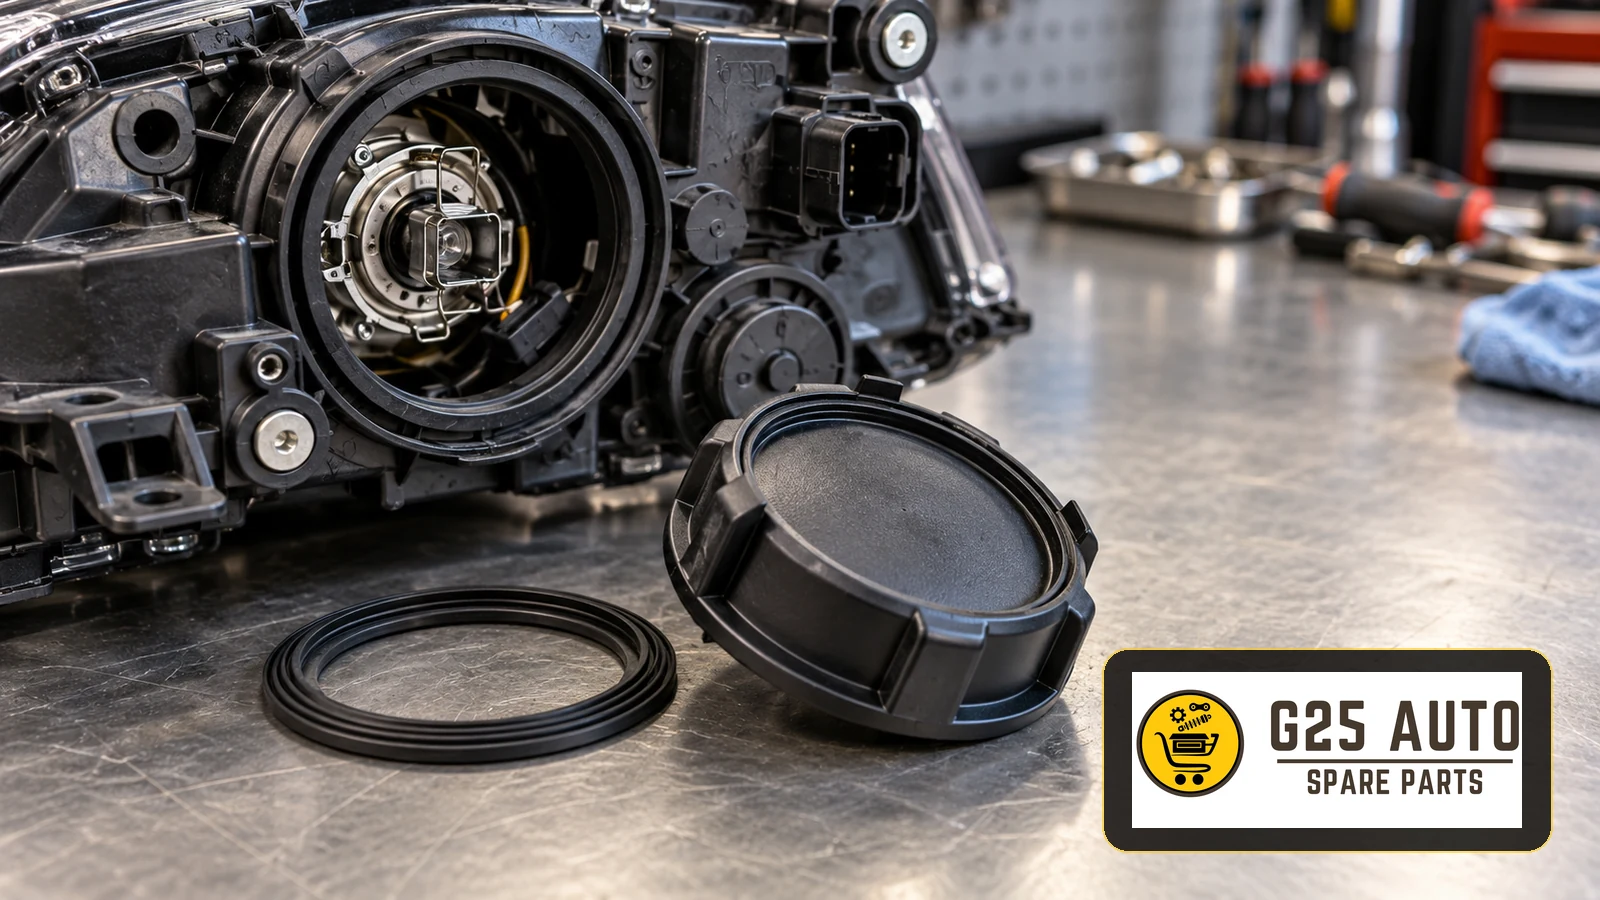
Rear headlamp dust caps and sealing gaskets help protect lighting assemblies from water, dust and moisture that can damage bulbs, reflectors and electrical connections. Correct part selection and timely maintenance support reliable lighting and help avoid unnecessary repair costs.
What Are Rear Headlamp Dust Caps and Sealing Gaskets?
The dust cap closes the rear access opening used for bulb replacement. Usually made of rubber or plastic, it may attach by a screw or bayonet arrangement, depending on the headlamp. Its gasket seals the joint between cap and housing to help limit moisture and dust ingress.
Together, these components protect the interior during rain, washing and humid conditions. Moisture entering the assembly can affect light output and contribute to corrosion at electrical connections.
Symptoms of Dust Cap Problems
Possible signs of cap or gasket damage include:
- Misting or water droplets inside the headlamp lens
- Visible dirt or dust inside the assembly
- Bulbs failing sooner than expected
- Rust or corrosion inside the headlamp
- Moisture at electrical connections
- A loose or cracked rear cap
- Wear, hardening or cracks in the gasket
Investigate these signs carefully. They do not establish that the cap or gasket is responsible: lens cracks and installation faults can cause similar problems.
Checks to Establish the Cause
Visual symptoms provide an initial indication, but a professional inspection is needed to identify the cause.
Professional Inspection Steps
An experienced automotive electrician or workshop should inspect the assembly, removing and cleaning it where appropriate. Check the cap, gasket and other sealing points, lens damage, mounting security and ventilation components.
Leak testing may help locate concealed faults, but the method must suit the headlamp design and service instructions. Do not assume a ventilated assembly should be airtight or apply unspecified pressure or UV testing procedures.
Original Equipment and Aftermarket Parts Compared
Both options require application checks. Assess the documented characteristics of each product rather than relying on the category alone.
| Factor | Original equipment part | Aftermarket part |
|---|---|---|
| Fitment | Verify the specified headlamp application | Verify the listed application and attachment design |
| Material quality | Check the product specification | Specifications vary by manufacturer |
| Durability | Depends on material and operating conditions | Assess material suitability and supporting information |
| Availability | Confirm with the supplier | Confirm with the supplier |
| Warranty | Check the applicable terms | Check the manufacturer’s and supplier’s terms |
Choosing an Aftermarket Part
Choose a traceable manufacturer and review relevant product documentation. A general quality certificate alone does not establish suitability for a particular headlamp.
Material quality matters, especially resistance to the heat and exposure expected in the application. Unsuitable rubber can harden, crack and lose its sealing function.
Methods for Verifying Part Selection
Confirm the cap and gasket match the installed assembly. An incorrect selection can cause installation difficulties and recurring leaks.
OEM References and Part Numbers
An OEM reference or existing part number helps identify the required component. Check available vehicle documentation and markings on the removed part, then verify the reference against the intended application.
Headlamp designs can differ between models and versions of the same vehicle brand. Make and model alone may be insufficient.
Verification Using the VIN
The vehicle identification number helps a supplier or workshop identify relevant vehicle specifications through suitable records. Use it alongside headlamp and part information; it does not guarantee compatibility by itself.
Engine Code and Production Date
Headlamp designs may change during a model’s production run. The production date and relevant vehicle identifiers can help distinguish variants. Find these details in the vehicle’s records or identification labels, as applicable.
Replacement Checklist
Before ordering or replacing the cap and gasket:
- Record the vehicle make, model and production year
- Identify the VIN
- Record the engine code where relevant
- Check the existing part’s OEM reference
- Inspect the overall headlamp condition
- Check other sealing points
- Note bulb types and condition
- Prepare the tools required for installation
- Confirm applicable warranty and return terms
- Obtain the installation instructions
Installation and Maintenance Advice
Correct installation affects sealing and service life. Professional fitting is advisable where access or procedures are uncertain.
Preparation Before Installation
Work in a clean, dry area. Clean the cap seat and accessible sealing surfaces according to the assembly instructions. Remove old gasket residue that could prevent the replacement from seating correctly.
Inspect the housing for cracks or deformation before fitting the gasket. Replacing the seal alone may not resolve damage elsewhere.
Maintenance and Checks
Inspect the cap and gasket during routine maintenance, particularly after seasonal changes. Replace components showing hardening, cracks or deformation as appropriate.
Avoid directing high-pressure washing jets at headlamp joints, where they may damage seals or encourage water ingress.
Frequently Asked Questions
How often should a dust cap be replaced?
Replacement depends on condition, material and operating environment. Climate and frequent washing can affect service life; use regular inspections rather than assuming a fixed lifespan.
Does misting always indicate a dust cap fault?
No. Lens cracks, ventilation problems and installation faults can also cause similar symptoms. Professional inspection helps establish the cause.
Can an aftermarket gasket affect the warranty?
Check the applicable warranty terms with the responsible provider before replacement. Do not assume warranty treatment from the part category alone.
Can I replace the cap myself?
Access is straightforward on some vehicles and difficult on others. Incorrect fitting can cause further problems; use professional assistance if the procedure is unclear.
Are other parts needed when replacing the gasket?
A damaged cap may also need replacement. Inspect bulb holders and electrical connections to establish the full repair requirements.
Conclusion
Rear dust caps and sealing gaskets are small components with an important role in protecting headlamp assemblies. Check references, vehicle identifiers and production details when selecting parts. Compare documented quality, fitment and commercial terms for original equipment and aftermarket options. Investigate misting, dust accumulation and seal damage early to support reliable lighting and avoid repeat repairs.