
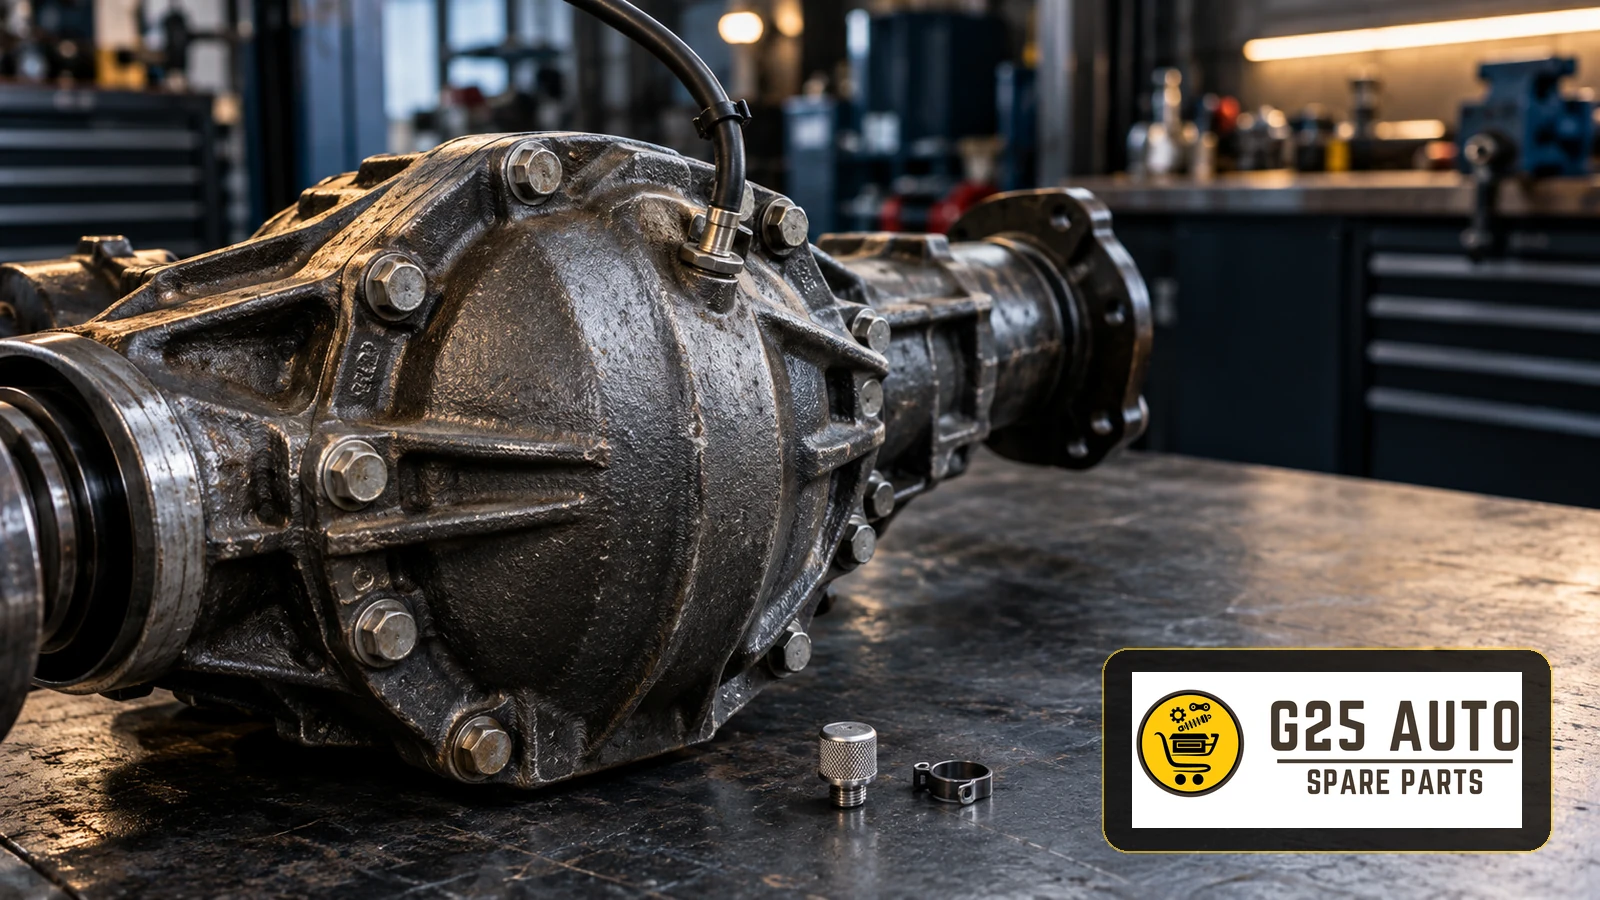
A rear differential breather allows the axle housing to manage pressure changes as it heats and cools. Inspect its vent, hose and connections when investigating axle oil leaks, visible hose damage or possible water exposure. Replace components when the application-specific inspection confirms a defect. For European and Balkan workshops and trade buyers, the correct repair depends on identifying the axle, locating the actual fault and verifying the complete breather arrangement before ordering.
Understand the breather fitted to the axle
A breather provides a controlled ventilation path from the housing. A restriction can contribute to pressure build-up and leakage, but a leaking seal alone does not prove that the breather is blocked. The ventilation system and the leaking area both need assessment.
Designs differ. An axle may use a compact vent assembly or a fitting connected to a hose and a remote termination. Do not assume that every breather contains a membrane, a replaceable filter or the same valve arrangement. A breather fitting is also distinct from the lubricant fill and drain plugs.
Routing is part of the design
Hose position, clips and the end fitting help the assembly function in its intended environment. Dana’s Advantek axle service manual describes a specific fitting, hose and clamp arrangement designed to improve resistance to water ingestion and blockage by dirt, ice or snow. Its installation directions belong to that axle design; they are not a universal hose-routing instruction.
Investigate symptoms before replacing parts
Ask whether the concern appeared after axle servicing, seal replacement, off-road use or water exposure. Record where the oil first becomes visible and whether the complaint includes noise. Photographs taken before cleaning can help distinguish a leak at the housing, a shaft seal or the breather itself.
Check the ventilation path for visible obstruction, corrosion, disconnected joints, collapsed sections and damaged supports. Look for a hose trapped by another component or rubbing against an edge. Follow the relevant workshop procedure for functional checks rather than judging the assembly only by its external appearance.
Keep the diagnosis broader than the vent
Confirm the lubricant specification, level and checking method for the actual axle. Review recent filling work and inspect the source of leakage. Seal condition, mating surfaces and other axle faults may require investigation even when a breather defect is found. Clearing a vent cannot restore a damaged seal or bearing.
Unusual lubricant appearance warrants investigation, particularly after water exposure. Appearance alone does not establish the entry route or the full repair scope. Do not treat every instance of foam as conclusive proof of water contamination. A qualified technician should assess the lubricant and assembly using the manufacturer’s guidance before authorising further operation.
Build an accurate trade parts enquiry
Provide the VIN, vehicle production details and the axle identification available on the vehicle. Include photographs of the housing connection, hose route and termination. Vehicles with similar model descriptions can have different axle assemblies, so an engine description or registration year alone may be insufficient.
Record an existing reference where legible, then verify it against the current catalogue and any supersession notes. Ask the supplier to confirm the application and whether the offered item is a vent, a hose, a fitting or a complete assembly. Check whether clips, clamps and sealing components are included or listed separately.
Assess documented suitability
Vehicle-branded parts, products from original equipment suppliers and independent aftermarket components all need application checks. A supplier category, similar appearance or matching hose connection does not establish equivalent vent behaviour or material suitability. Request traceable manufacturer information and written confirmation of the selected reference. Confirm price, availability and delivery terms directly for the order.
Plan installation and the final inspection
Use the vehicle-specific repair instructions, approved lifting equipment and the required support arrangements. Allow the assembly to reach the condition specified for the work. Clean the connection area before opening it and prevent debris entering the housing.
Restore the prescribed route, supports and termination position. Maintain the clearances and allowance for movement required by the design. Obtain the specified fitting method, tightening instructions and any sealing requirements. Do not substitute an arbitrary hose, add an unverified filter or extend the termination simply because it appears more protected.
Use only the cleaning or replacement method approved for that component. Blowing workshop air through an assembled system is not a universal test procedure. After the repair, verify connections, lubricant condition and level where required, then complete the prescribed leak checks and any permitted verification drive. Record unresolved noise or leakage for further diagnosis.
Set maintenance around the application and operating history
Daimler Truck’s axle-breather maintenance guidance calls for an unobstructed breather, checks when axle lubricant level is checked and more frequent attention under poor operating conditions. Use that as an example of an inspection requirement; follow the actual vehicle’s maintenance schedule.
Water exposure needs its own service decision. Ford’s rear-axle fluid guidance for one application directs owners to have the vehicle checked after submersion or suspected leakage. Consult the applicable instructions promptly rather than assuming a higher vent makes the axle waterproof.
Workshop and purchasing checklist
- Identify the vehicle, axle assembly and fitted breather design.
- Record leak location, recent repairs and any water exposure.
- Inspect the vent, hose, connections and supports.
- Assess lubricant condition and other possible leak causes.
- Verify the replacement reference and current application notes.
- Confirm kit contents and required installation information.
- Restore the specified routing and complete the final checks.
- Retain findings, photographs and supplier confirmation in the job file.
Frequently asked questions
Does every axle oil leak mean a blocked breather?
No. Ventilation is one part of the investigation. Establish the leak source and assess the seals, lubricant and surrounding assembly.
Is there a universal breather replacement interval?
No. Use the vehicle’s maintenance requirements and inspection results rather than a generic age or mileage rule.
Can any hose of a similar size be used?
Verify the specified application, material, connections and routing. Size alone does not establish suitability.
Is replacing the breather enough after water ingress?
Not necessarily. The lubricant and axle need assessment, and the applicable service instructions determine the required work.