
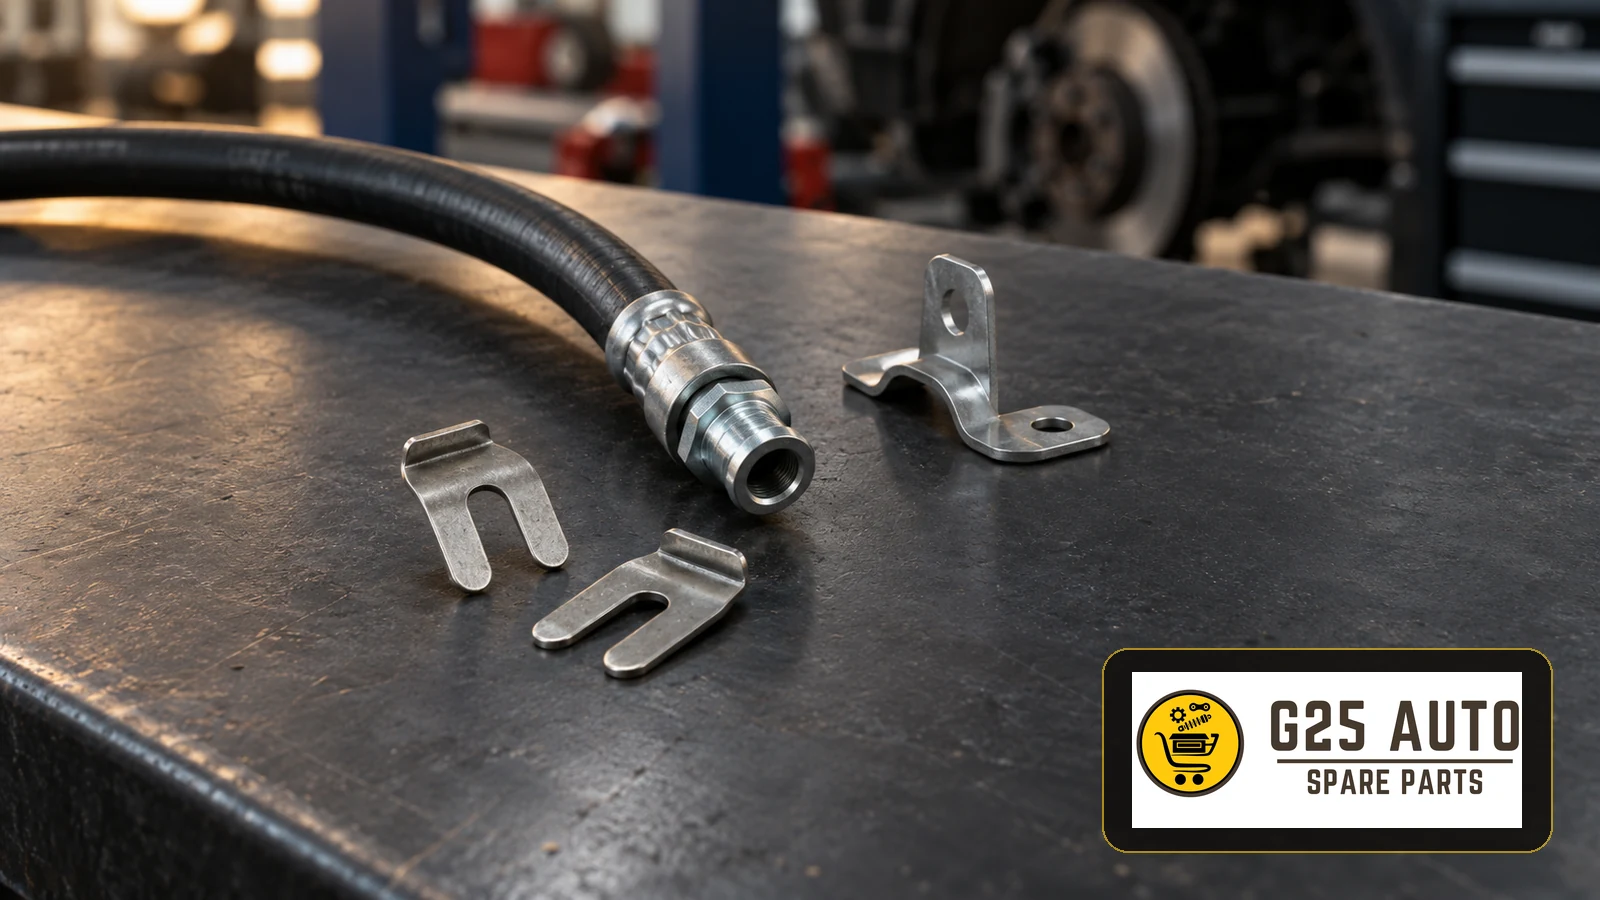
A rear brake hose U-shaped retaining clip secures a compatible hose end fitting in its mounting bracket while the flexible hose accommodates axle or suspension movement. Select the clip for the actual fitting and bracket, confirm that it seats correctly, and inspect the hose and mounting point together. A missing or loose retainer requires repair before the vehicle returns to service; fitting another clip does not resolve existing hose damage.
Understand the retaining arrangement
On a slide-in design, the horseshoe-shaped clip engages a groove in the metal hose fitting beside the bracket. It retains the fitting at the mounting point rather than squeezing the rubber hose. Other locations may use different supports or fasteners, so identify the assembly before ordering a part described simply as a brake hose clip.
Custom Hoses describes this groove-and-bracket arrangement for its compatible fittings and explicitly makes compatibility dependent on the mounting arrangement. That description explains the principle; it does not establish fitment to a production vehicle.
Mechanical retention and hydraulic sealing are separate
The clip is a retaining component. A hydraulic connection still needs its specified mating surfaces, assembly method and tightening procedure. Never treat a secure-looking clip as proof that a brake pipe union is sealed, or use the union to compensate for an insecure mounting point.
Inspect the hose, clip and bracket as one assembly
Start with clear photographs of the installed position and the complete hose route. Look for a missing, displaced, bent or badly corroded clip, damage around the bracket opening, and movement inconsistent with the specified installation. Examine the hose for cuts, abrasion and other deterioration, including surfaces hidden behind the fitting or adjacent components. A polished contact mark warrants investigation of what is touching the hose.
Manufacturer instructions illustrate why the whole hose matters: Chrysler’s brake hose recall procedure includes inspection for cuts and abrasions and replacement of damaged hoses. Its front and rear procedures show retaining clips at designated brackets. These instructions concern the vehicles covered by that campaign; their part numbers and settings must not be transferred to another application.
Check the movement relevant to the rear axle
A steering sweep alone does not establish rear hose clearance. A qualified technician should assess routing through the suspension positions required by the vehicle repair procedure, including any relevant rear steering arrangement. Look for stretching, twisting, kinking or contact with neighbouring parts. A hose that appears clear while the axle hangs may behave differently in another position. Use the prescribed lifting and support method for these checks.
Noise is a reason to investigate, not a diagnosis of a failed clip. If there is leakage, hose damage or uncertain retention, keep the vehicle out of service until the fault has been assessed and repaired.
Build a verifiable B2B parts enquiry
For workshops and distributors serving European and Balkan fleets, the useful starting point is an identifiable vehicle and mounting position. Include the VIN, production information, axle or suspension variant where relevant, and whether the enquiry concerns the left or right rear assembly. Add the hose reference and a verified original part reference if available; do not assume a small clip carries a readable number.
Send both a close view of the clip and a wider view showing the bracket and fitting. If measurements are needed to resolve catalogue ambiguity, provide actual measured information requested by the supplier. A photograph or approximate slot width should support identification, rather than replace documented application confirmation.
Assess the offered replacement
Ask the supplier to identify the manufacturer, catalogue reference, supported application and package contents. Establish whether the offer contains a clip alone, a bracket, or hardware supplied with a hose assembly. Record unresolved differences before approving the order. Treat price, availability and delivery as quotation details to confirm for that order, rather than assumptions based on whether the part is original or aftermarket.
Do not substitute a similar-looking plastic support, wire tie or general-purpose clamp for a specified metal retainer. If the replacement will not seat as intended, stop and recheck the identification and mounting condition instead of reshaping it to force a fit.
Plan the repair and release checks
The correct removal sequence depends on the vehicle. For example, Stellantis eLearn rear brake hose instructions specify the clip within a complete hose procedure, with connector tightening requirements and a hydraulic bleeding operation. This is an application-specific example, not a universal clip replacement method.
Have a qualified technician determine whether the hydraulic circuit needs opening. If it is opened, complete the specified fluid, bleeding and leak checks. Before release, document correct retainer engagement, bracket condition, routing, hydraulic integrity and the required brake function checks. Use the applicable repair instructions for settings and acceptance criteria.
Workshop and purchasing checklist
- Identify the vehicle and exact rear mounting position.
- Photograph the hose route, fitting, bracket and existing retainer.
- Inspect the full hose and mounting point for damage.
- Confirm the replacement reference and documented application.
- Check package contents and any required associated hardware.
- Follow the vehicle-specific removal and installation procedure.
- Verify seating and clearance through the prescribed movement checks.
- Record hydraulic and brake function checks before release.
Frequently asked questions
Are U-shaped brake hose clips universal?
No. The fitting groove, bracket and specified retaining design must match. A similar outline does not confirm compatibility.
Can a new clip repair a chafed hose?
No. Correct the retention or routing fault and assess the damaged hose for replacement under the applicable repair instructions.
Must every removed clip be discarded?
Follow the application instructions. Replace damaged or insecure retainers and any hardware designated for single use; appearance alone does not establish suitability for reuse.
Is bleeding required after a clip repair?
The answer depends on the repair scope and vehicle procedure. If a hydraulic connection is opened, complete the specified bleeding and verification work. Do not assume a clip job always leaves the circuit closed.