
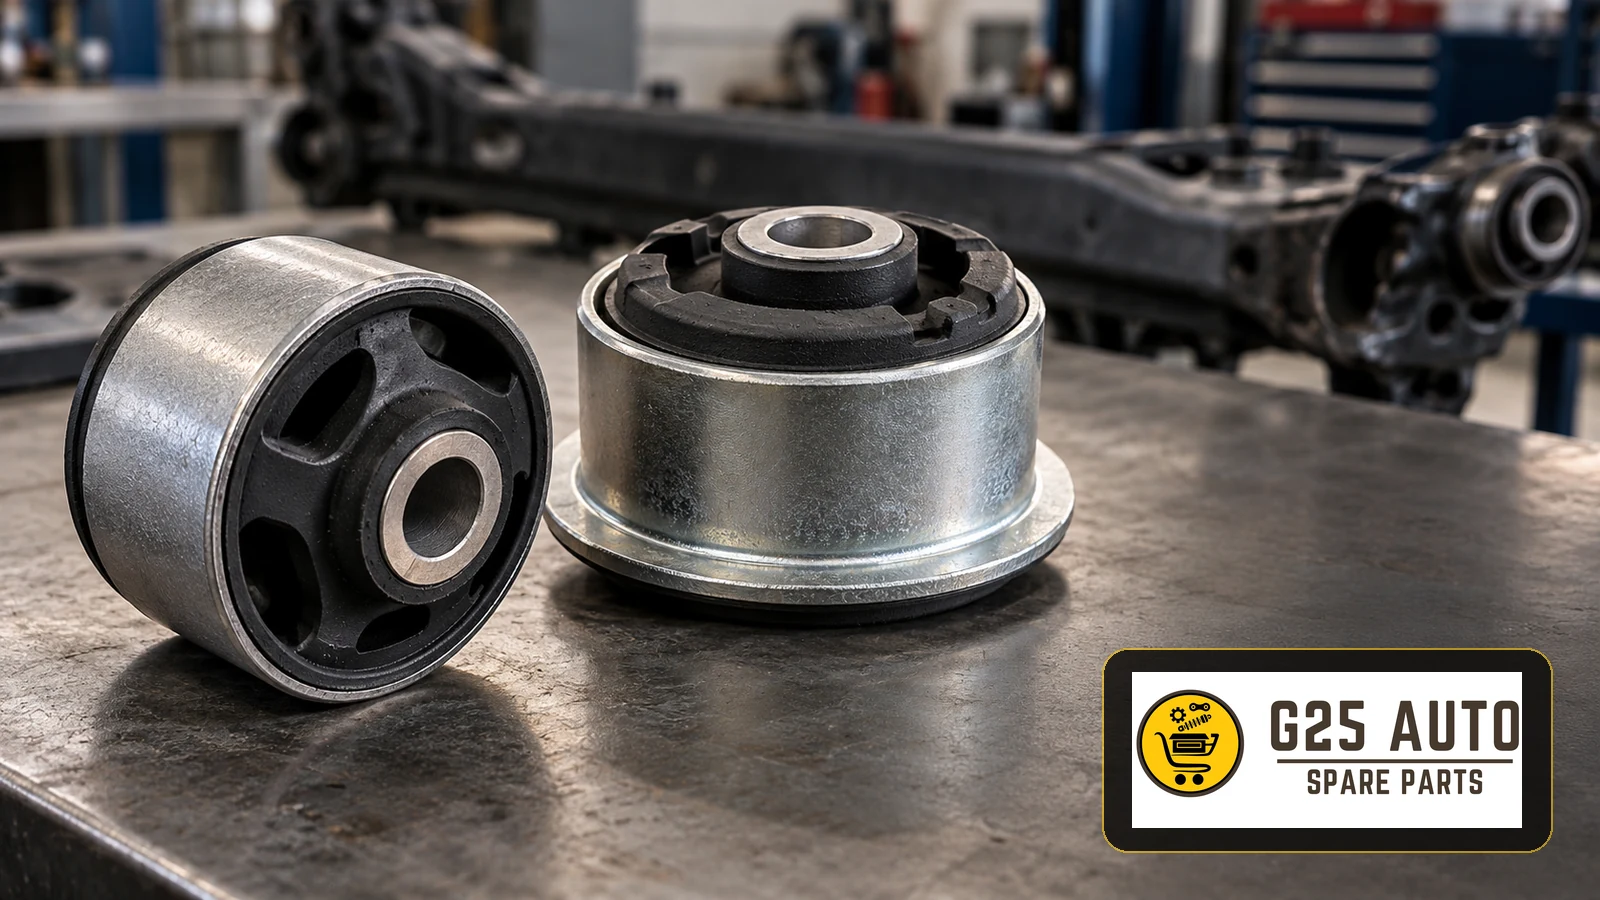
Replace a rear axle bush or subframe mount when inspection confirms a defect affecting its intended support or controlled movement. Rear knocks, vibration and uneven tyre wear are reasons to investigate, rather than proof that a particular bush has failed. For workshops and trade buyers, a dependable repair starts by identifying the mounting position, documenting the fault and verifying the replacement against the exact vehicle application.
Understand which rear suspension mounting is involved
An axle beam bush connects a rear suspension beam to its mounting structure. A subframe mount isolates the carrier supporting suspension components from the body. The terms are sometimes used loosely in enquiries, but they do not describe interchangeable parts. Ask the workshop to identify the assembly and mounting location before requesting a quotation.
Rubber-to-metal mounts allow designed movement while isolating noise and vibration. Some applications use fluid-filled mounts. Construction, voids and orientation are part of the application design; a visually similar component or a different material is not automatically a suitable substitute.
Separate the bush from its surrounding structure
A replacement bush cannot correct a damaged beam, distorted carrier or defective mounting seat. Record the condition of the surrounding metal and fasteners alongside the rubber. This helps the parts desk distinguish a component request from a repair that needs a wider assessment.
Turn reported symptoms into inspection evidence
Ask when the complaint occurs: over small bumps, during braking, when taking up drive or while changing direction. Note whether it began after an impact or previous suspension work. These details help a technician reproduce the concern and decide which assemblies need attention.
Rear suspension noise can also involve dampers, springs, links or other joints. Tyre condition and wheel geometry need consideration when the complaint includes uneven wear or unstable tracking. Replacing the most visible rubber component without locating the cause can leave the original problem unresolved.
Assess condition using the correct procedure
A qualified technician should inspect the mounting in the loading condition specified by the vehicle manufacturer, using approved lifting and support equipment. Check for rubber separation, significant tearing, displacement, damaged sleeves and deterioration around the mounting seat. Interpret movement against the specified design: rubber compliance alone does not establish a defect.
Where a fluid-filled mounting is fitted, investigate apparent leakage and confirm its source. Record photographs and findings in the job file. If the inspection identifies a safety-critical defect, the workshop should determine the appropriate repair and vehicle handling before release.
Specify the replacement for a European or Balkan trade order
Build the enquiry around vehicle identification and catalogue evidence. Include the VIN, production details, relevant suspension variant and exact mounting position. Where available, record the existing part reference and check any supersession with the supplier. A reference found on an old component is useful evidence, but it does not replace checking current application notes.
Request written confirmation of the offered item, its application restrictions and the contents of the package. A loose bush, a mounting kit and a complete carrier assembly represent different repair scopes. Confirm whether required fixings are supplied or must be ordered separately before allocating workshop time.
Evaluate the product rather than the label
Vehicle-branded service parts, products from original equipment suppliers and independent aftermarket replacements require application verification. A supplier category does not prove that a specific item is identical to the factory-fitted component. Ask for a traceable manufacturer reference, relevant technical information and clear commercial terms. Confirm any design change in the current catalogue instead of treating an appearance difference as either a fault or an upgrade.
Plan installation and checks before booking the vehicle
Mounting orientation, tooling and tightening conditions matter. ZF guidance on rubber-to-metal components highlights suitable tools, recording the installation position and avoiding oil that can damage rubber. It also warns against tightening applicable suspension bearings away from their specified normal position. Apply the vehicle-specific procedure to the actual joint; do not extend one tightening rule to every subframe mounting.
Use the prescribed insertion direction, support arrangement and assembly aid, where specified. Obtain the correct fastening instructions and identify any mandatory replacement fasteners. MEYLE installation guidance likewise directs installers to workshop literature and vehicle manufacturer instructions.
After assembly, complete the geometry checks and adjustments required by the repair procedure. Wheel alignment and wheel balancing address different issues; balancing is not an automatic remedy for a displaced suspension mounting. Document the final inspection and any permitted verification drive before handing the vehicle back.
Workshop and purchasing checklist
- Identify the rear beam, carrier and exact mounting position.
- Record the complaint and the inspection evidence supporting replacement.
- Check surrounding structure and other possible causes of the symptoms.
- Verify the VIN, suspension variant and current catalogue application.
- Confirm the manufacturer reference, supersessions and package contents.
- Plan the required tools, mounting orientation and replacement fixings.
- Obtain the specified tightening conditions and geometry requirements.
- Retain the repair findings, final checks and supplier documentation.
Frequently asked questions
Is there a universal replacement mileage?
No. Follow the vehicle maintenance requirements and inspection findings. Operating conditions and mounting design vary, so a generic lifespan is unsuitable for scheduling every vehicle.
Must both sides always be replaced?
Inspect the related mounts and follow the application-specific repair instructions. ZF recommends replacement in pairs for defective rubber-to-metal components; establish the correct repair scope for the actual assembly rather than assuming every mount is identical.
Can a stiffer bush be treated as a direct equivalent?
No. Verify the documented application and intended characteristics. A material or construction change needs confirmation from the relevant product information.
What should a distributor request before confirming an order?
Request vehicle identification, the mounting position and the workshop findings. Confirm the selected reference, technical restrictions and kit contents in writing before supply.