
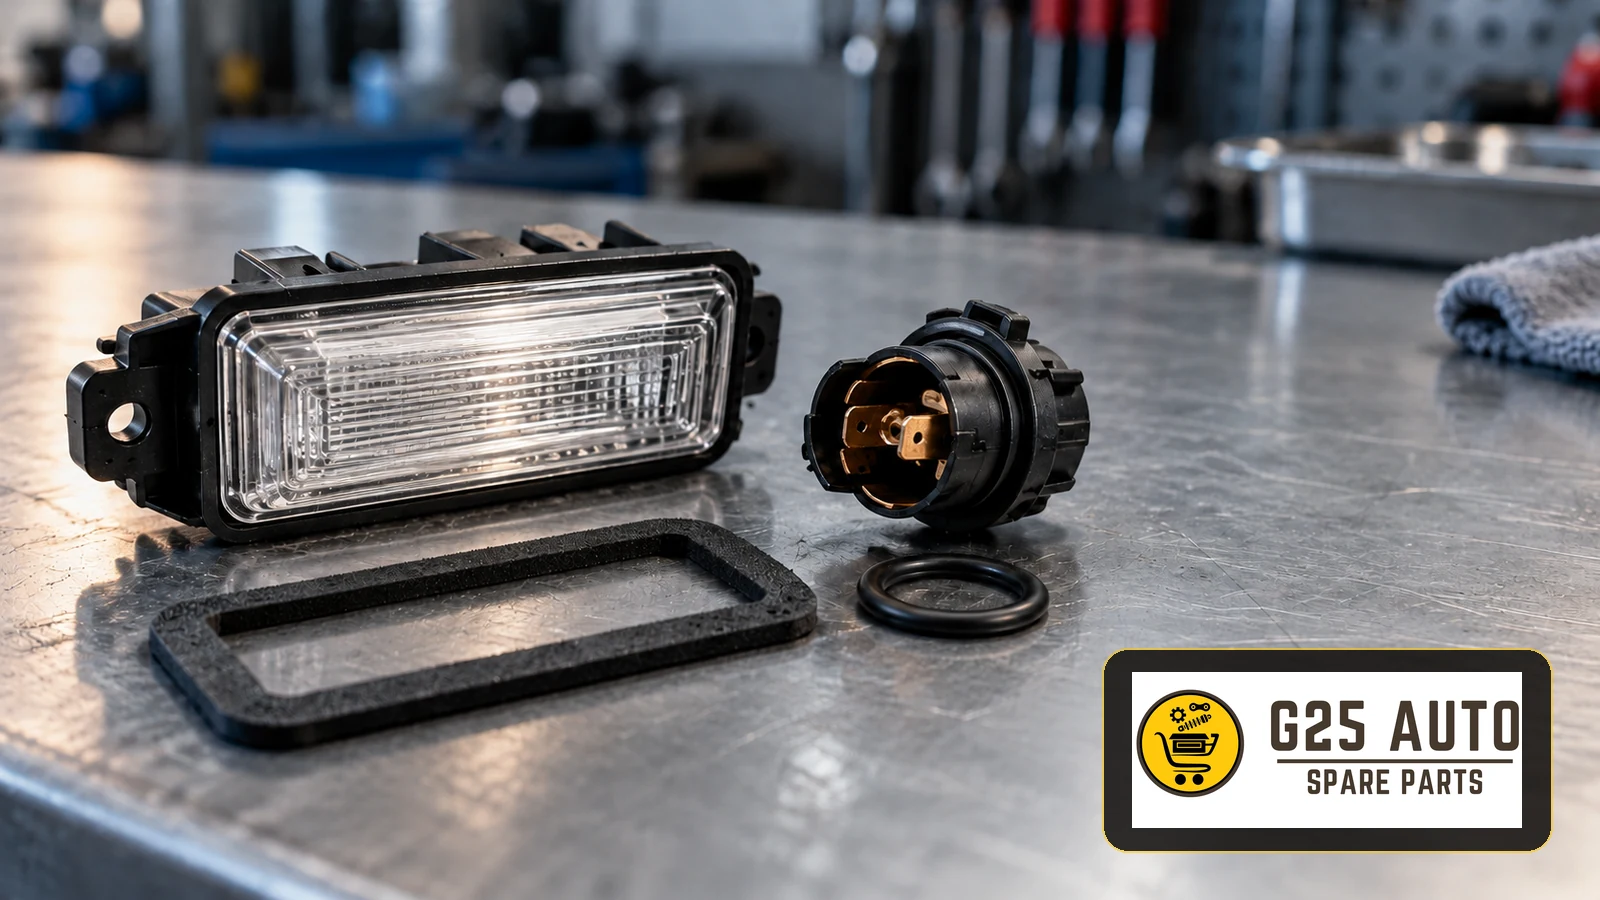
A rear number plate lamp socket seal helps keep moisture and dirt away from the holder or electrical connection, but a wet or failed lamp does not prove that this seal is responsible. Identify the lamp design, trace the water entry path and check the electrical circuit before ordering parts. For European and Balkan workshops and distributors, a reliable repair starts by distinguishing the socket seal from the housing gasket and connector seals.
Identify which seal the lamp actually uses
The term socket seal can describe different components in a parts enquiry. A replaceable bulb holder may seal into the lamp housing through an O-ring or shaped gasket. A separate electrical connector can have its own sealing arrangement, while a perimeter gasket seals the lamp or its surrounding trim against the body. These interfaces perform different jobs and are not interchangeable.
An integrated LED unit may have no serviceable bulb holder. Confirm whether the catalogue supplies the affected seal separately, within a repair kit, with a connector or only as part of the lamp assembly. The presence of a rubber ring in a photograph is insufficient evidence of suitability.
Investigate moisture and intermittent operation
Separate the symptom from the cause
Record whether the lamp fails continuously or after rain, washing or tailgate movement. Look for trapped water, staining, damaged sealing lips, distorted housings, broken retaining features and corrosion at accessible contacts. Discolouration or flickering warrants investigation; neither identifies the failed component by itself. A loose holder can also reflect damaged locking features rather than a worn seal.
Use the vehicle wiring information and appropriate diagnostic equipment to check the lamp supply, earth connection and wiring. Inspect the relevant tailgate harness where the complaint suggests movement-related damage. If lamp monitoring is fitted, record its warnings and fault information, but do not treat a dashboard message as a diagnosis of seal failure.
Distinguish misting from water ingress
HELLA guidance on lamp condensation explains that temporary misting can occur in ventilated lamp designs, while persistent moisture or accumulated water calls for investigation. This is general lighting guidance: establish the construction of the number plate lamp before applying it. Do not assume every small LED lamp is ventilated or that every trace of moisture is harmless.
Match the repair to the identified assembly
Use the VIN, production information and current parts catalogue to identify the relevant lamp variant. Check any legible housing or holder reference against the catalogue, including supersessions and equipment notes. A VIN enquiry supports identification; it does not make an unchecked catalogue match infallible. Compare the actual connection and sealing interfaces before fitting.
Seal profile, seating arrangement and material specification matter alongside dimensions. A ring that stretches into position can still be unsuitable. Request documented application information rather than selecting a generic ring by appearance or assuming all black elastomers behave alike. Where the sealing seat is cracked or the holder lock is damaged, replacing only the seal may leave the underlying defect unresolved.
A Stellantis service bulletin hosted by NHTSA provides an application-specific example involving a number plate LED lamp, a connector O-ring and a foam gasket at surrounding trim. Its stated North American vehicle scope limits its use; it is not a repair instruction for European vehicles generally. The useful workshop lesson is to investigate the complete water path and consult the applicable service information.
Workshop and purchasing checklist
- Record the VIN, production information and fitted lamp arrangement.
- Identify whether the requested item is a holder seal, connector seal or mounting gasket.
- Document the complaint, moisture evidence and electrical test findings.
- Inspect the housing, sealing seats, locks, contacts and surrounding trim.
- Verify the current catalogue reference and any applicable repair instructions.
- Confirm whether the supply unit contains a separate seal, kit, holder or complete lamp.
- Check application documentation and material information for the proposed replacement.
- Record the fitted parts, completed checks and any follow-up required.
Plan installation and verify the result
Follow the vehicle procedure for access, electrical isolation where required and removal of trim or lamp fittings. Avoid pulling on wiring or forcing brittle clips. Prepare sealing surfaces with the specified method and compatible products. Do not apply silicone spray, grease, adhesive or sealant unless the relevant instructions call for it; additional material can interfere with seating or conceal the original fault.
Install the correct seal without twisting or trapping it, and verify that the holder and connector locks engage as designed. Preserve any intended ventilation or drainage features. Address corroded terminals, damaged wiring and failed lamps through the appropriate repair procedure rather than relying on a new seal to restore electrical integrity.
After assembly, confirm the required number plate lighting operates, the unit is secure and no wiring is strained. Perform any prescribed leak or functional checks and assess relevant warnings. Photograph the repaired interfaces for the job record. A lamp that illuminates at handover still needs the cause of water entry resolved.
Frequently asked questions
Is there a fixed replacement interval?
Use the applicable maintenance and repair guidance. Vehicle age alone does not establish that a seal needs replacement; damage, poor seating or confirmed leakage should inform the decision.
Can one failed seal justify replacing both lamps?
Inspect the other fitted lamp where relevant. Replacement scope should follow its condition and the applicable instructions, rather than an automatic paired replacement rule.
Can a universal O-ring solve the problem?
Only use a replacement supported by the required application and material information. Similar appearance or an approximate fit does not verify the sealing performance.
Does an aftermarket seal have the same specification?
Assess the particular product documentation and catalogue application. Original and aftermarket labels alone do not establish equivalence, service life, warranty coverage or availability.