
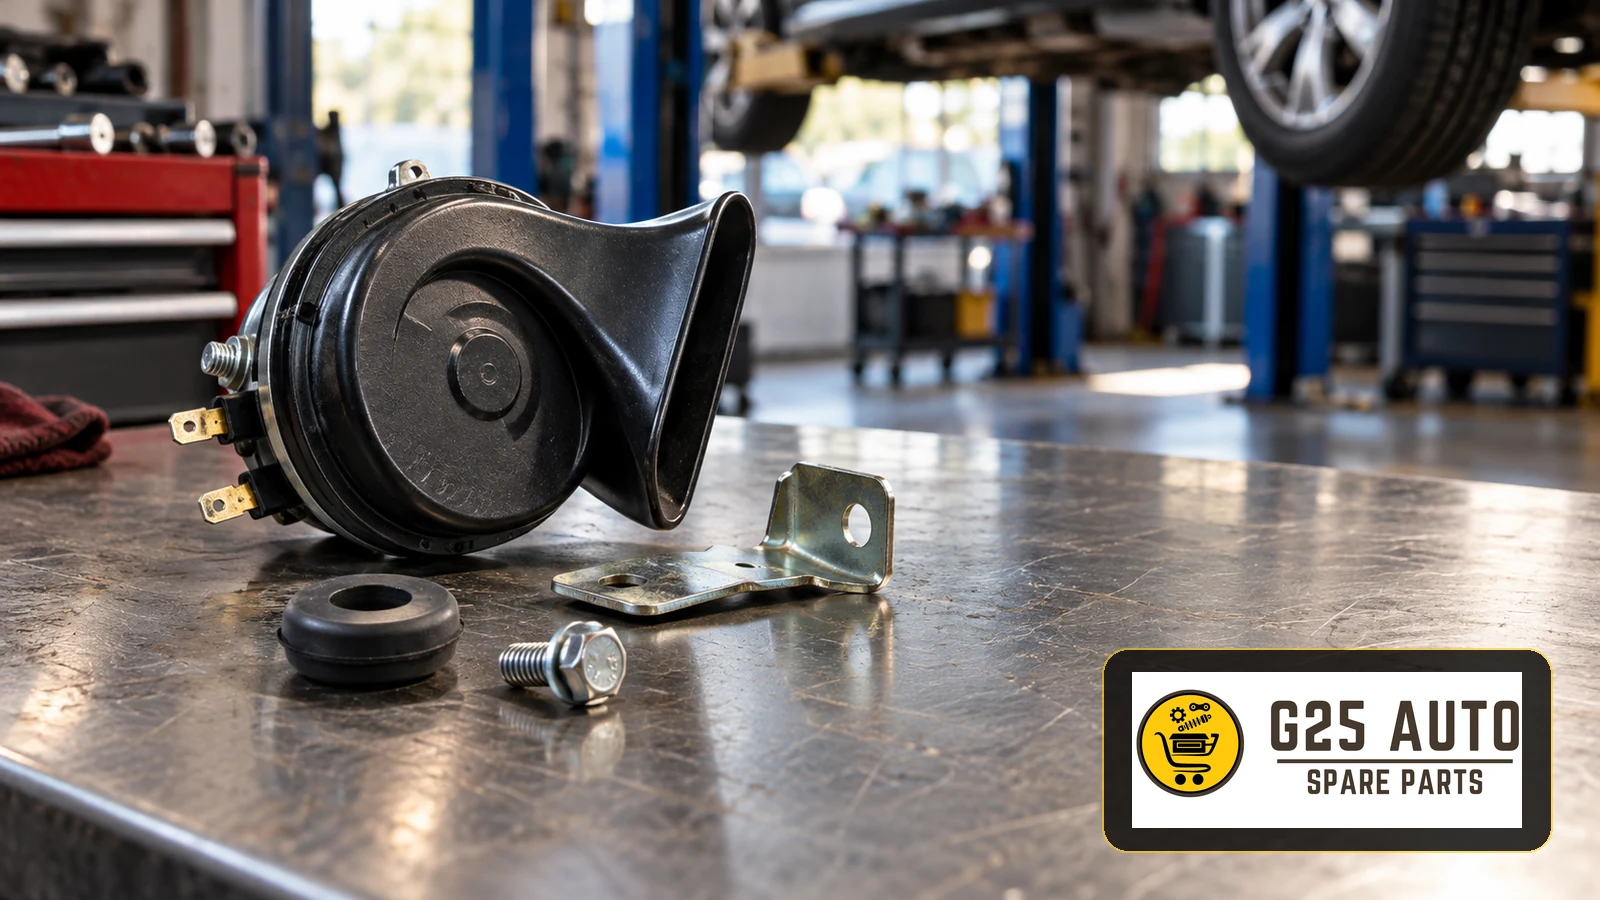
Horn mounting rubbers and brackets are small but important components that secure a vehicle’s horn to the chassis or body. They help protect it from driving vibrations, reducing mechanical stress and helping maintain its sound. If the mounting rubber is cracked, hardened or torn, or the bracket is distorted or broken, the horn may operate incorrectly or produce unwanted noise.
What Are Horn Mounting Rubbers and Brackets?
A horn mounting rubber is a rubber component that absorbs vibration and shock where the horn attaches to the vehicle body. The bracket is the metal or plastic support that physically secures the horn. In mounting arrangements that use both, they work together to keep the horn secure and functional.
Mounting rubbers are generally made from durable rubber or elastomer materials and may have different hardness specifications. Brackets may be made from steel, aluminium or robust plastic, with holes for the screws or bolts that hold the horn in place.
The Function and Importance of Horn Mounting Parts
Horns are important vehicle safety components. Incorrect installation or damaged mounting parts can contribute to the following problems:
- A weaker horn sound or loss of sound
- Mechanical damage caused by vibration
- Loose electrical connections
- Unwanted ringing or buzzing
- A horn that gradually shifts or comes loose
The mounting rubber helps isolate engine and road vibration, while the bracket supports the horn and holds it in position. Secure mounting is particularly important during cornering and on uneven roads.
Fault Symptoms: When Is Replacement Needed?
Several signs can indicate a problem with a horn mounting rubber or bracket:
Visible Signs
- Cracks, tears or wear marks on the mounting rubber
- Rubber that has hardened or begun to crumble
- A cracked, broken or distorted bracket
- Rust or corrosion on a metal bracket
- A horn hanging down or sitting at an angle
- Enlarged or worn fastener holes
Symptoms Noticed During Use
- Buzzing or ringing when the horn sounds
- A horn tone that sounds different or weaker than usual
- Intermittent operation or no sound
- Vibration noise around the horn with the engine running
- Rattling around the horn on uneven roads
How Is the Fault Diagnosed?
These symptoms can indicate a fault, but a professional inspection is needed to establish its cause. An automotive electrician or qualified workshop may carry out the following checks:
- Physically inspect the horn and its mounting parts
- Test the horn’s electrical connections with suitable measuring equipment
- Temporarily remove the horn for testing in accordance with the service procedure
- Assess mounting security and vibration
- Compare operation with a suitable alternative mounting set where appropriate
For an initial visual check, switch off the engine and gently check whether the horn is loose, where it is safely accessible. Take care around electrical components and seek professional assistance if uncertain.
Choosing Original or Aftermarket Parts
When replacing a horn mounting rubber or bracket, the two main options are original equipment parts and aftermarket alternatives.
Original Equipment Parts
- Parts supplied to the vehicle manufacturer’s specification; check the applicable warranty terms
- Mounting features intended for the specified vehicle application
- Materials specified for the original design
- Often a higher purchase cost, depending on the reference and supplier
- Supply through authorised parts channels, subject to availability
Aftermarket Parts
- Alternative parts made by other manufacturers
- Potentially lower purchase costs, depending on the product
- Quality alternatives may provide suitable performance when their specifications match the application
- A range of manufacturers and product options
- Reliable sourcing and documented specifications help support dependable use
Both options may have advantages. Original parts should be assessed against their warranty terms, while suitable aftermarket parts may offer a cost advantage. Base the choice on documented quality, manufacturer reliability, application requirements and budget.
A Checklist for Selecting the Correct Part
- Prepare the vehicle details: make, model, year, engine type and vehicle identification number
- Inspect the existing part: record its codes and markings
- Identify the OEM part reference: consult the relevant vehicle documentation or a parts service
- Verify the aftermarket application: check the manufacturer’s application list
- Check material quality: assess the rubber specification and bracket material
- Compare mounting dimensions: fastener spacing and attachment points must suit the application
- Request manufacturer documentation: review available quality and application documents without assuming certification
- Check warranty terms: review the terms for both the part and installation
Why OEM References and VIN Checks Matter
Incorrect selection is a common issue with automotive parts. Components that look the same may differ between production years or vehicle versions.
What Is an OEM Part Reference?
An OEM, or Original Equipment Manufacturer, part reference identifies a component in the relevant parts catalogue. Used with current application information, it helps to:
- Identify the intended vehicle applications
- Check changes between production years
- Check suitability for relevant engine or vehicle versions
- Reduce the risk of ordering the wrong part
Verification Using the VIN
The vehicle identification number, or VIN, supports identification of the vehicle in the appropriate catalogue. Depending on the available records, it can help establish:
- The vehicle’s production date
- Its factory equipment specification
- Applicable part changes and revisions
- Regional versions, such as European, American or Asian specifications
Mounting parts may change during a model’s production life. A VIN-based enquiry helps identify the appropriate reference, but suitability must still be checked against the specific mounting arrangement and current application information.
Comparing Horn Mounting Parts
| Feature | Original Equipment Part | Quality Aftermarket Part | Poor-quality Alternative |
|---|---|---|---|
| Material quality | Rubber or metal specified for the original design | Check documented material specifications | Material quality may be low or unclear |
| Application suitability | Verify the reference for the vehicle | Verify the reference, dimensions and application data | Fitment problems may occur |
| Durability | Depends on design and operating conditions | Assess the design and documented quality | Premature deterioration may occur |
| Warranty period | Check the manufacturer’s terms | Check the manufacturer’s and supplier’s terms | Coverage may be limited or unavailable |
| Supply channels | Authorised parts channels; confirm availability | Parts distributors; confirm availability | Supply arrangements vary |
| Vibration isolation | Designed for the specified mounting arrangement | Check suitability for the required isolation function | Vibration isolation may be inadequate |
Installation and Points to Watch
Replacing a horn mounting rubber and bracket may be relatively straightforward, but correct installation matters:
General Installation Steps
- Follow the vehicle manufacturer’s electrical isolation procedure, including battery disconnection where specified, before work
- Carefully remove the old bracket and mounting rubber
- Clean the mounting area and check for corrosion
- Position the new mounting rubber correctly
- Install the bracket using the specified tightening requirements
- Check and secure the electrical connections
- After restoring the electrical supply as specified, test the horn and check for vibration
Common Mistakes
- Overtightening fasteners and crushing the rubber
- Installing the parts in the wrong position
- Leaving electrical connections unchecked
- Installing onto a corroded surface
- Using unsuitable screws or nuts
Frequently Asked Questions
How Often Should a Horn Mounting Rubber Be Replaced?
Service life depends on the material, operating conditions and climate. Inspect it during routine checks and replace it if cracks, hardening or other deterioration are found, following the vehicle’s service guidance.
Can Only the Bracket Be Replaced If It Breaks?
The bracket and mounting rubber may be available separately, depending on the design. Inspect both and compare the cost and condition before deciding whether replacing them together is appropriate.
Does a Buzzing Horn Always Indicate a Mounting Problem?
Buzzing may come from a worn mounting rubber, but the horn itself may also be faulty. A professional inspection is needed to establish the cause.
Do All Vehicles Use the Same Mounting Parts?
No. Mounting designs vary between vehicle applications. Check the OEM or part reference and use the VIN with relevant application information to verify suitability.
Can Aftermarket Parts Affect Warranty Coverage?
If the vehicle is under warranty, review the applicable terms before choosing a replacement. For vehicles outside warranty, assess aftermarket parts against the same application and quality requirements rather than assuming suitability.
Will a Horn Work Without Its Mounting Rubber?
It may still sound, but omitting a rubber isolator required by the design can increase vibration, mechanical stress and the risk of loose connections. Retain the mounting arrangement specified for the application.
Why Does a Reliable Supplier Matter?
The automotive aftermarket offers many choices. Poor-quality or counterfeit parts can introduce safety risks and lead to early repeat failures.
When assessing a supplier, consider:
- Product range and confirmed availability
- Support for checking application suitability
- Customer references and verifiable feedback
- Return and replacement terms
- Technical support
- The ability to compare original and aftermarket options
European and Balkan trade buyers preparing a G25Auto B2B enquiry can provide the vehicle details and part references, then request relevant product information. Compare any proposed original or aftermarket options against the application requirements before ordering.
Maintenance and Service Life
The following maintenance measures can help protect horn mounting parts:
- Visually inspect the mounting area during routine servicing and whenever symptoms appear
- Avoid directing high-pressure water at the horn when cleaning the engine bay
- Use a suitable protective treatment at mounting points where specified to help limit corrosion
- Avoid unnecessarily prolonged horn operation, which can contribute to overheating
- Arrange an inspection promptly if vibration increases
- Limit excessive heat or cold exposure to rubber components where practical
Conclusion
Horn mounting rubbers and brackets are small but important parts of the vehicle’s warning system. Correct selection, installation and maintenance help support reliable operation. Recognising deterioration early can reduce the risk of further damage and repeat repair costs.
Cross-check the OEM or part reference, VIN and application details to reduce selection errors. Choose between original and aftermarket parts according to documented suitability, quality requirements and budget, using a reliable source.
Follow the manufacturer’s installation instructions and seek professional assistance where needed. Routine inspections and appropriate maintenance help keep the horn mounting system in serviceable condition.
The horn provides a means of warning other road users about hazards. Giving its mounting parts appropriate attention supports that safety function.