
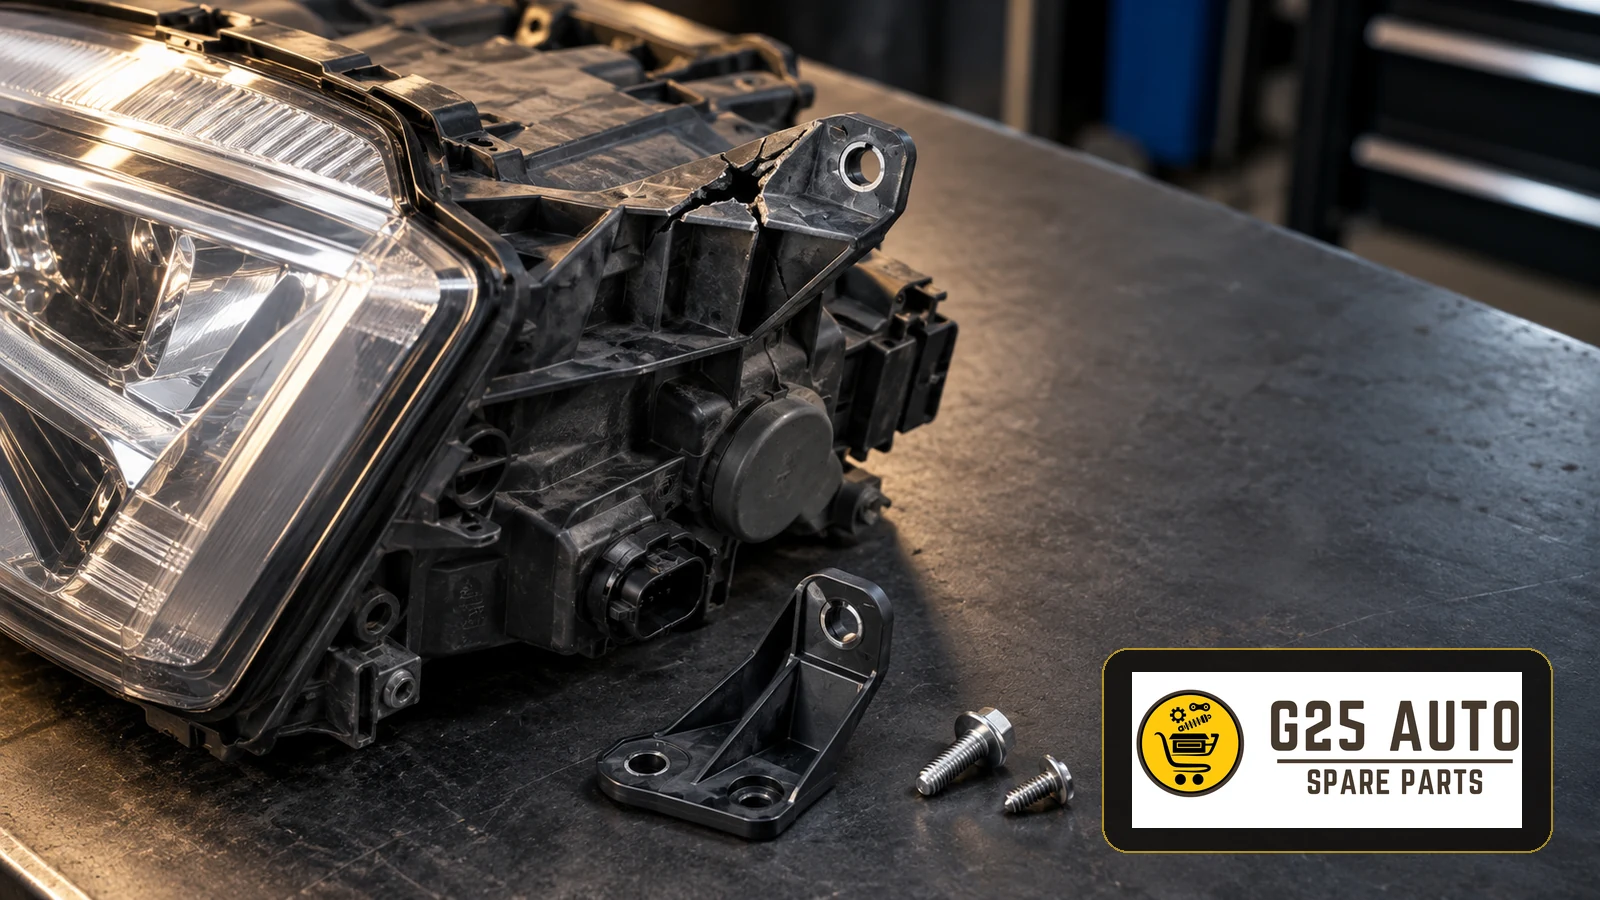
Headlamp mounting tabs and repair brackets secure the lamp to the body or supporting structure. Damage can let the lamp vibrate, lose its position or become insecure. Typical signs include a shaking lamp, an uneven beam and visible cracks. Inspect the brackets and mounting points to establish the cause, removing the lamp where necessary.
What Is the Headlamp Mounting System?
The assembly can include supports, brackets and adjustment mechanisms. Plastic or metal mounting tabs hold the lamp in position. Repair brackets provide a repair route for damaged attachment points where suitable for the particular lamp and damage.
Components may include:
- Lower and upper mounting tabs
- Adjustment screws and nuts
- Brackets and support plates
- Vibration-isolating rubber seals or mounts
- Clips and quick-release fasteners
Symptoms of Mounting Tab Damage
Signs can develop gradually. Early inspection may prevent further damage.
Visible Signs
- Poor fit against the body
- Different left and right lamp positions
- Cracks around the lamp frame
- Unusual gaps between lamp and bodywork
- Visible sagging of the assembly
Functional Signs
- Vibration while driving
- Slight movement when cornering
- Repeated loss of beam adjustment
- Squeaking over bumps
- An uneven beam
These signs alone do not confirm a faulty tab; professional inspection is needed.
How Is the Fault Diagnosed?
A systematic check helps distinguish mounting damage from other faults.
Visual Inspection Steps
- Remove the lamp as required by the applicable procedure.
- Inspect every tab closely, using magnification if helpful.
- Look for cracks, fractures and distortion.
- Check bracket attachment points.
- Inspect mounting holes in the bodywork.
- Check screw seats for crushing or enlargement.
Functional Check
Check for abnormal play before refitting. Expected rigidity depends on the design; looseness can indicate damage. Inspect brackets for fatigue without bending them as a test.
OEM References and Fitment Checks
Mounting parts can vary by model, production date and equipment. Incorrect identification causes delays and additional work.
Identifying the Correct Part
VIN: Use the vehicle identification number with the relevant catalogue and supplier checks; it is not a stand-alone fitment guarantee.
OEM reference: A legible moulded or labelled reference helps identify the part. Check its application against the actual lamp and required mounting position.
Production date: Facelifts and production changes can alter mountings. Verify the build date rather than relying solely on registration year.
Engine version: Check relevant vehicle variants where front-end construction differs.
Original and Aftermarket Parts Compared
Both routes have advantages and limitations. Compare documented details for the particular product.
| Factor | Original part | Aftermarket part |
|---|---|---|
| Fitment | Verify the specified vehicle application | Verify the specified vehicle application |
| Material quality | Check the applicable specification | Assess the manufacturer’s material information |
| Supply time | Confirm with the supplier | Confirm with the supplier |
| Warranty | Check applicable terms | Check applicable terms |
| Design options | Check the listed repair design | Assess any alternative design for suitability |
Evaluate manufacturer credibility, relevant documentation and product references. Price alone cannot establish durability or equivalent performance. For European and Balkan B2B purchasing, compare repair requirements, cost and confirmed supply conditions.
Installation and Replacement
Use the appropriate tools and procedure. Incorrect installation can affect beam alignment and driving safety.
Pre-installation Checklist
- Verify the replacement’s specified application and mounting geometry.
- Prepare the required screws, nuts and clips.
- Provide adequate working light.
- Record wiring connections before disconnecting them.
- Check body mounting points for damage.
- Read the bracket or tab installation instructions.
Adjustment After Installation
Check and adjust beam aim using the vehicle manufacturer’s procedure and specified equipment or setup. Confirm the required height and direction for both lamps.
Preventive Maintenance and Service Life
Useful checks and precautions include:
- Check mounting fasteners during routine inspections.
- Avoid directing high-pressure wash water at mountings.
- Avoid unnecessary exposure of plastic and rubber to extreme temperatures.
- Inspect attachment points when replacing a lamp.
- Have mountings checked after even a minor impact.
- Investigate new vibration promptly.
Common Damage Scenarios
Collision or Impact Damage
Impacts can break plastic tabs or deform brackets. Inspect attachment integrity as well as visible lamp damage.
Road Conditions and Fatigue
Repeated vibration and shocks can contribute to fatigue. Ageing plastic may become brittle.
Incorrect Installation
Overtightening can crack plastic housings. Mispositioned lamps can place abnormal loads on brackets.
Choosing Aftermarket Mounting Parts
Assess product evidence and physical finish before ordering.
Quality Indicators
- Verify any claimed manufacturer certification and its scope.
- Check product approval documentation where applicable.
- Look for clear material information.
- Inspect moulding quality and workmanship.
- Check the finish of screw holes and attachment points.
Supplier Reliability
Review return conditions, customer service and technical support alongside product details.
Frequently Asked Questions
Can the Lamp Fall Out If One Tab Breaks?
Other mountings may retain it, but vibration, poor aim and extra loads can develop. Have the damage assessed promptly.
Is an Aftermarket Bracket Equally Durable?
Durability depends on material, design and manufacturing quality. Verify evidence for the actual product rather than assuming equivalence.
How Long Does the Repair Take?
Access, bracket complexity and any bodywork damage determine the work required; confirm timing after inspection.
Is Replacing One Side Enough?
Inspect both sides. Replacement scope depends on damage, ageing and the applicable repair instructions.
Is a Repair Bracket a Permanent Solution?
A suitable bracket may provide a lasting repair when permitted by the lamp’s repair procedure and the surrounding structure is sound.
Conclusion
Investigate vibration, uneven beams and displaced lamps. Inspect mountings thoroughly and confirm references, VIN, build date and relevant variants before ordering. Choose documented parts suited to the repair, install them correctly and verify beam aim. Qualified workshop assessment supports diagnosis and repair.