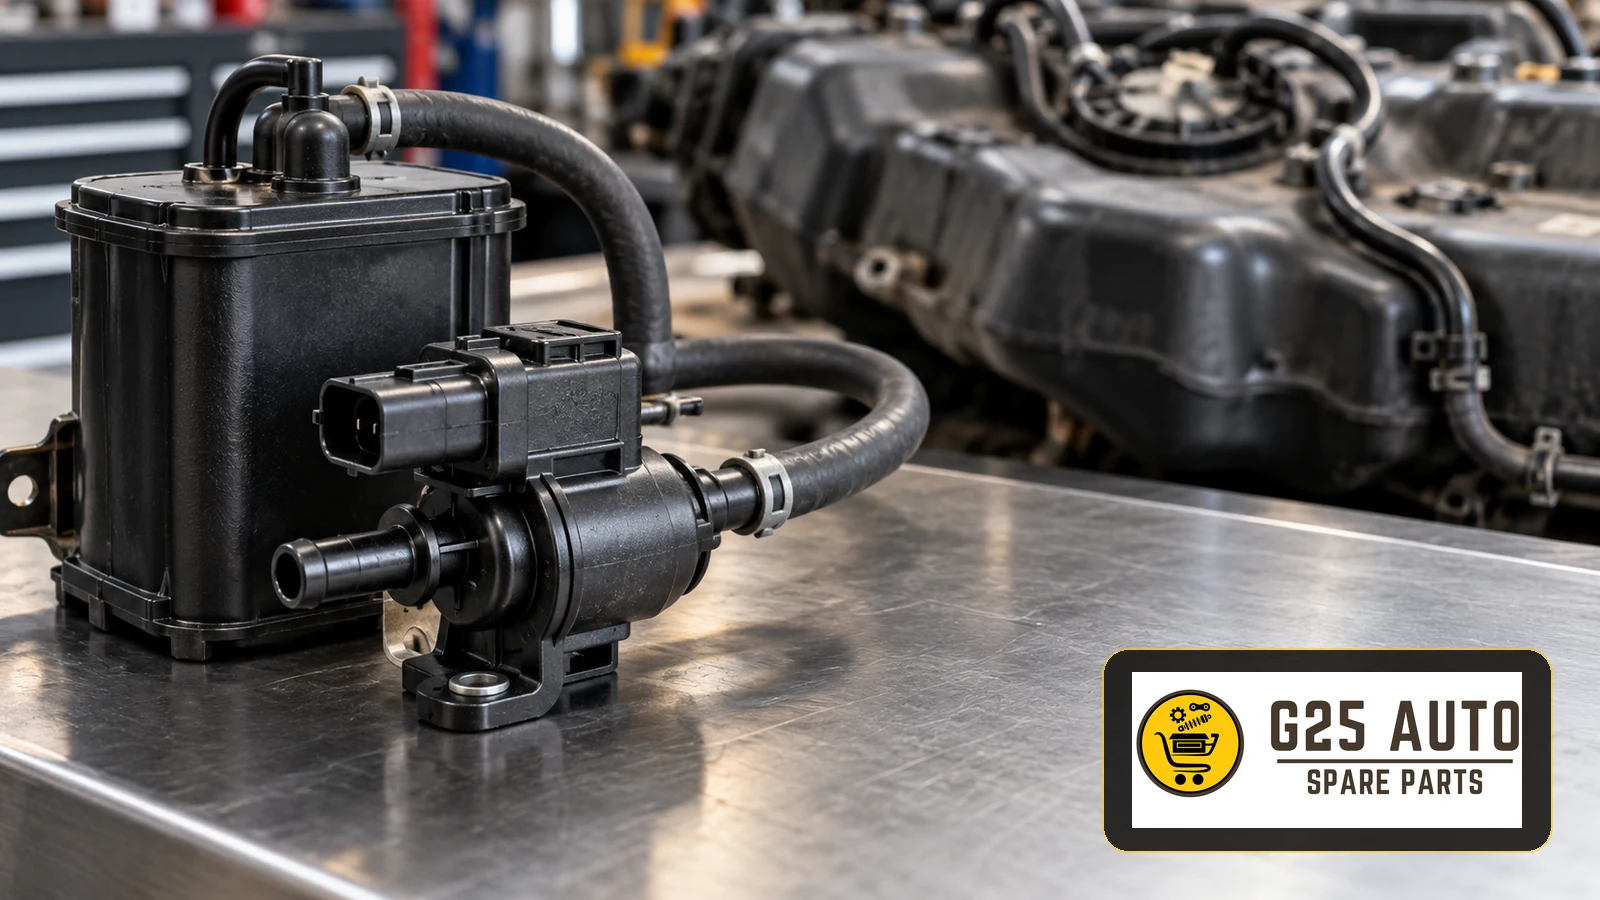
The EVAP fuel-tank ventilation system controls fuel vapour emissions. Valve faults may trigger the engine warning light and affect running or fuel consumption.
What Is EVAP and How Does It Work?
EVAP traps fuel vapours in an activated-charcoal canister for combustion under suitable conditions.
Valve functions differ: the ECU-controlled purge valve meters vapour towards the intake, while the ventilation valve controls the vent path. Identify which component the vehicle uses.
EVAP Valve Functions
- Emissions: Help contain fuel vapours.
- Fuel recovery: Allow collected vapour to be burned.
- Pressure: Support controlled tank ventilation.
- Diagnosis: Participate in system leak monitoring, depending on design.
Possible EVAP Valve Fault Symptoms
These symptoms can have other causes; none confirms valve failure alone.
Common Symptoms
- Engine warning light: Persistent or intermittent illumination.
- Tank-cap pressure: Unusual pressure or air movement when opening.
- Fuel smell: Vapour odour around or inside the vehicle.
- Uneven idle: Rough running or vibration.
- Fuel consumption: An unexplained increase.
- Emissions testing: Possible test-related issues.
- Performance: Hesitation or reduced response.
Fault Codes
Common OBD-II EVAP codes include:
- P0440 — EVAP system malfunction.
- P0441 — Incorrect purge flow.
- P0442 — Small system leak.
- P0443 — Purge control valve circuit malfunction.
- P0446 — Vent control circuit malfunction.
- P0455 — Large system leak.
- P0456 — Very small system leak.
How Is the Fault Diagnosed?
Professional equipment and vehicle-specific information help distinguish similar faults.
Professional Diagnostic Steps
- Read codes: Retrieve stored faults.
- Freeze-frame data: Review conditions when recorded.
- Visual inspection: Check valves, hoses and connections.
- Electrical tests: Test wiring and coil against service specifications.
- Smoke test: Locate leaks using an approved EVAP procedure.
- Vacuum test: Assess sealing where specified.
- Canister: Check for saturation or damage.
Note: Several components produce similar symptoms; arrange qualified diagnosis before replacement.
Original and Aftermarket EVAP Valves Compared
| Factor | Original part | Aftermarket part |
|---|---|---|
| Compatibility | Verify the exact application | Verify references and application |
| Cost | Check current quotation | Compare equivalent specifications |
| Quality | Check manufacturer specifications | Check documented product specifications |
| Warranty | Confirm applicable terms | Confirm manufacturer and supplier terms |
| Availability | Confirm with supplier | Confirm with supplier |
| Package contents | Check included fittings | Check included fittings |
Checklist for Selecting an EVAP Valve
Incorrect selection can leave the fault unresolved. Check:
Part Selection Checklist
- Original reference: Record existing valve markings.
- VIN: Provide the vehicle identification number.
- Engine code: Verify vehicle records and identification.
- Production date: Confirm build information.
- Model year: Establish the correct application.
- Equipment: Check relevant specification differences.
- Photographs: Show connectors, ports and mountings.
- Supplier: Review traceability and reliability.
- Returns and warranty: Confirm support conditions.
Why Is Detailed Information Necessary?
Valve designs can vary with engine, equipment and production revisions, even within one model range.
Make and model alone may be insufficient. Sharing these details helps the supplier assess compatibility.
Original or Aftermarket?
Consider the vehicle and documented product specification.
When Should an Original Part Be Considered?
- When assessing applicable vehicle warranty terms.
- For specialist or uncommon applications.
- When evaluating long-term service requirements.
- When resolving related emissions-system faults.
When Might an Aftermarket Part Be Suitable?
- For older vehicles outside warranty.
- When comparing repair budgets.
- When supplied through a reliable source.
- When reference and application checks agree.
- When supported by identifiable manufacturer specifications.
Neither category guarantees suitability. Verify the exact part before ordering.
EVAP Valve Replacement and Installation
Access varies: relevant components may be near the tank, underneath the vehicle or in the engine compartment.
General Replacement Sequence
- Switch off; follow specified electrical-isolation and fuel-vapour precautions.
- Locate the correct valve using service information.
- Release the electrical connector carefully.
- Identify and disconnect vapour hoses.
- Remove mounting fasteners.
- Compare replacement and removed components.
- Install in the specified position.
- Reconnect hoses to their correct ports.
- Reconnect the electrical connector.
- Restore electrical supply and handle codes as specified.
- Perform prescribed checks and any required drive cycle.
Warning: Use qualified personnel. Incorrect installation can cause system damage or fire hazards.
EVAP Maintenance and Prevention
Relevant checks include:
- Tank cap: Secure correctly; inspect damaged seals.
- Fuel: Use the vehicle’s specified grade.
- Overfilling: Stop at the pump’s automatic cut-off.
- Servicing: Follow vehicle-specific inspection guidance.
- Hoses: Inspect accessible vapour lines visually.
- Warning codes: Arrange diagnosis promptly.
Frequently Asked Questions
Can a Fault Prevent Driving?
Effects vary. Warning lights, odours or running problems need assessment before continued use.
How Long Does a Valve Last?
Conditions, fuel and maintenance affect service life; there is no universal replacement mileage.
Can the Valve Be Cleaned?
Only where permitted by service information. Cleaning cannot repair a failed coil or damaged electronics.
Can Replacing the Tank Cap Resolve an EVAP Fault?
It may resolve a confirmed cap-seal leak. Inspect the cap before assuming valve failure.
What if the Warning Light Remains After Replacement?
Follow the specified diagnostic and drive-cycle procedure. Persistent faults require reassessment of selection and other components.
Does an Aftermarket Valve Affect Warranty?
Check the applicable warranty terms before selecting a replacement.
Does Every Vehicle Have EVAP?
Equipment varies with fuel type, vehicle and market. Check the specific system.
Why a Reliable Parts Source Matters
Incorrect or unsuitable emissions components can leave faults unresolved and affect related systems.
For European and Balkan B2B sourcing through G25Auto, provide the VIN, engine code, production details and existing reference for application checks.
Conclusion
EVAP valves support vapour control. Prompt diagnosis helps distinguish valve faults from hose, cap or canister problems.
Compare original and aftermarket options against application, budget and service requirements.
Use references and vehicle identification together; make and model alone can lead to incorrect selection.
Symptoms are guidance, not a diagnosis. Professional testing should determine the repair.
Appropriate maintenance, fuel selection and tank-cap care support system condition.