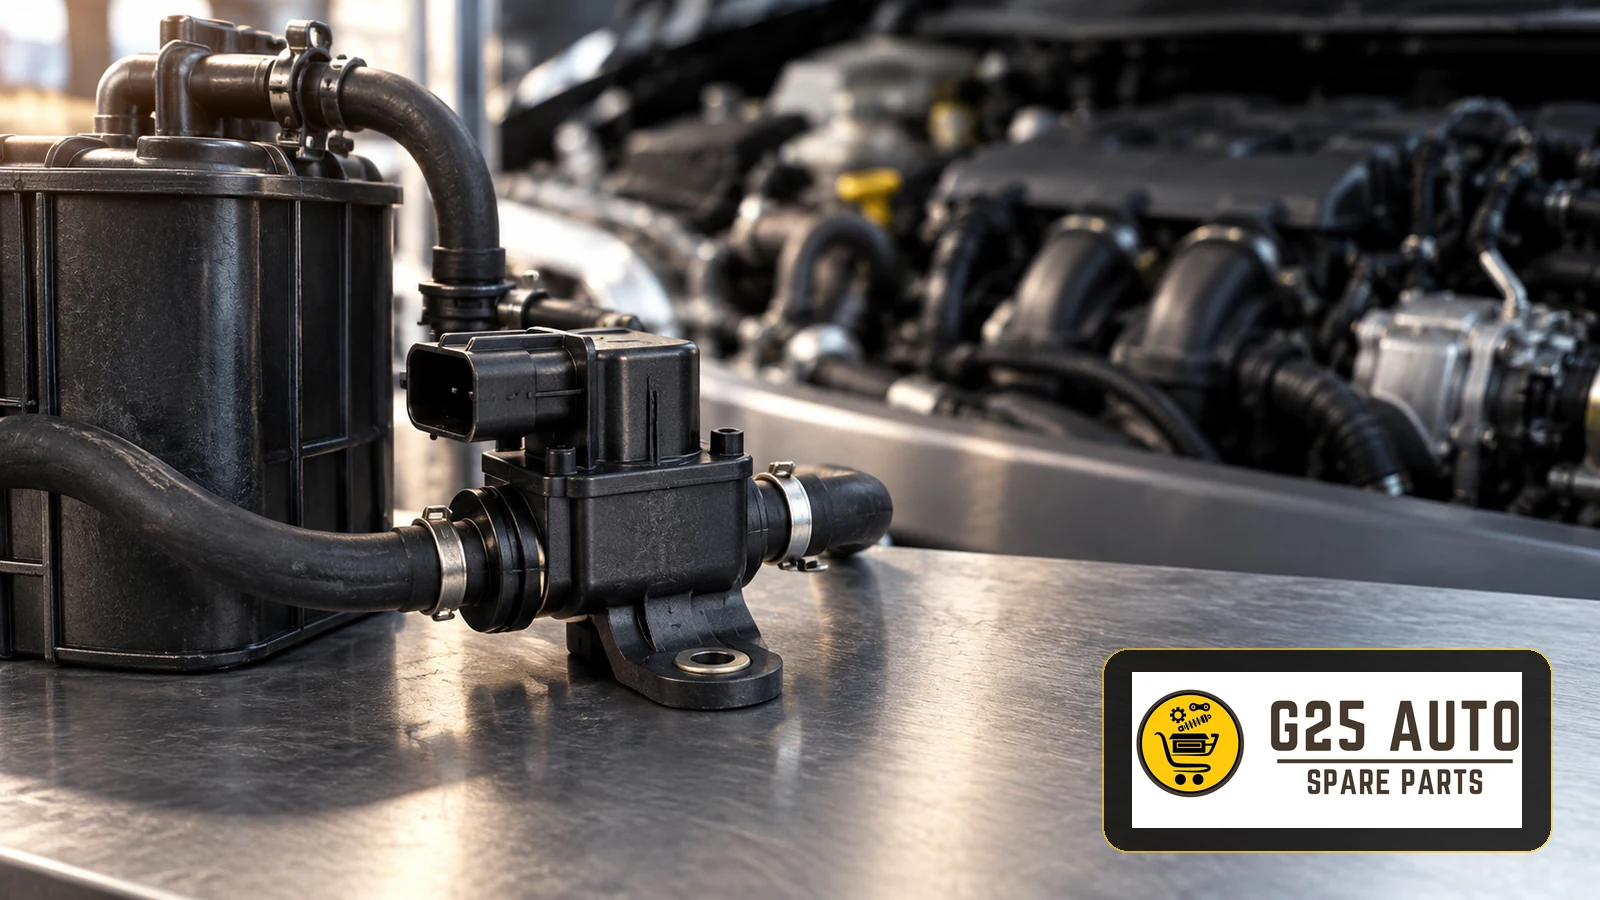
The EVAP canister purge valve controls fuel vapour transfer to the engine intake manifold. Faults may cause a check engine warning, irregular idle or increased fuel consumption. This guide covers operation, symptoms, diagnosis and replacement selection.
What Do the EVAP System and Purge Valve Do?
The evaporative emission control system limits fuel vapour escaping into the atmosphere. Vapour from the tank is stored in a charcoal canister and subsequently directed into the engine for combustion.
The engine control unit (ECU) commands the electromagnetic purge valve, regulating when vapour enters the engine and its flow. Activation depends on operating conditions.
How the EVAP Purge Valve Works
The ECU can control the valve using pulse width modulation (PWM), varying its duty cycle to regulate flow. Purge operation varies with temperature, load and the vehicle’s control strategy; cold running, idle and full-load behaviour should not be assumed identical across applications.
An energised coil moves the internal mechanism to control flow. Metering vapour helps the engine management system maintain the required air/fuel mixture.
EVAP Purge Valve Fault Symptoms
Symptoms vary depending on whether the valve sticks open, remains closed or operates intermittently.
Common Symptoms
- Check engine warning: The ECU may detect an EVAP malfunction.
- Irregular idle: A valve stuck open may contribute to vibration, rough running or a tendency to stall at idle.
- Difficult starting: Excessive vapour flow may affect starting.
- Abnormal emissions: Hydrocarbon readings may be affected.
- Fuel smell: Odour, including while parked, may indicate an EVAP fault, requiring diagnosis rather than automatic valve replacement.
- Increased consumption: Fuel economy may deteriorate.
- Tank pressure problems: Unusual pressure or tank distortion requires wider system investigation.
Fault Codes
Source examples include the following EVAP codes; none alone proves purge valve failure.
- P0441: Incorrect purge flow
- P0443: Purge control valve circuit malfunction
- P0444: Purge control valve circuit open
- P0445: Purge control valve circuit shorted
- P0446: Vent control circuit malfunction
- P0455: Large system leak
- P0456: Small system leak
Diagnosing an EVAP Purge Valve Fault
Use professional diagnosis rather than replacing the valve on symptoms alone.
Professional Diagnostic Steps
- OBD-II scan: Read stored codes with suitable diagnostic equipment.
- Live data: Examine available valve commands, operating readings and duty cycle to assess the response under relevant conditions.
- Electrical measurements: Use a multimeter to check supply, applicable ground or control circuits and coil resistance against vehicle service data.
- Vacuum testing: Check valve operation using suitable equipment and the specified procedure.
- Smoke testing: Use EVAP-compatible equipment and the prescribed test conditions.
- Hoses and connections: Inspect for cracks, damage and loose joints.
- Canister inspection: The charcoal canister itself may be restricted or saturated, so include it in the investigation.
Note: Qualified technicians with appropriate equipment should perform these checks. Misdiagnosis can cause unnecessary replacement costs.
Original and Aftermarket Purge Valves Compared
| Factor | Original part | Aftermarket part |
|---|---|---|
| Price | Check quotation | Compare quotation |
| Quality assurance | Check documentation | Check manufacturer evidence |
| Compatibility | Verify application | Verify cross-reference and application |
| Warranty | Confirm terms | Confirm supplier terms |
| Availability | Confirm supply | Confirm supply |
| Reliability | Assess product specification | Assess product specification |
| Installation | Check connections and mounting | Check connections and mounting |
Replacement Part Selection
Incorrect selection can cause installation problems, repeat faults and additional costs.
Part Selection Checklist
- OEM/part reference: Record the existing reference and verify the replacement application.
- VIN: Provide vehicle identification to support catalogue checking. Even vehicles of the same model and year can use different equipment.
- Engine code: Different engines may require different valves.
- Production date: Manufacturers may revise parts during production; check which revision applies to the vehicle.
- Electrical connector: Compare connector design and pin count.
- Mounting points: Compare flanges, hose connection diameters and mounting brackets with the specified replacement arrangement.
- Brand reliability: Assess the manufacturer’s documented quality.
- After-sales support: Confirm return, exchange and technical support terms.
Aftermarket or Original?
Both options require a product-specific assessment.
When to Consider an Original Part
Original parts follow the vehicle manufacturer’s supply route. Consider vehicle warranty requirements and verify the exact application. Do not turn the original designation into a blanket guarantee of fit, service life or installation ease.
Check quotations and availability for the particular model. For older vehicles, confirm whether the required reference remains available before planning the repair.
Can an Aftermarket Part Be Reliable?
Aftermarket quality varies. Established brands may be considered, but assess manufacturer documentation rather than assuming equivalent standards or a shared original-equipment production source.
Compare costs against specification and intended use. Vehicle age and budget can influence the choice, while technical suitability remains essential.
Practical recommendation: Consider vehicle age, warranty, budget and component requirements. Use a reliable supplier and verify the reference.
Purge Valve Replacement and Installation
The valve may be located in the engine compartment near the intake manifold or engine cover. Location and access vary; some installations require removing surrounding components. Follow the procedure for the specific vehicle.
Installation Checks
- Follow the vehicle’s ignition and isolation procedure.
- Release electrical connectors without damaging locks.
- Mark hose connections to avoid confusion.
- Photograph the original valve position.
- Inspect hoses and replace damaged ones.
- Renew clamps where required.
- Ensure the electrical connector locks securely.
- Check hose connections for leaks afterwards.
After Installation
Follow applicable adaptation instructions, clear codes after repair and verify operation through the specified checks or road test. Monitoring or relearning requirements, including any necessary driving cycles, depend on the vehicle.
EVAP System Maintenance
Useful checks include:
- Close the fuel cap as specified for its design.
- Use fuel meeting vehicle requirements.
- Inspect the cap seal.
- Visually inspect accessible engine-bay hoses.
- Include EVAP checks during relevant servicing.
- Investigate check engine warnings promptly.
Frequently Asked Questions
Does a failed purge valve immobilise the vehicle?
Effects vary. Rough running, consumption or emissions problems need assessment before continued use.
How often should it be replaced?
Replacement follows diagnosis and applicable service guidance; no universal interval applies.
Can it be cleaned?
Cleaning cannot repair coil failure. Follow component guidance; confirmed faulty valves generally require replacement.
Can a vehicle pass inspection with an EVAP code?
Requirements vary by jurisdiction. Diagnose the fault and check applicable inspection rules.
Can another brand be used?
Verify the replacement specification and application using the reference, VIN, engine code and production date.
Reliable Replacement Part Sourcing
For European and Balkan automotive businesses, reliable sourcing combines accurate identification, documented quality and agreed after-sales support.
Conclusion
The purge valve supports evaporative emissions control. Investigate symptoms professionally and use vehicle-specific identification when selecting a replacement.
Assess original and aftermarket options individually and source through reliable suppliers.
Regular inspection and prompt fault diagnosis support system operation.
Every application differs: share the vehicle details and confirm compatibility before ordering.