
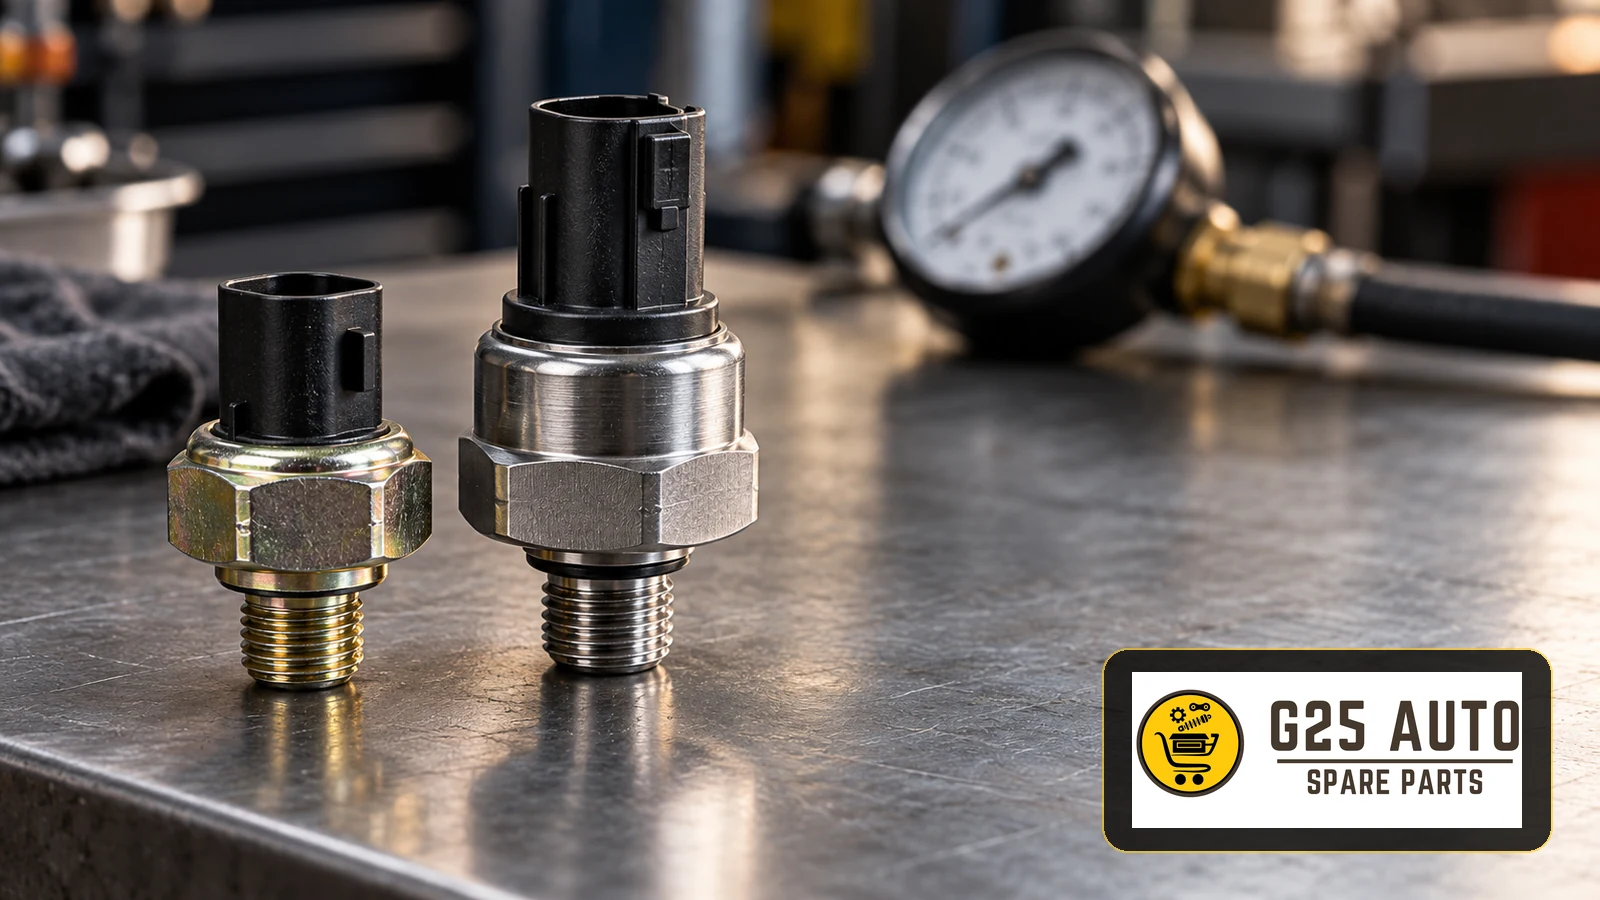
An engine oil pressure sensor monitors pressure in the lubrication system and provides a signal to the vehicle’s warning or control system. A faulty sensor can trigger the oil warning lamp, but the same warning can indicate a genuine pressure problem and a risk of engine damage. This guide explains the sensor’s function, common symptoms, diagnostic checks and the information needed to select a replacement.
What Is an Engine Oil Pressure Sensor and How Does It Work?
The sensor is connected to an engine oil passage, with its location depending on engine design. It converts oil pressure into an electrical signal used by the vehicle’s monitoring system.
Two common arrangements are:
- Pressure switches: indicate whether pressure has crossed a specified switching threshold and operate a warning circuit.
- Pressure senders or analogue sensors: provide a variable pressure signal for a gauge or control system.
The internal sensing mechanism and the route from the sensor to the instrument panel depend on the application. Do not assume every sensor uses the same electrical principle or is connected through the ECU in the same way.
Symptoms of an Oil Pressure Sensor Fault
Problems in the sensor circuit can produce noticeable warning or display behaviour. Distinguishing these from genuinely low oil pressure is essential.
Common Symptoms
- An oil warning lamp that stays on or illuminates intermittently.
- Erratic or implausible oil pressure gauge readings.
- A display that reads zero with the engine running or changes unexpectedly when it stops.
- A warning at idle that disappears at higher engine speed.
- Stored fault codes relating to the oil pressure sensor circuit.
- A gauge stuck at its maximum or minimum reading.
- A warning that appears briefly during cornering or on a slope.
An Important Distinction
An illuminated oil warning lamp does not prove that the sensor is faulty. Actual low oil pressure is a serious engine concern. Check the system before deciding to replace the sensor.
Distinguishing a Sensor Fault from Actual Low Oil Pressure
This distinction helps avoid unnecessary replacement and reduces the risk of overlooking an engine lubrication problem.
Inspection Checklist
Checks Before Diagnosis
- Check the engine oil level using the vehicle’s specified method.
- Check when the oil was last changed.
- Inspect the oil’s condition; contamination or sludge merits investigation, while colour alone does not establish a fault.
- Look for oil leaks beneath the engine.
- Report any abnormal engine noises; do not keep an engine running with an unresolved oil pressure warning.
- Inspect the sensor wiring for damage or loose connections.
- Look for oil leakage at the sensor and its connector.
- Have a workshop check actual pressure with a suitable mechanical gauge.
Professional Diagnostic Methods
A workshop can use the following checks as appropriate to the engine and sensor design:
- Diagnostic scan: read relevant fault codes and analyse available recorded data.
- Mechanical pressure test: measure actual pressure using a suitable gauge and the prescribed connection point.
- Check the sensor’s electrical output using the applicable test procedure; resistance testing is not suitable for every sensor.
- Test wiring and connections with appropriate electrical equipment.
- Compare pressure readings at the operating conditions specified for the engine, once it is safe to run.
Original and Aftermarket Oil Pressure Sensors Compared
Replacement options include vehicle manufacturer parts and aftermarket parts. Assess the individual part and its documented application rather than relying on the category alone.
| Feature | Original Part | Aftermarket Part |
|---|---|---|
| Compatibility | Check the correct reference for the vehicle and engine. | Verify the manufacturer’s application listing and cross-reference. |
| Quality standards | Assess the specification for the listed part. | Specification and evidence vary between manufacturers and products. |
| Warranty | Check the applicable supplier terms. | Check the applicable manufacturer and supplier terms. |
| Availability | Confirm current availability for the exact reference. | Confirm current availability for the exact reference. |
| Cost | Compare a current quotation. | Compare a current quotation for a verified suitable part. |
| Choice | Check current references and any documented replacements. | Several options may be listed; each needs application verification. |
Which Option Should You Choose?
Consider the following when selecting a part:
- New vehicles or vehicles under warranty: check the relevant warranty and repair requirements.
- Vehicles intended for long-term use: compare documented suitability, product quality and support.
- Older vehicles: assess a verified aftermarket option alongside available original parts.
- Budget priorities: compare suitable products from traceable suppliers without treating price as proof of quality.
Essential Information for Correct Part Selection
Ordering solely by vehicle make and model is a common mistake. Different engines or production versions of the same model may use different sensors.
Details to Check Before Ordering
Verification Checklist
- Vehicle identification number: use the VIN to check the applicable vehicle catalogue.
- Engine code: different engine versions may require different sensors.
- Production date: a part change may occur within a model year.
- Original part reference: record the number on the existing sensor and verify it against the catalogue.
- Engine capacity and type: account for petrol or diesel versions and engine variants.
- Equipment specification: check whether the listed configuration affects sensor selection.
Why the Original Part Reference Matters
The existing part reference, checked against current catalogue information, helps identify the correct sensor. The corresponding product data should establish:
- The applicable technical specification.
- The electrical connection type.
- The pressure range or switching characteristics.
- The thread type and dimensions.
Give the supplier the vehicle details and verified reference so that proposed replacements can be checked against the correct application.
Replacing an Oil Pressure Sensor: Points to Consider
Replacement complexity depends on access and engine design. Incorrect installation can cause leakage or damage, so follow the applicable repair procedure.
Preparation Before Replacement
- Allow the engine to cool to reduce burn risk.
- Identify the sensor’s location before starting.
- Prepare the correct tool for the sensor.
- Have the replacement and any specified sealing components ready.
- Have clean cloths and suitable cleaning materials available.
Important Installation Points
- Be prepared to contain oil released when the sensor is removed.
- Clean the mounting area without allowing contamination into the oil passage.
- Remove the old sealing component where the design uses a replaceable seal.
- Start the sensor carefully by hand where applicable, then tighten according to the specified procedure.
- Avoid overtightening, which can damage the sensor or mounting thread.
- Seat and secure the electrical connector correctly.
- Check the oil level after installation.
Checks After Installation
- When safe to start the engine, check that the oil warning behaves correctly.
- Check for leakage around the sensor.
- Check for remaining instrument panel warnings.
- If a pressure gauge is fitted, compare its reading with the applicable operating values.
- Only carry out a road test after pressure and leak checks establish that operation is safe.
- Record relevant fault codes, clear them as prescribed after repair, and check whether they return.
Reducing Oil Pressure Sensor Problems
Regular maintenance and care support the lubrication system and help identify problems:
- Oil servicing: follow the manufacturer’s oil change schedule.
- Correct oil: use the viscosity and specification prescribed for the engine.
- Oil level: check it regularly using the specified method.
- Engine cleaning: protect the sensor area and electrical connections from water ingress.
- Electrical connections: inspect for damaged wiring or loose connections.
- Cold operation: follow the vehicle’s cold-start guidance and avoid excessive engine speed before normal operating conditions.
Frequently Asked Questions
Can an oil pressure sensor fault damage my engine?
An electrical sensor fault can hide or imitate a real pressure problem. A leaking sensor can also lose oil. Establish actual oil pressure rather than assuming the warning is only electrical.
Can I keep driving if the oil warning lamp flickers?
No. It may indicate either a sensor circuit fault or actual low pressure. Stop safely, follow the vehicle’s warning instructions and obtain professional diagnosis.
Is it normal for the warning to remain after replacement?
Do not assume that it only needs a reset. Check the repair, actual pressure and circuit. Some recorded faults may require clearing with diagnostic equipment after the cause is resolved.
Which aftermarket sensor brand is reliable?
Assess the exact application, documented specification, traceable supplier and warranty terms. This guide does not recommend a particular brand or treat a brand name as proof of compatibility.
Can I replace the sensor myself?
Access can be difficult and incorrect installation can cause engine damage. The work requires the appropriate procedure, tools and competence. Seek professional help if unsure.
How long does an oil pressure sensor last?
Service life varies with the component, operating conditions and maintenance. There is no universal replacement interval established here; investigate symptoms rather than assuming a fixed lifespan.
Conclusion
The engine oil pressure sensor is an important monitoring component. Treat an oil pressure warning seriously and investigate systematically to distinguish an electrical fault from a lubrication problem.
When replacement is needed, compare original and aftermarket options using documented application information. Verify the VIN, engine code and current part reference rather than assuming that a visually similar sensor will fit.
Compare suitable sensor options through a traceable supplier. Correct installation matters as much as part selection; use professional assistance where the diagnosis or repair is uncertain.
Regular servicing, the correct oil and attention to warning signals support engine care. Address small problems before they develop into more serious faults.