
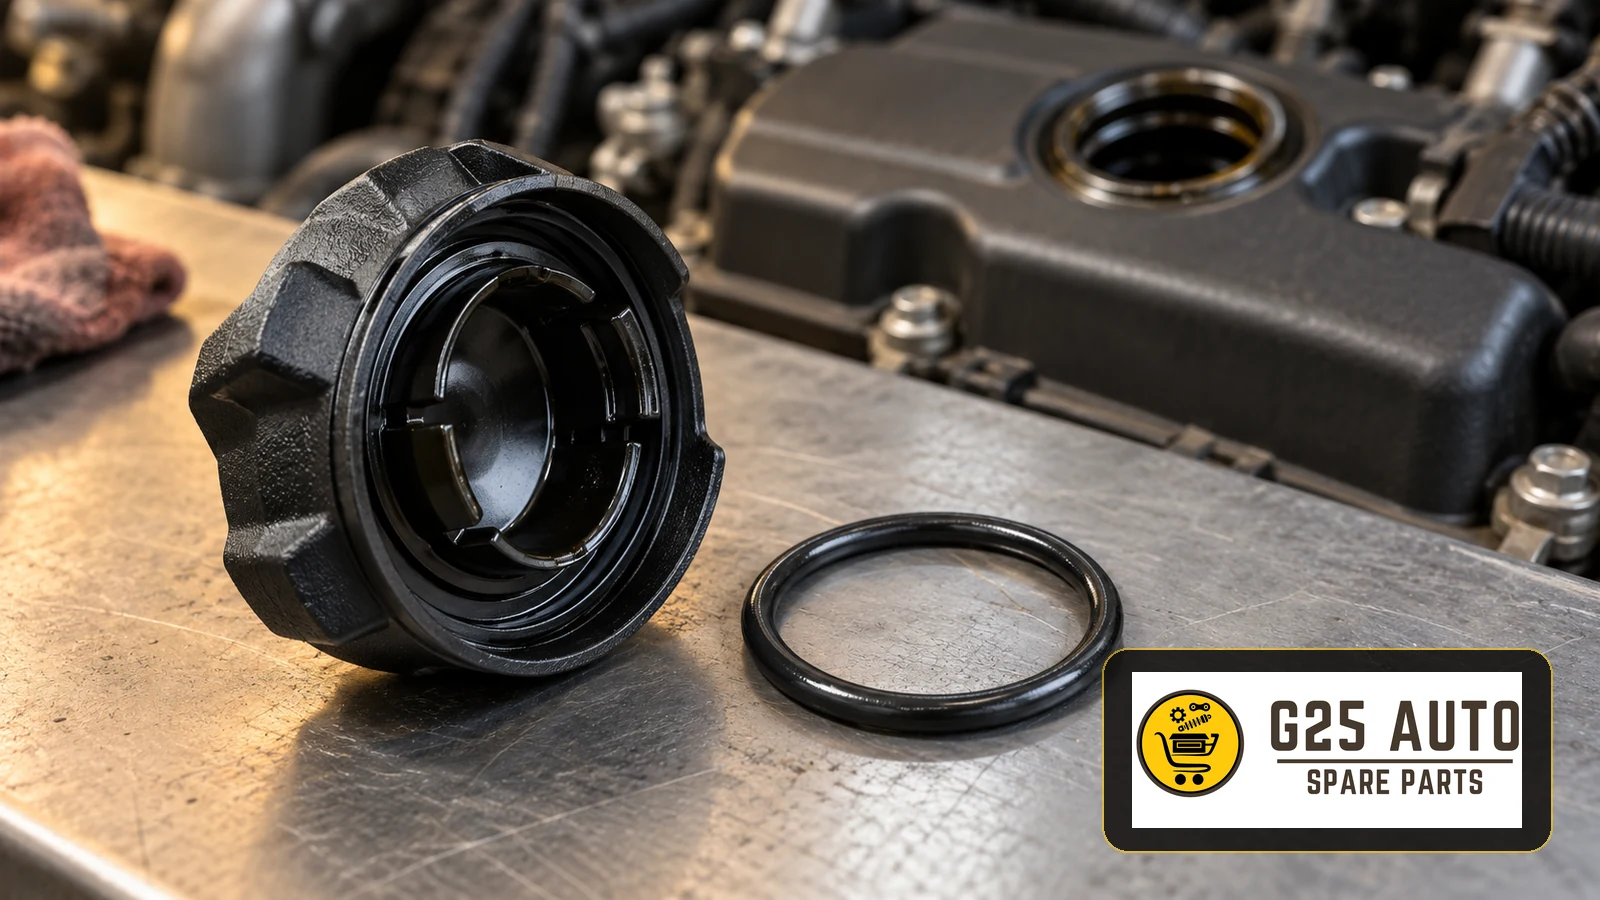
The engine oil filler cap and its sealing gasket help retain engine oil and prevent foreign matter from entering the engine. A faulty cap or gasket can allow oil leakage and the ingress of dust and dirt, potentially causing engine damage. This article examines their functions, fault symptoms and the process of selecting the correct replacement.
What Is an Engine Oil Filler Cap and How Does It Work?
The engine oil filler cap closes the opening through which engine oil is added. Despite its simple appearance, it performs several important functions:
The cap prevents oil from splashing out of the engine. Its relationship with the crankcase ventilation system depends on the engine design; do not assume that every filler cap controls the discharge of crankcase gases.
The Importance of the Sealing Gasket
The sealing gasket beneath the oil filler cap is commonly made from rubber or silicone, depending on the application. It seals the joint between the cap and the filler opening to prevent oil leakage. It also helps keep dust, dirt and moisture out of the engine.
The gasket material must withstand engine temperatures and contact with engine oil. Over time, it may wear, harden or crack and require replacement.
Fault Symptoms: How Can You Recognise a Problem?
Several symptoms can indicate a problem with the oil filler cap or its gasket:
- Oil Traces Around the Cap: Oil deposits or signs of leakage may be visible on the engine, particularly around the cap.
- Dirt and Dust on the Engine: Oil escaping through a failed seal can attract dust and dirt, forming a dirty layer on the engine.
- A Falling Engine Oil Level: Regular checks may reveal that the oil level is falling faster than expected.
- Hissing While the Engine Runs: An air leak may produce a faint hissing sound near the cap.
- Engine Warning Light: On some vehicles, problems with the crankcase ventilation system can trigger a warning light.
- Physical Damage to the Cap: Cracks, breakage or deformation may be visible.
How Is a Definite Diagnosis Made?
These symptoms can point to a problem, but professional inspection is needed to establish the cause:
Visual Inspection: A detailed workshop inspection can assess the cap and gasket for cracks, deformation or hardening.
Pressure Testing: Where specified for the engine, checking crankcase ventilation pressure can help identify leakage that may not be visible.
Emissions Checks: In some cases, assessment of crankcase gases can help identify a ventilation-system problem.
Function Testing: If the cap incorporates a crankcase ventilation valve, its operation should be checked using the applicable procedure.
Choosing Original or Aftermarket Parts
When replacing an oil filler cap or gasket, vehicle owners often need to choose between an original part and an aftermarket alternative. Both options have points that need consideration.
Original (OEM) Parts
Original parts are supplied for the vehicle manufacturer’s specified applications. Check the following for the exact part:
- Compliance with the vehicle manufacturer’s requirements
- Confirmed compatibility with the particular vehicle
- The applicable warranty terms
- Compliance with the original installation specifications
Compare the actual price and availability rather than assuming that all original parts cost more or take longer to obtain.
Aftermarket Parts
Aftermarket parts are made by independent manufacturers as alternatives to original parts. When comparing suitable alternatives, consider:
- The actual price relative to the original option
- Availability from the chosen supplier
- Evidence of the relevant quality and application requirements
- The manufacturer’s range of suitable products
The manufacturer’s reliability and relevant product documentation matter when choosing an aftermarket part. Avoid products whose origin cannot be established.
Points to Check When Selecting a Part
| Criterion | Description | Why It Matters |
|---|---|---|
| OEM/Part Number | The manufacturer’s original part number | Helps verify the correct application and avoid ordering the wrong part |
| Vehicle Identification Number | The vehicle’s VIN | The same model can differ between production years |
| Engine Code | The code identifying the engine type | Different engines in the same model may use different caps |
| Production Date | The vehicle’s production year and month | Accounts for changes introduced during production |
| Material Quality | The properties of the gasket and cap materials | Relevant to durability and service life |
| Certificates | Documentation such as ISO or TÜV certificates, where relevant | Check its scope; a certificate alone does not establish fitment or sealing performance |
The Part Verification Process
A systematic approach helps identify the correct part:
1. Gather the Vehicle Information
Record the VIN, engine code and production date. Depending on the vehicle, this information may be available in its documents and identification labels.
2. Check the Existing Part
The cap being replaced may carry a part number. Record it. Checking the gasket’s shape and dimensions can also help with identification.
3. Obtain the OEM Number
Use an authorised service provider or parts catalogue to establish the original part number for the vehicle. This number also provides a reference when comparing aftermarket options.
4. Compare the Options
Compare original and aftermarket options. Review their product specifications, reported user experiences and manufacturer reliability.
Checklist: Before Buying a Part
- ☐ Has the VIN been verified?
- ☐ Has the engine code been checked?
- ☐ Has the production date been established?
- ☐ Has the OEM part number been obtained?
- ☐ Has the aftermarket part’s application been checked against the OEM number?
- ☐ Has the gasket material been assessed?
- ☐ Has the manufacturer’s reliability been checked?
- ☐ Are relevant certificates available, and is their scope clear?
- ☐ What are the warranty terms?
- ☐ Is the returns policy clear?
- ☐ Are special installation tools required?
- ☐ Are installation instructions available?
Replacement Process and Recommendations
Replacing an oil filler cap and gasket may be relatively straightforward, but correct installation matters:
Professional Installation
Although replacement may look simple, professional installation is advisable, particularly for designs incorporating a ventilation valve. Incorrect installation can cause system damage or oil leakage.
Gasket Replacement
Inspect the gasket when removing the cap and replace it if its condition or the manufacturer’s instructions require this. Do not assume that every cap removal requires a new gasket. Before fitting a replacement, clean the mating surface and remove residual oil or dirt as instructed.
Tightening
Secure the cap using the manufacturer’s specified procedure and any applicable torque requirement. Excessive tightening can crush or damage the gasket, while insufficient tightening can cause leakage.
Choosing a Reliable Supplier
Choose a reliable supplier when looking for a suitable oil filler cap and gasket. Review the product details for the particular vehicle application before selecting a part.
Frequently Asked Questions
How Often Should an Engine Oil Filler Cap Be Replaced?
The cap can remain serviceable for a long time and may not need replacement unless damaged. Inspect the gasket for wear and follow the manufacturer’s replacement instructions. Inspection during routine maintenance is advisable.
Can a Vehicle Be Driven Without an Oil Filler Cap?
No. Oil can splash out and foreign matter can enter the engine, potentially causing serious damage or engine failure.
Is Any Special Material Needed When Replacing the Gasket?
Use the specified original gasket or a suitable, verified aftermarket replacement. Do not add gasket paste or liquid sealant unless the manufacturer specifies it, as inappropriate material could enter the engine. If a particular product is specified, use only that product.
Can an Aftermarket Gasket Match an Original Part?
A suitable aftermarket gasket may meet the required material and performance specifications. Assess evidence for the particular product rather than assuming equal performance from a brand name or certificate alone.
Are Cap and Gasket Replacements Covered by Warranty?
Coverage depends on the warranty terms and the cause of failure. Check whether a manufacturing defect or normal wear is covered. During the warranty period, ask the authorised service provider how the applicable terms address aftermarket parts.
Conclusion
The oil filler cap and sealing gasket are small but important engine components. Regular inspection and replacement when required help maintain their function. Whether choosing an original or aftermarket part, checking the VIN, engine code and production date reduces the risk of selecting the wrong item.
The choice depends on the available parts, budget and priorities. Select a reliable product verified for the vehicle. Correct installation and regular checks help protect engine operation and avoid unnecessary expense.
Reviewing the available options, verifying OEM references and buying from reliable suppliers are important steps towards a successful replacement. These small details deserve attention when maintaining an engine.