
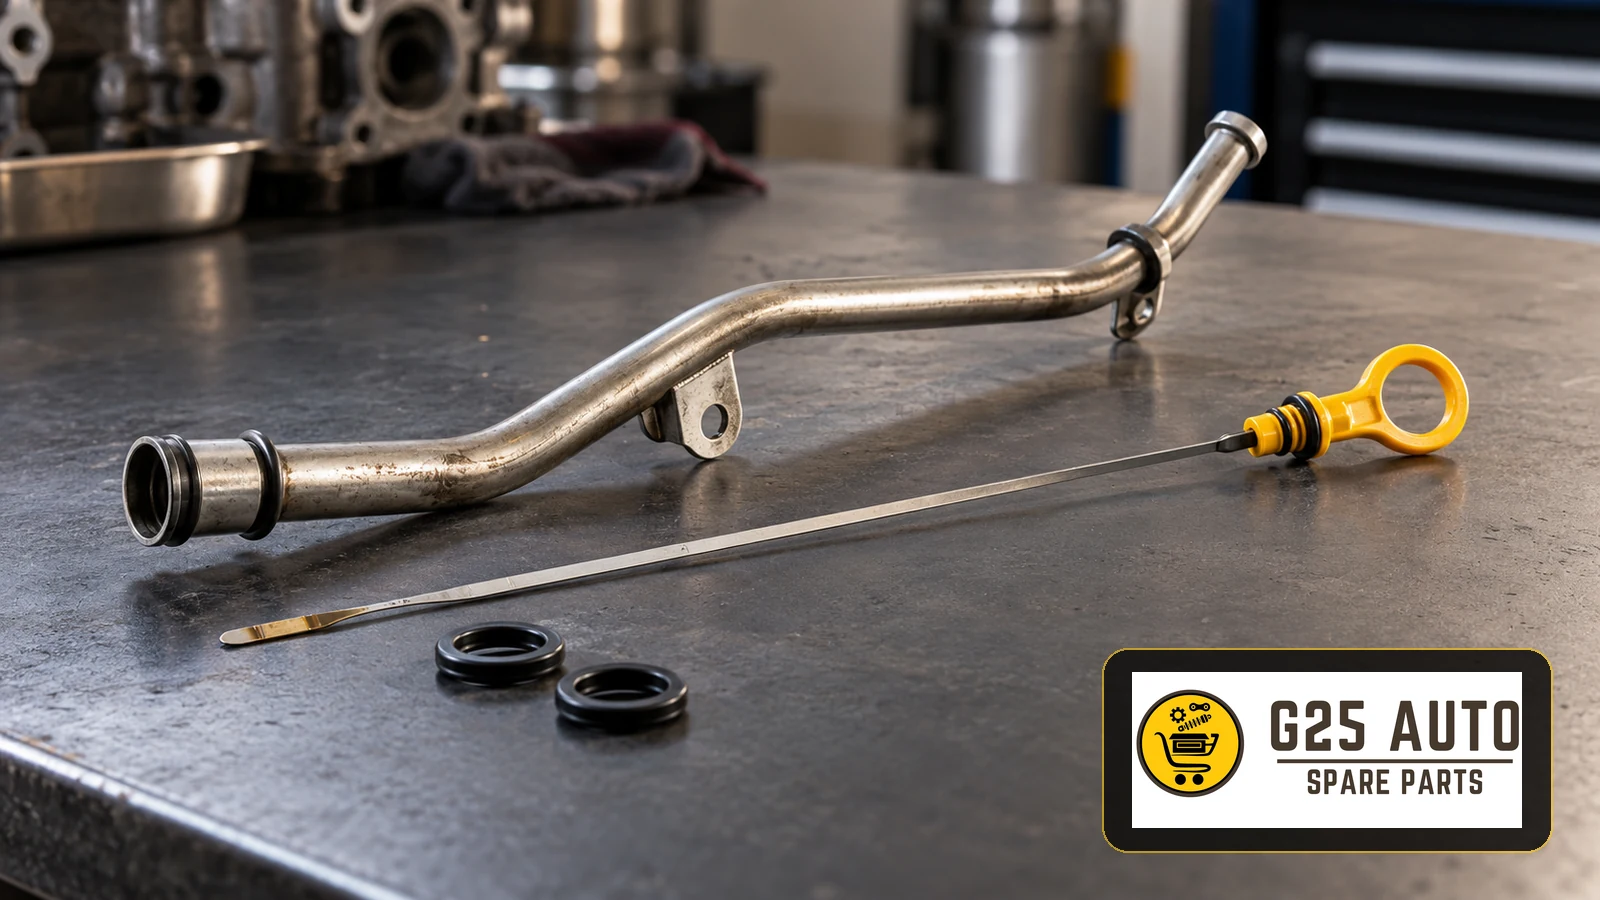
The engine oil dipstick tube and its O-ring seal allow the engine oil level to be checked regularly. Faults in these components can cause oil leaks or incorrect readings; significant oil loss can lead to serious engine damage. The O-ring provides a seal and may deteriorate over time, requiring replacement. This article explains the functions, fault symptoms, inspection methods and parts selection considerations for the engine oil dipstick tube and O-ring.
What Is an Engine Oil Dipstick Tube and What Does It Do?
The engine oil dipstick tube is a metal or plastic guide that allows the dipstick to reach the engine oil sump. Depending on the design, it is mounted to the engine and sealed with one or more O-rings. It makes regular oil level checks possible and helps prevent oil escaping at the tube connection.
The O-ring is an elastomer sealing element used at the tube’s connection to the engine, according to the particular design. Its material must be suitable for the specified heat, oil and chemical exposure. Over time, it may harden, crack or lose its shape, allowing oil leakage.
Fault Symptoms: How Can You Recognise a Problem?
Several symptoms may appear when there is a problem with the dipstick tube or its O-ring. Recognising them early can help prevent more extensive damage:
Visible Symptoms
- Oil leakage on the engine block: Oil traces or deposits may appear around the dipstick tube.
- Oil dripping onto the undertray or ground: Small oil patches may appear where the vehicle is parked.
- A rapid drop in oil level: Oil loss may exceed the vehicle’s usual consumption.
- A loose dipstick: The dipstick may fail to seat correctly if the tube is damaged.
- A smell of burning oil near the engine: Leaking oil can produce a burning smell if it contacts hot engine components.
- An oil level or pressure warning on the dashboard: Serious oil loss can trigger a warning; the warning alone does not identify the leak source.
Signs of More Advanced Problems
- Loss of engine performance: A critically low oil level may accompany engine operating problems and requires professional assessment.
- Increased engine noise: Inadequate lubrication may produce abnormal mechanical noises.
- Blue exhaust smoke: This requires a separate diagnosis; it should not be assumed to prove a leaking dipstick tube seal.
- Incorrect oil level readings: A damaged tube can prevent the dipstick from giving a reliable reading.
How Is the Fault Diagnosed?
Recognising symptoms is useful, but a professional inspection is needed to identify the cause. A qualified workshop or experienced technician may use the following methods where appropriate:
Professional Diagnostic Methods
- Visual inspection: Cleaning the affected engine area can help identify where a leak starts.
- Pressure checks: Relevant pressure checks may support diagnosis when required by the vehicle’s service procedure; an oil pressure reading alone does not locate a tube seal leak.
- UV dye inspection: A compatible oil leak detection dye and UV light may help locate leakage, where the procedure permits.
- O-ring inspection: With the tube removed as specified, the seal can be examined for cracks, hardening or deformation.
- Tube integrity inspection: Check for cracks, breakage or deformation, particularly in plastic tubes.
The vehicle’s service history, mileage and engine type should be considered during diagnosis. Consult a professional before replacing parts without a confirmed cause.
Comparing Genuine and Aftermarket Parts
Genuine and aftermarket options may be available for the engine oil dipstick tube and O-ring. Assess the relevant evidence for each option:
| Feature | Genuine Part | Aftermarket Part |
|---|---|---|
| Warranty | Check the applicable vehicle manufacturer or supplier terms | Check the part manufacturer’s and supplier’s terms |
| Compatibility | Confirm the correct vehicle-specific part reference | Confirm the documented application and cross-reference |
| Cost | Obtain a current quotation | Obtain a current quotation for the verified application |
| Availability | Check with a genuine parts supplier | Check with the relevant distributor or supplier |
| Quality Control | Review the relevant manufacturer documentation | Review the relevant part manufacturer’s documentation |
| Delivery Time | Confirm current stock and lead time | Confirm current stock and lead time |
Which Option Is More Suitable?
Parts selection depends on the vehicle’s condition, budget and applicable warranty requirements. For vehicles under warranty, review the relevant terms before choosing a replacement. For other vehicles, compare genuine and aftermarket options using documented specifications. Whichever option is selected, verify the correct part reference and compatibility.
Checklist for Selecting the Correct Part
Before ordering an engine oil dipstick tube or O-ring, work through the following checklist:
Pre-order Parts Checklist
- Record the vehicle make and model.
- Identify the engine code from the vehicle’s identification information or documentation.
- Have the vehicle identification number (VIN) ready.
- Note the production year and month.
- Check the existing OEM or part reference, recording any number marked on the component.
- Confirm engine capacity and fuel type, such as petrol or diesel.
- Identify the equipment version where relevant, as different versions may use different parts.
- Give the supplier this information and request compatibility verification.
- Confirm that the O-ring material and dimensions match the specified application.
- Check whether additional parts or sealing products are specified for installation.
The Importance of Part References and Technical Verification
Dipstick tubes and O-ring seals can vary between engine types and production years. Even within one vehicle model, different part numbers may apply according to engine code, production date or equipment version.
Why Does the OEM or Part Reference Matter?
A manufacturer part reference identifies a particular component. Checking it against the application helps with:
- Identifying the part specified for the vehicle.
- Reducing the risk of ordering the wrong component.
- Finding a documented aftermarket alternative.
- Locating the relevant technical and material specifications.
- Providing clear identification for warranty or return enquiries.
Verification Using the VIN
The VIN is the vehicle’s unique identifier. A professional parts supplier can use it with the relevant catalogue to check the applicable parts. This is particularly useful when distinguishing between different versions of the same model.
Engine Code and Production Date
Vehicle manufacturers may introduce engine updates and revisions during a model year. For example, vehicles produced in the first and second halves of 2018 may use different components. Ordering without checking the engine code and production date can result in an incompatible part.
Consult the relevant parts catalogue and ask the supplier to verify the application before ordering.
What to Know About Installation and Replacement
Replacing the dipstick tube or its O-ring varies with the engine and vehicle. Some applications allow straightforward removal and installation, while others require additional components to be removed for access.
General Replacement Stages
The general stages a professional technician may follow, subject to the vehicle’s service instructions, are:
- Allow the engine to cool and remove any covers required for access.
- Remove the oil dipstick.
- Release the tube’s retaining clips or bolts and remove it from its connection.
- Remove the old O-rings, clean the specified sealing areas and install the correct new seals.
- Install the replacement tube or refit a serviceable tube, as appropriate.
- Check all connections and verify sealing.
- Run the engine and inspect for leaks as prescribed by the service procedure.
Caution: This work requires mechanical knowledge and suitable tools. Consult the vehicle’s service manual and follow its precautions before considering any work yourself.
Frequently Asked Questions
How often should an engine oil dipstick tube be replaced?
The tube is generally replaced when damaged rather than at a universal interval. Inspect the O-rings during relevant maintenance or when leakage is found, replacing them as required by their condition and the service procedure. Regular inspection is useful, particularly on high-mileage vehicles.
Can the O-ring be replaced separately, or must it be replaced with the tube?
A separate seal replacement may be possible depending on the design and parts availability. If the tube is damaged, cracked or deformed, assess it for replacement as well. Some applications have a kit containing both the tube and seal.
Is a plastic or metal dipstick tube better?
Both materials have different characteristics. Metal tubes can be affected by corrosion; plastic tubes are lightweight and resist corrosion but may be affected by heat or impact. Use the component design and material specified for the vehicle rather than choosing solely by material.
Does an aftermarket O-ring affect the engine warranty?
For a vehicle under warranty, check the applicable warranty terms. Discuss the proposed replacement and its documented suitability with the relevant service provider rather than assuming that either part category automatically preserves or invalidates coverage.
What is the most important information when ordering?
The VIN is a key starting point. The engine code, production date and existing part reference also help verify the application. Have this information checked before placing the order.
Does oil leakage always come from the O-ring?
No. Oil can leak from several sources, including the valve cover gasket, sump gasket, oil filter or drain plug. A professional inspection is needed to identify the actual source.
Maintenance and Preventive Measures
The following precautions help with monitoring the dipstick tube and O-ring:
- Regular oil level checks: Check the level at the intervals and under the conditions specified for the vehicle.
- Gentle handling: Avoid excessive force when removing or inserting the dipstick.
- Engine area cleaning: Follow the vehicle’s cleaning precautions and avoid directing high-pressure water at vulnerable components.
- Suitable engine oil: Use oil meeting the vehicle’s specified viscosity and approval requirements.
- Periodic servicing: Include oil leak checks during scheduled servicing.
Selecting the Correct Part with a Supplier
Careful parts selection supports both cost control and proper vehicle maintenance. Review the supplier’s product descriptions and application information, and request a compatibility check before ordering.
Prepare the vehicle’s technical details and contact the supplier to confirm the relevant application. This simple step helps reduce the risk of problems later.
Conclusion
The engine oil dipstick tube and O-ring are relatively small components with an important role in oil level checks and sealing. Damage can contribute to leakage or incorrect readings, while significant oil loss can endanger the engine. Arrange professional inspection when fault symptoms appear.
When replacement is needed, verify compatibility using the part reference, VIN, engine code and production date, whether choosing a genuine or aftermarket option. Selecting the wrong component can waste time and money and may cause further mechanical problems.
Assess aftermarket alternatives using documented suitability and supplier information. Order from a reliable supplier with the correct vehicle details. Regular maintenance and inspection help identify deterioration and unexpected leakage.
For replacement parts, consult the relevant catalogue and request professional application support. Correct parts selection contributes to reliable vehicle operation.