
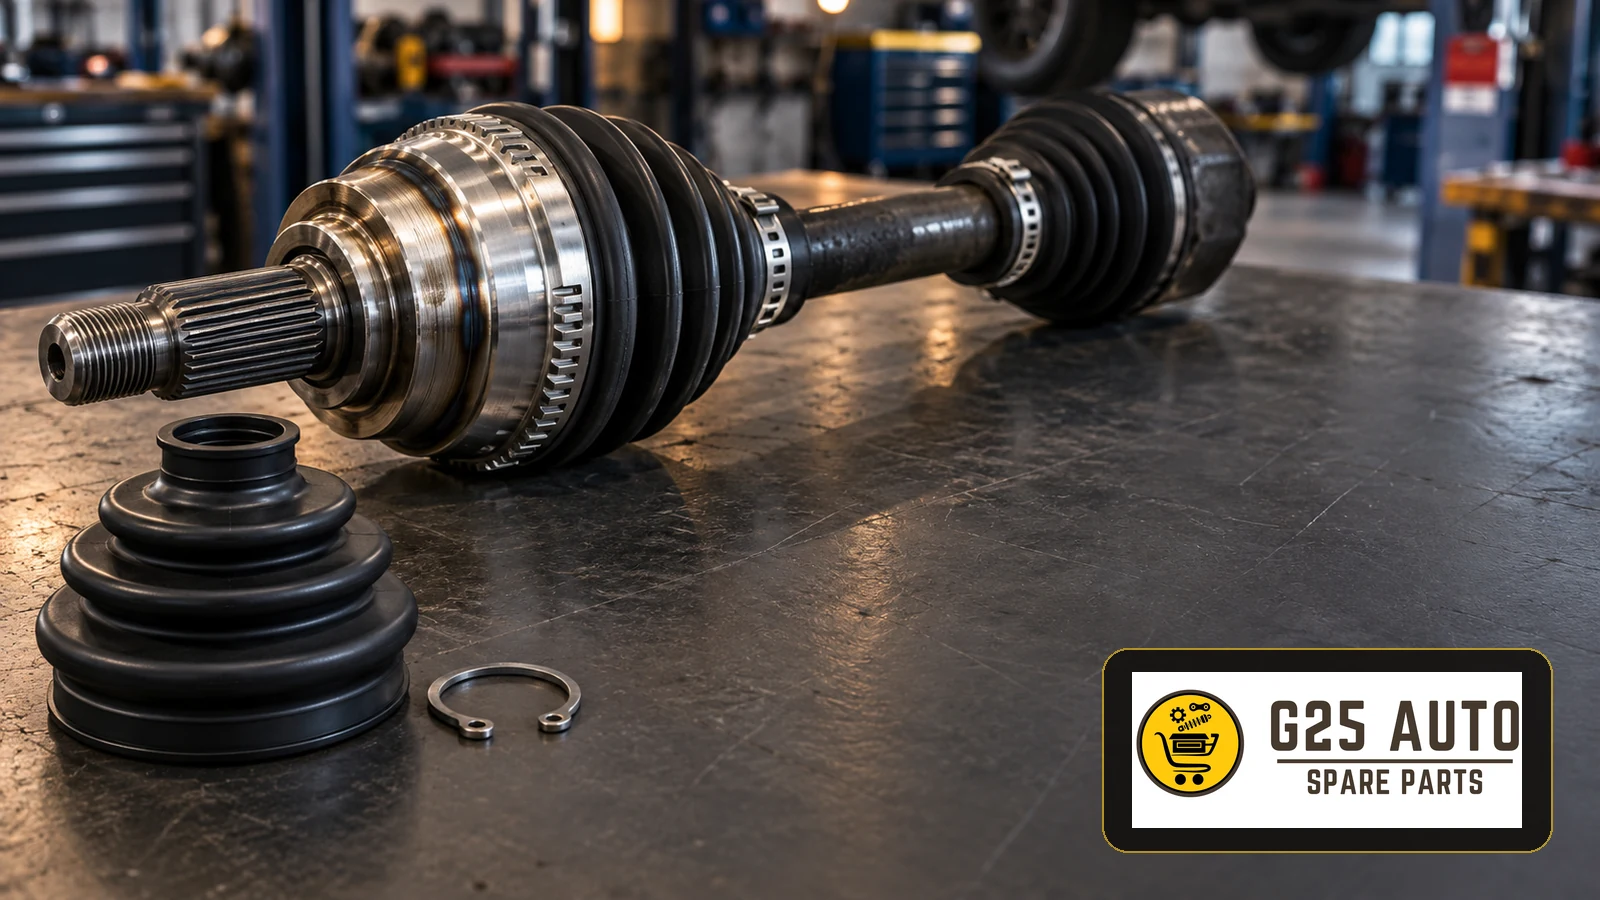
A constant velocity (CV) joint transmits drive torque while allowing the driveshaft to work through changing angles. Clicking on turns, vibration under acceleration or grease escaping from a damaged boot justify inspection, but do not prove which component has failed. Before ordering, confirm the affected joint, vehicle application and repair scope: a boot kit, a joint kit or a complete driveshaft may be appropriate.
Identify the joint before diagnosing the fault
A CV joint is a driveline component, distinct from a steering track-rod end or suspension ball joint. On a typical front-wheel-drive sideshaft, the outer joint accommodates steering movement while the inner plunging joint allows changes in effective shaft length as the suspension moves. Other driveline layouts use different arrangements, so identify the actual assembly in the vehicle catalogue.
For European and Balkan workshops and trade buyers, this distinction matters at the quotation stage. Record whether the request concerns a wheel-side joint, gearbox-side joint or complete shaft. A description such as “front axle joint” is too ambiguous to authorise a purchase.
Use symptoms to guide inspection
Clicking, shudder and grease leakage
- Repeated clicking during a powered turn: investigate the outer CV joint, while checking nearby brake, bearing and suspension components.
- Shudder under acceleration: investigate inner-joint operation and powertrain mounts; record whether it changes with load.
- Grease around a boot: inspect the boot folds, seating and clamps. Lubricant loss or contamination can damage a joint.
- Vibration related mainly to road speed: include wheels, tyres, shaft condition and bearings in the diagnosis rather than immediately ordering a joint.
Steering looseness, pulling and uneven tyre wear require a wider chassis assessment. They should not be presented as confirmation of CV-joint failure. Record the customer’s description, operating conditions and any recent repair before dismantling.
Build evidence before approving parts
With the vehicle properly supported, examine both boots and clamps, shaft damage and joint security. Assess movement against the applicable service information: designed plunge travel is different from excessive radial looseness. If removal and cleaning are needed to assess the joint, document the findings before agreeing the repair. A photograph of a split boot does not establish the condition of the internal tracks.
Choose the repair scope from the findings
A boot-only repair is an option when inspection confirms that the joint remains serviceable. A new boot and fresh lubricant do not restore worn tracks or damaged internal components. Where wear, pitting, cracking or rough operation is confirmed, select the appropriate joint or shaft repair using the manufacturer’s guidance.
A complete driveshaft may be considered when damage extends beyond one joint or the required joint is not separately serviceable. Compare the documented repair options, included components and workshop labour before preparing the quotation. Inspect the opposite side, but base its replacement on condition and applicable instructions rather than a blanket rule to replace both sides.
Trade purchasing checklist
Send one clear application record with the enquiry and obtain written confirmation against the supplier’s current catalogue:
- VIN, vehicle model, build information, engine and transmission identifiers.
- Driven axle, left or right position, and inner or outer joint location.
- Verified existing part reference and the catalogue cross-reference proposed for replacement.
- Relevant spline interfaces, fastening arrangement and sealing surfaces; for a full shaft, the specified compressed length.
- ABS target arrangement where fitted, including whether it belongs to the joint, shaft or another assembly.
- Kit contents: boot, specified grease, clamps, retaining hardware and any required replacement fasteners.
- Fitting instructions, traceable product identification and written warranty and return conditions.
Use dimensional comparisons as supporting checks alongside application data. Similar appearance or a general quality certificate cannot establish vehicle compatibility. Do not assume a catalogue photograph represents every supplied component, and resolve unclear kit contents before the workshop starts dismantling.
Installation and handover checks
Follow the vehicle and component instructions for tools, lubrication, retention and tightening. Support the shaft during handling; leaving it hanging from the transmission can overextend the inner joint. Protect seals and any ABS target, use the specified grease and replacement hardware, and confirm correct joint seating and boot-clamp installation.
Apply the prescribed axle-fastener tightening and locking procedure with suitable equipment. There is no universal torque value for this guide. Determine alignment requirements from the vehicle procedure and the components disturbed during the repair. At handover, check for leaks, boot interference and abnormal noise, and verify the original complaint under suitable controlled test conditions.
Frequently asked questions
Can a torn boot be replaced without replacing the joint?
Yes, if inspection establishes that the joint is serviceable and the correct boot repair is available. Always assess the joint when changing its boot.
Does clicking identify the faulty side?
No. Locate the noise and confirm the component through inspection; steering direction alone is insufficient evidence for a parts order.
Is there a fixed replacement mileage?
No universal interval applies here. Follow the vehicle maintenance guidance and the findings from inspection rather than an assumed lifespan.
Can the vehicle keep operating with a suspected fault?
Do not promise a safe remaining distance. Arrange prompt professional assessment; severe vibration, binding, loss of drive or steering interference warrants stopping operation and arranging recovery.
Technical references
GKN Automotive: sideshaft configurations; GKN/SPIDAN: inspection and workshop guidance; SKF: CV joints and boot kits; TrakMotive: CV axle installation checks; TrakMotive: CV-shaft symptom diagnosis. These support general principles; application-specific repair information remains essential.