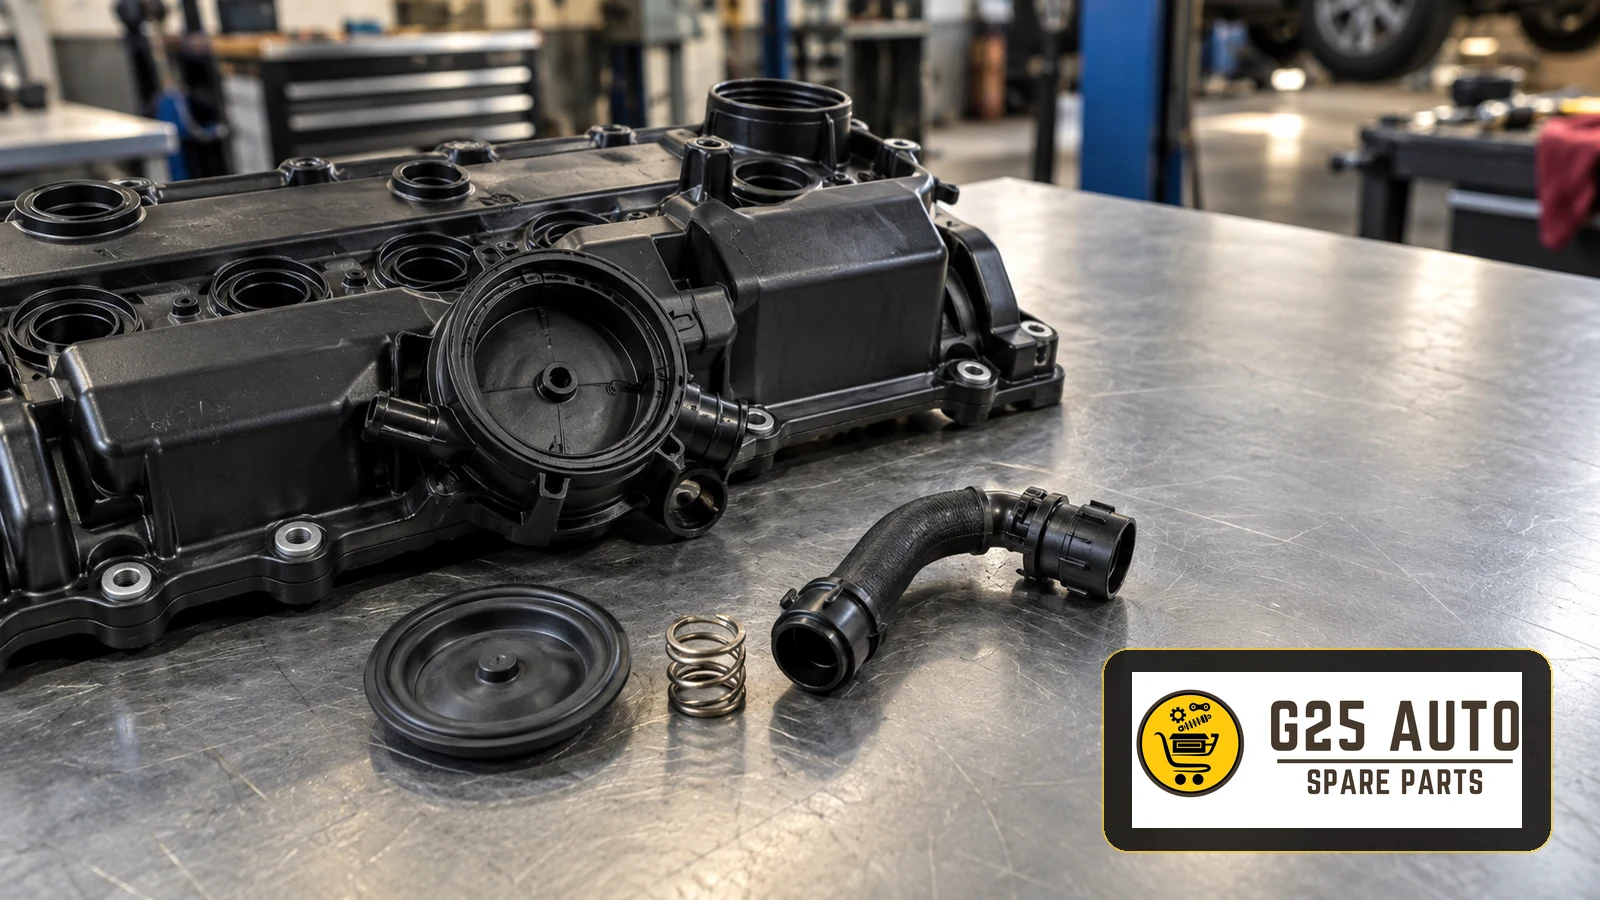
The crankcase ventilation diaphragm and valve cover connection play an important role in smooth engine operation. Problems in this system can contribute to oil leaks, reduced performance and increased fuel consumption. In brief, the diaphragm helps regulate crankcase pressure, while the valve cover connection helps maintain a sealed ventilation path. Both support correct operation of the system.
What Is the Crankcase Ventilation System and How Does It Work?
While the engine runs, some combustion gases pass the pistons and enter the crankcase. This is known as blow-by. The crankcase ventilation system provides a controlled route for these gases and helps manage pressure inside the engine.
Depending on the design, the system includes the following components:
- A crankcase ventilation diaphragm or PCV valve assembly
- Valve cover breather hoses
- An oil separator and associated diaphragm components
- Connectors and seals
The diaphragm responds to engine operating conditions to regulate gas flow from the crankcase towards the intake system. The valve cover connection helps maintain the sealing needed for this ventilation path to work correctly.
Fault Symptoms: When Is There a Problem?
A problem with the crankcase ventilation diaphragm or valve cover connection may produce several symptoms. These symptoms alone do not establish a diagnosis; professional inspection is needed.
Common Fault Symptoms
- Oil leakage in the engine bay or around the valve cover
- Uneven idle and shaking
- A whistling or hissing noise while the engine runs
- Signs of excessive pressure at the oil filler opening, assessed using the specified service procedure
- Increased exhaust smoke, particularly blue smoke
- An illuminated engine warning light on some vehicles
- Increased fuel consumption
- A noticeable reduction in engine performance
- Oil accumulation in the air filter area
How Is the Fault Diagnosed?
Although symptoms can raise suspicion, professional checks are needed to establish the cause:
- Visual inspection: Check connection hoses for cracks, hardening and splits
- Diaphragm test: Check diaphragm operation using the procedure appropriate to the design
- Pressure test: Measure crankcase pressure and compare it with the specified limits
- Smoke test: Locate leaks using suitable equipment and the prescribed test procedure
- OBD scan: Read relevant fault codes where diagnostic monitoring is available
Choosing Original Equipment or Aftermarket Parts
Original equipment and aftermarket options may be available for the crankcase ventilation diaphragm and valve cover connection. Each option has potential advantages and points that need checking.
Comparison Table
| Feature | Original Equipment Part | Aftermarket Part |
|---|---|---|
| Application suitability | Check the manufacturer’s reference for the vehicle | Check documented application data and the relevant reference |
| Cost | May be higher; obtain a current quotation | Lower-cost options may be available; compare specifications |
| Availability | Confirm with the supplier | Confirm with the supplier |
| Warranty | Check the manufacturer’s applicable terms | Check the manufacturer’s and supplier’s applicable terms |
| Quality standard | Assess against the original application specification | Request relevant quality documentation rather than assuming equivalence |
Checklist for Selecting the Right Part
Whichever option you choose, use the following checklist:
- Check the vehicle’s OEM or part reference
- Provide the vehicle identification number, or VIN, to the supplier
- Verify the engine code, as different engines may use different parts
- State the vehicle’s production year and month where available
- Provide pre-facelift or post-facelift details where relevant
- Ask for applicable certificates and quality documentation
- Request the installation diagram or technical documentation
- Clarify return and warranty terms
Why OEM References and Application Checks Matter
A common mistake in automotive parts ordering is to select a component using only the vehicle model. Even within the same model, parts may differ according to production date, engine type and equipment specification.
Why Is the OEM or Part Reference Important?
An OEM, or Original Equipment Manufacturer, reference identifies a part within the relevant catalogue. Used with current application data, it helps to:
- Identify parts intended for the application
- Reduce the risk of ordering the wrong part
- Limit avoidable delays and costs
- Reduce the risk of discovering fitment problems during installation
Verification Using the VIN
The VIN identifies the vehicle. A lookup in the appropriate records may help establish:
- The production year and month
- The production location
- The engine and transmission type
- The equipment specification
- Special equipment fitted to the vehicle
A supplier can use the VIN with suitable catalogue records to help identify the relevant part. Provide it when ordering, and cross-check the proposed reference and application details before confirming suitability.
Engine Code and Production Date
The same vehicle model may have several engine options. Petrol and diesel versions, different engine capacities or different power outputs may use different crankcase ventilation systems. Find the engine code in the vehicle’s identification information or service documentation.
The production date also matters because manufacturers may change parts during a model’s production life. Knowing the actual production month can help distinguish between alternative components.
Installation and Points to Watch
Replacing a crankcase ventilation diaphragm or valve cover connection requires appropriate technical knowledge. Before undertaking the work, consider the following points and follow the vehicle manufacturer’s procedure.
Preparation Before Installation
- Work with the engine cool to reduce the risk of burns
- Keep the work area clean and prevent foreign material from entering the engine
- Inspect all associated hoses and seals
- Confirm that any required special tools are available
- Review the installation diagram beforehand
Installation Sequence and Tips
- Photograph the connections before removing the old part
- Remove hoses carefully without forcing them, as aged components can break
- Fit new seals dry or lubricated only as specified for the particular seal and application
- Avoid overtightening; use a torque wrench and the specified tightening requirements
- Make sure all hose connections are fully seated
- Visually inspect every connection after installation
Checks After Installation
- Start the engine and perform the prescribed idle checks
- Inspect connection points for leaks
- Listen for abnormal engine noises
- Carry out a short test drive where appropriate after the initial checks are satisfactory
- Park again and recheck the engine area once it has cooled
Maintenance Recommendations and Preventive Measures
Regular maintenance helps keep the crankcase ventilation system in serviceable condition:
- Keep to the specified engine oil and filter replacement schedule
- Use engine oil meeting the manufacturer’s specification; unsuitable oil can contribute to deposits
- Replace the air filter at the recommended intervals
- Visually inspect the hoses when checking the engine bay
- Have the system checked during servicing
- If the vehicle mainly makes short trips, follow the manufacturer’s guidance for that operating pattern
Choosing an Aftermarket Parts Supplier
Finding a suitable aftermarket part can take time. A supplier with access to a relevant range can help narrow the options. European and Balkan trade buyers preparing a G25Auto B2B enquiry can provide the vehicle and part details and request information on the relevant replacement options.
When assessing a supplier, check the following points:
- Is technical support and application advice available?
- Is relevant product quality documentation available?
- Are return and replacement policies clear?
- Can the supplier support application checks using the VIN and suitable catalogue data?
- Is installation documentation available?
Frequently Asked Questions
How Often Should the Crankcase Ventilation Diaphragm Be Replaced?
There is no single mileage interval that applies to every design. Follow the vehicle’s service guidance and replace the component when a fault is diagnosed or an inspection identifies deterioration. Service life depends on the component and operating conditions.
Should Only the Diaphragm Be Replaced, or the Whole System?
This depends on the extent of the damage and whether the design allows the diaphragm to be serviced separately. If the hoses are also aged or cracked, assess the related components together and compare the appropriate repair options.
Can Aftermarket Parts Affect Warranty Coverage?
If the vehicle is still under warranty, review the applicable terms and seek clarification before selecting a replacement. Outside warranty, aftermarket parts should still be assessed against the required application and quality specifications.
Can the Vehicle Be Driven with a Faulty Diaphragm?
Continued use is not recommended without assessing the fault. Depending on the failure, it may contribute to oil contamination, catalytic converter damage or further engine problems. Have a professional determine the repair needs and whether the vehicle can be driven safely.
What Information Matters Most When Ordering?
The VIN is an important starting point for catalogue checks. Provide the OEM or part reference where available, together with engine and production details. These checks reduce selection errors but do not replace verification of the specific application.
Are Special Tools Needed for Installation?
This varies by vehicle. Some applications use standard hand tools, while others require particular torque tools or removal tools. Review the technical documentation before starting.
Conclusion
The crankcase ventilation diaphragm and valve cover connection help maintain engine health. Recognising symptoms, obtaining a proper diagnosis and selecting suitable parts are important steps towards a successful repair.
The choice between original equipment and aftermarket parts depends on application requirements, preferences and budget. In either case, check suitability carefully. Provide the supplier with the OEM reference, VIN, engine code and production date.
Aftermarket options may offer a cost advantage, but equivalent performance should be assessed from relevant specifications and documentation. Choose a reliable supplier and a properly checked part. Professional installation and routine maintenance support reliable crankcase ventilation operation.
Neglected maintenance can become costly. A small component fault may lead to more extensive damage if left unresolved. Pay attention to the vehicle’s symptoms and arrange appropriate inspection and maintenance promptly.