
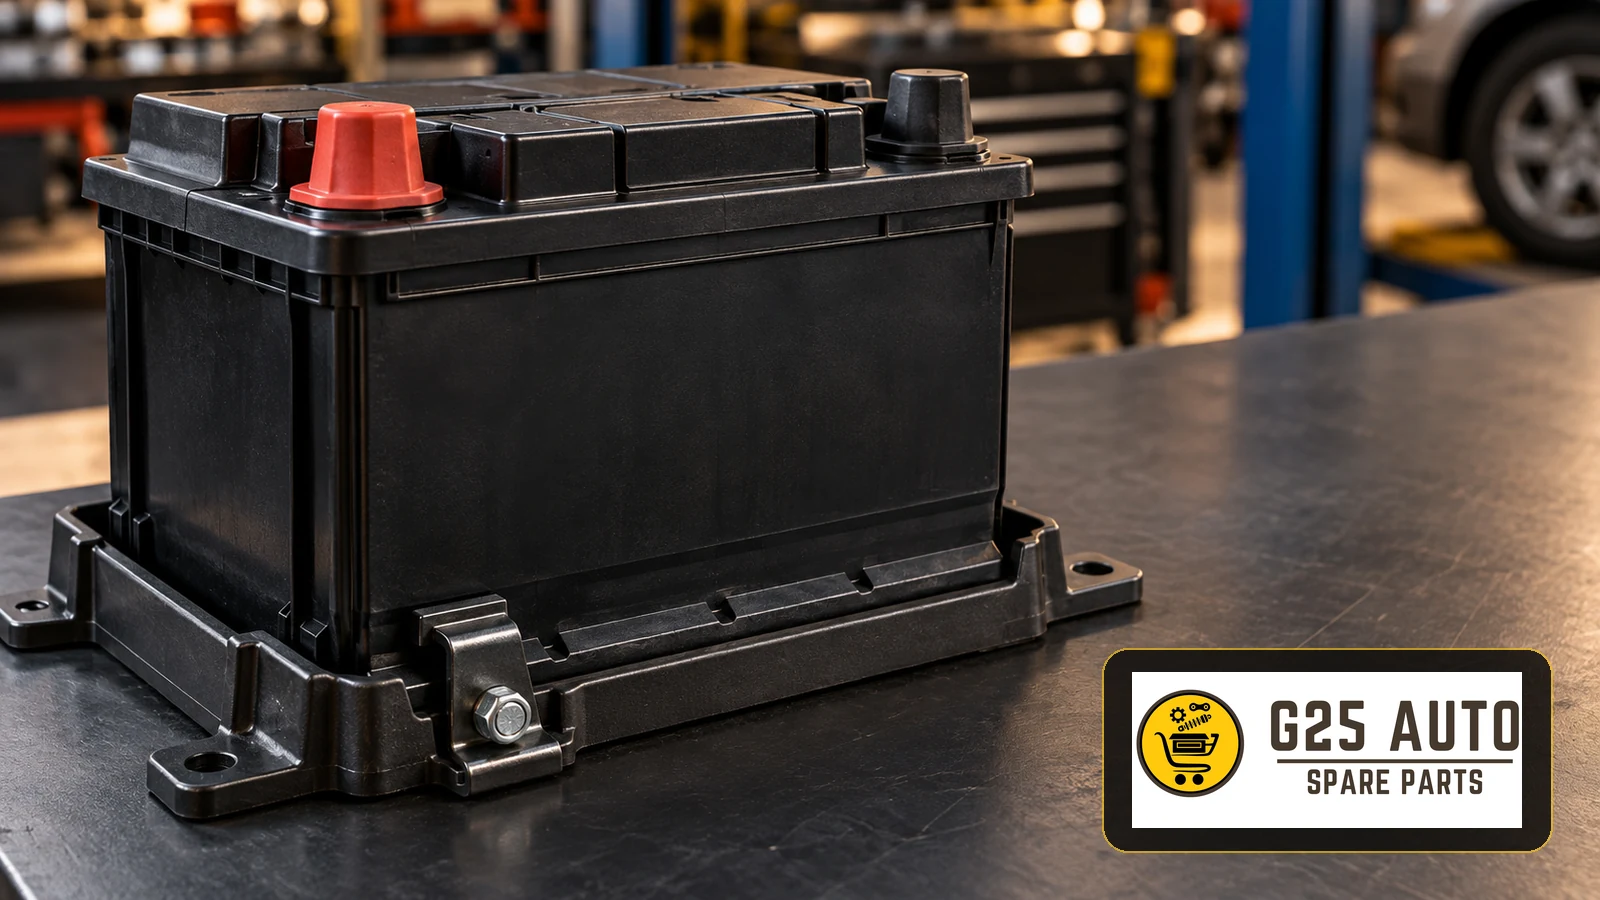
A battery hold-down clamp, tray and fixing hardware must work as a matched mounting system: the tray supports the battery, the retainer engages its intended contact area, and the fasteners secure the assembly to the vehicle. Replace damaged components with parts verified for the actual vehicle and battery installation, then follow the vehicle manufacturer’s fitting procedure and tightening specification. A similar-looking clamp or an extra turn of a bolt is not evidence of a safe fit.
Understand the mounting system before ordering
For workshops, fleet maintenance teams and parts distributors across Europe and the Balkans, the useful starting point is the complete installation. Record how the battery sits in its tray and where the retainer contacts the case before dismantling. Identify whether the enquiry concerns the battery retainer, the tray itself or the hardware attaching either component.
Tray, retainer and fasteners have different roles
The tray provides support and location. Depending on the design, a clamp may engage a moulded ledge near the battery base, while a bar or frame may retain the battery from above. The mounting points and battery case must suit that arrangement. A terminal clamp connects a cable to a battery post; it does not replace a mechanical hold-down.
Bolts, studs, nuts and any specified washers complete the system. Correct thread engagement and the intended seating surfaces matter as much as the bracket shape. Do not assume that a supplied clamp includes its fasteners or that existing hardware remains suitable for reuse.
Inspect movement, damage and corrosion together
Look for a missing retainer, loose or seized hardware, distorted brackets, cracked tray material and deterioration around mounting points. Check the battery case and its retaining ledge for damage. A battery that sits unevenly may have debris underneath it, a damaged support or a mismatch between the battery and mounting arrangement.
Movement can place strain on cables and nearby components. However, a rattle or intermittent electrical fault alone does not establish that the hold-down is responsible. Inspect the installation and investigate electrical symptoms separately. If the battery is leaking, swollen or visibly damaged, stop ordinary fitting work and follow the relevant battery handling procedure.
Build a useful B2B parts enquiry
Send the vehicle identification details, production information where available, engine or powertrain variant and clear photographs of the fitted assembly. Include any legible part marking and the battery label. Ask the supplier to verify the application against an appropriate catalogue; a photograph supports that check but does not establish compatibility by itself.
Compare the interfaces rather than the outline
Confirm the tray attachment points, retainer contact profile and required fastener specification. If the battery has previously been changed, verify its case and fixing arrangement against the vehicle requirement before selecting a replacement clamp. Matching electrical capacity alone does not confirm a mechanical mounting fit.
Request a clear description of the package contents, including whether fixing hardware is included or ordered separately. Record the supplier’s application confirmation on the job. For mixed fleets, keep each vehicle’s confirmed assembly details separate so that visually similar retainers are not treated as interchangeable stock.
Plan the repair around vehicle-specific instructions
Battery access, electrical isolation, waiting periods and any steps after reconnection depend on the vehicle. Obtain the applicable service procedure before loosening the assembly. This is particularly relevant where covers, ventilation connections or battery monitoring components share the working area. Keep this work within the low-voltage battery procedure; do not extend it to traction battery systems.
Restore support and retention before tightening
Inspect the exposed tray and its attachment points before refitting. Resolve damage affecting support or attachment rather than using clamp pressure to compensate. Seat the battery in the specified orientation, make sure the retainer engages the intended area and keep cables, covers and ventilation connections clear of the clamping surfaces.
Use the specified tightening value and method for that installation. Avoid universal torque figures, finger-tight-plus-turn rules or additional leverage to correct poor engagement. Do not add lubricant to fastener threads unless the applicable instructions require it. If the clamp bottoms out while the battery remains loose, recheck the parts and seating instead of continuing to tighten.
Workshop completion checklist
- Confirm the vehicle application and the fitted battery’s mounting arrangement.
- Inspect the tray, body attachment points, retainer and battery case.
- Check that every required fastener is present and matches the specified application.
- Verify that the battery sits correctly and the retainer engages its intended contact area.
- Complete tightening according to the applicable service instructions.
- Restore any removed terminal protection, covers and ventilation connections correctly.
- Check secure retention and cable routing without using the cables as restraints.
- Record the fitted components and complete any required reconnection checks before handover.
Frequently asked questions
Can the bolt alone be replaced?
Possibly, if the retainer, tray, threads and mounting points pass inspection and the correct replacement fastener is verified. A new bolt does not repair a cracked tray or a damaged battery ledge.
Is a universal battery clamp suitable?
A universal description does not establish suitability. Confirm the vehicle mounting points, battery contact area, clearances and fitting instructions before accepting any alternative.
Does the battery always have to come out?
Access and removal requirements vary. Use the procedure for the actual vehicle and repair; do not assume that every retainer can be changed in place or that every job requires battery removal.
When should mounting hardware be inspected?
Include it when the battery is serviced or replaced and whenever movement or visible damage is found. Follow the vehicle’s maintenance requirements rather than applying a fixed replacement interval to every assembly.
Technical references
VARTA battery removal guidance covers tray and hold-down inspection. Its installation guidance addresses level seating and avoiding case distortion. The Ford Kuga owner’s manual provides an application-specific example of restoring battery securing components. Always obtain the instructions for the vehicle being repaired.