
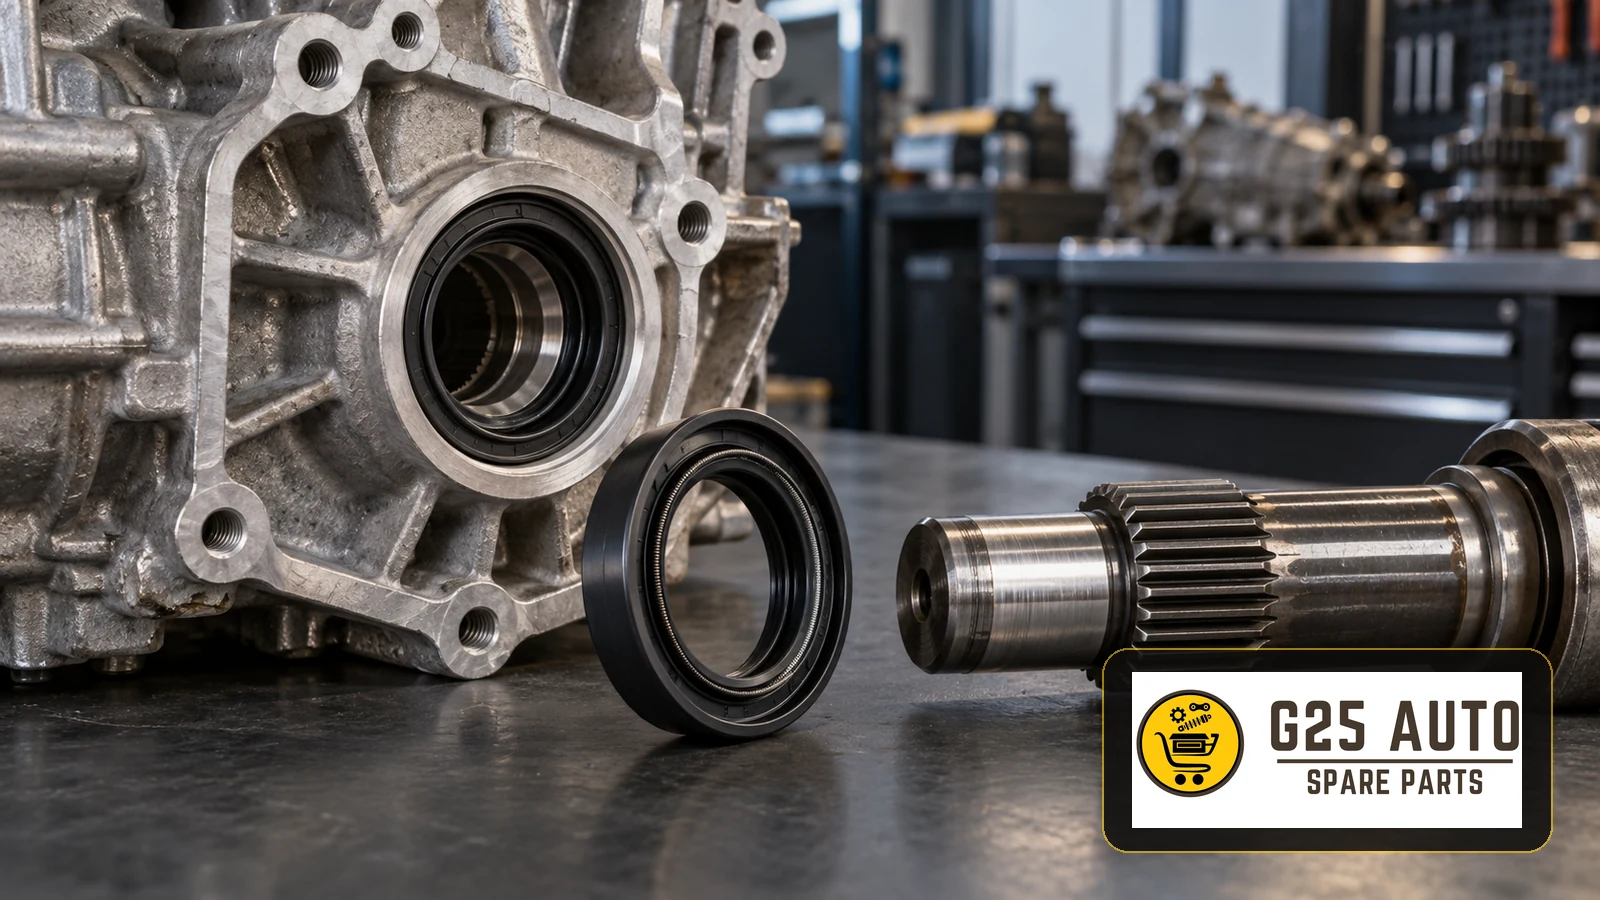
An axle shaft or transmission output seal should be replaced when inspection confirms that it is leaking or damaged, using a replacement verified for the exact transmission, axle and fitting position. A successful repair also checks the shaft surface, housing and underlying cause of leakage. For European and Balkan workshops, identifying the sealing location before ordering is the first step towards avoiding a repeat repair.
Identify which output seal the vehicle actually uses
The terms axle seal, driveshaft seal and gearbox output seal can describe different positions in parts enquiries. A transaxle combines the gearbox and differential, with seals at its driveshaft outlets. Other layouts have separate gearbox, transfer-case and differential sealing positions. Confirm the component on the vehicle rather than assuming that a general description identifies one interchangeable part.
These seals retain lubricant where a rotating shaft or flange passes through a stationary housing. Construction varies: a familiar rubber lip with a garter spring is only one design. Do not infer the correct material, rotation direction or fitting method from the old seal’s colour or appearance.
Confirm the leak before requesting a replacement
Trace fresh fluid to its origin
Record the wet area before cleaning, then use an appropriate inspection method to find where fresh fluid first appears. Oil can travel across a casing or collect in an undertray, so a drip beneath the gearbox does not identify the failed component. Check nearby joints, plugs and other potential sources. Distinguish oil leakage from grease escaping a damaged CV boot.
Assess fluid level and leak severity using the vehicle manufacturer’s procedure before deciding whether any running test is appropriate. A substantial loss, abnormal operation or contamination near braking components needs attention before the vehicle returns to service. Noise or difficult shifting alone does not prove that an output seal has failed.
Investigate why the seal is leaking
Inspect the seal-running surface for grooves, corrosion and damage. Check shaft support and movement against the applicable repair limits; a new lip cannot correct a damaged bearing or running surface. Review housing ventilation and fluid filling where relevant. Excess pressure, incorrect installation and contamination are among the failure mechanisms discussed in the SKF CR Seals handbook.
Build a precise B2B parts enquiry
A workshop and distributor should agree on the fitting position before comparing genuine and aftermarket options. Start with vehicle and assembly identification, then check the current catalogue application and any supersession. The Corteco catalogue and seal finder illustrate manufacturer tools available for parts identification; a search result still needs to be checked against the actual assembly.
- Vehicle: provide the VIN, model, production date and relevant engine identification.
- Assembly: record the transmission or axle code, drivetrain layout and exact sealing location, including left or right where applicable.
- Reference: supply legible existing markings and a verified OE reference if available, with photographs as supporting evidence.
- Specification: confirm catalogue dimensions, lip design, material, directional features and housing interface. Matching dimensions alone is insufficient.
- Repair scope: identify specified retaining hardware, fitting tools and fluid requirements before booking the work.
- Documentation: retain the supplier’s application confirmation and installation instructions with the job record.
For businesses handling enquiries across several languages, a photograph showing the position on the housing can resolve ambiguous terminology. Keep the confirmed reference and assembly code in the purchase order. Do not substitute a visually similar seal when the application remains uncertain.
Control the installation details
Use the vehicle repair procedure for access, removal, retaining components and final assembly. Protect the housing bore during extraction. Before fitting, inspect the new seal and prepare clean working surfaces. A suitable driver must support the seal correctly and keep it square at the specified depth; the removed seal’s position is not a substitute for installation data.
Prepare the lip according to its material and instructions
There is no universal instruction to oil every seal. Conventional elastomer designs commonly require suitable initial lubrication, whereas Elring’s PTFE oil-seal assembly guidance specifies dry installation for the seals it describes. Follow the instructions supplied for the exact part, including protective sleeves and any settling period. Do not add grease, sealant or adhesive by habit.
Protect the lip as the shaft passes splines or sharp edges. SKF’s PTFE seal installation guidance explains the role of protective tools. Avoid forcing the shaft through an unprotected lip, and verify final shaft engagement according to the vehicle procedure.
Verify the repair before handover
Restore the specified lubricant level using the correct fluid and checking conditions. Whether the job requires topping up or a complete fluid replacement depends on the repair procedure and fluid condition. Clean residual oil, check the sealing area under the prescribed operating conditions and recheck the level as directed. Record the fitted reference, relevant inspection findings and leak-check result. Continued leakage calls for renewed diagnosis rather than another identical seal fitted without investigation.
Frequently asked questions
Is there a universal replacement mileage?
No single mileage applies to every output seal. Use the vehicle maintenance instructions and inspection findings, including any replacement requirement during associated repairs.
Can an aftermarket seal be suitable?
Yes, when its documented application and specification match the assembly. Brand reputation or matching outer dimensions alone does not establish suitability.
Must both sides be replaced together?
That depends on the assembly instructions and condition of each side. Do not assume that both seals share a reference or require replacement as a pair.
Why might a new seal leak immediately?
Possible causes include lip damage, incorrect seating, a worn running surface or an unresolved assembly fault. Inspect the installation and surrounding components before selecting the next repair.