
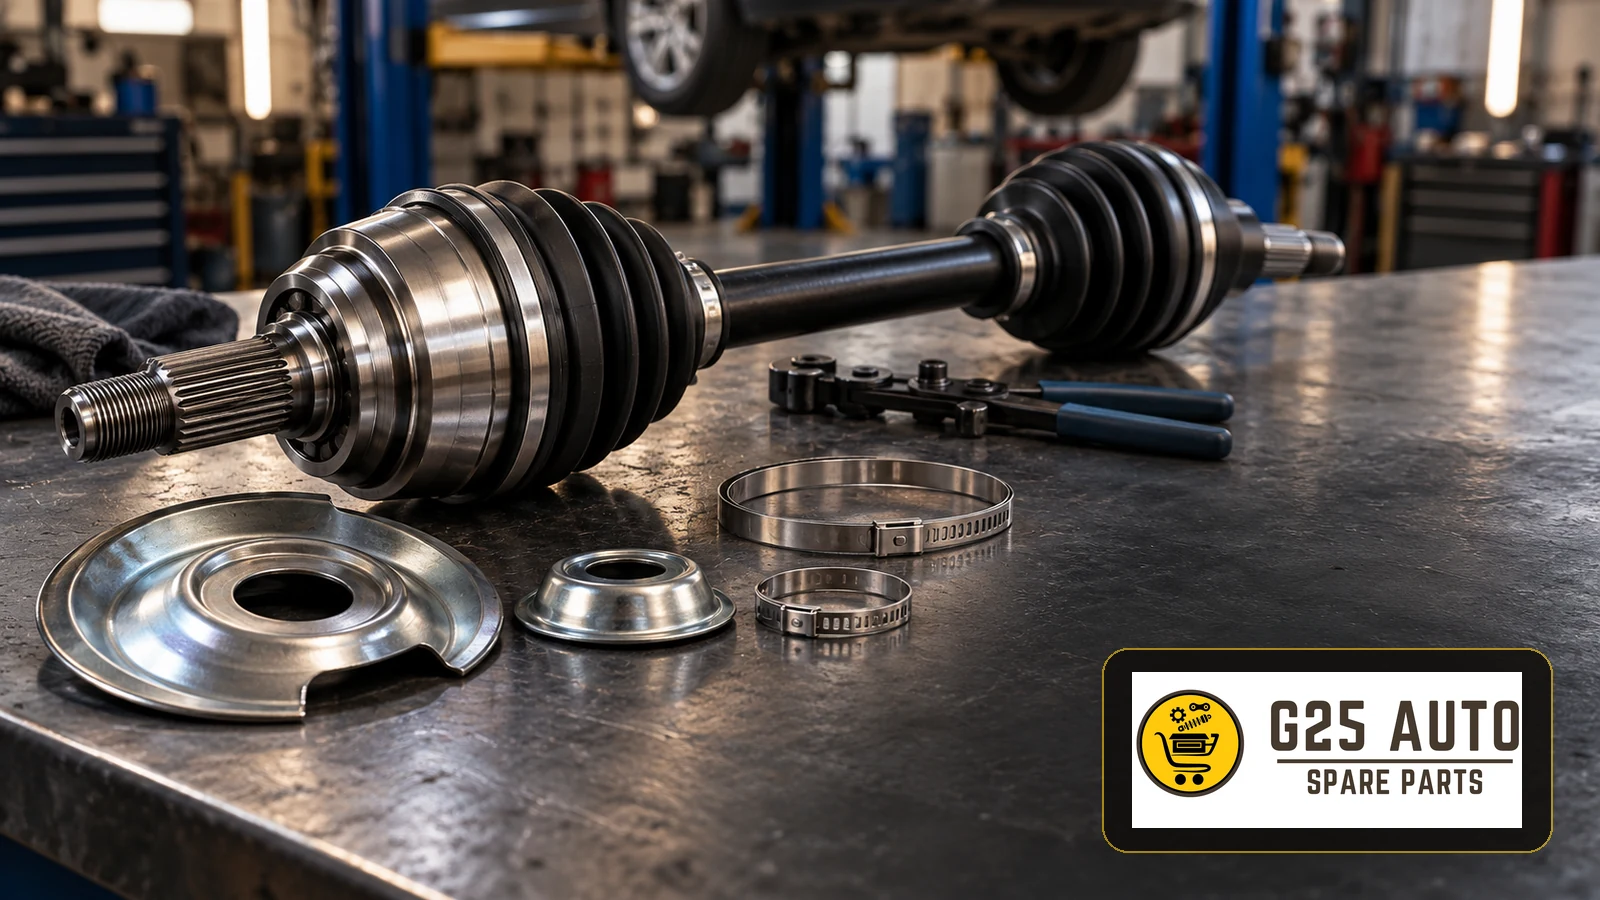
To select an axle shaft dust cover or its attachments, first identify the exact component and its position on the vehicle. A rigid dust shield, a flexible CV joint boot and an oil seal perform different jobs and require different repair decisions. For European and Balkan workshops and parts distributors, the most useful starting point is a vehicle-specific parts diagram, supported by the VIN, drivetrain details and photographs of the installed assembly.
Identify the protective component before ordering
Rigid dust covers and deflectors
A rigid cover or deflector helps shield an exposed connection area from road contamination. Its shape and mounting arrangement depend on the assembly. Do not assume that a part described as a dust cover is a rubber boot, or that it contains grease. Confirm its identity against the manufacturer’s diagram and repair information, including which neighbouring components it protects.
Flexible CV joint boots and clamps
A CV boot is the flexible enclosure around a constant velocity joint. It retains lubricant and helps exclude dirt and moisture while accommodating joint movement. Its clamps secure the boot at its mounting points. Boot material, profile and attachments must suit the specific joint. An oil seal at a transmission output is a separate component; replacing a nearby cover does not establish that an oil leak has been repaired.
This distinction also appears in vehicle repair information. Toyota’s transaxle replacement bulletin separately names the drive shaft dust cover, boot and oil seal in its handling precautions. That bulletin applies to its listed vehicles; it is an illustration of the terminology, not a repair procedure for other applications.
Inspect the assembly and record the evidence
Have a qualified technician inspect the vehicle using suitable lifting and support equipment. Before cleaning, photograph the affected area and note where contamination, fluid or contact marks appear. Then inspect the identified cover and its mounting area under the relevant service procedure.
For a rigid shield, record deformation, corrosion, displacement or evidence of contact with neighbouring parts. For a flexible boot, inspect the folds and attachment areas for splits, abrasion, displacement and escaping grease. Record a damaged clamp separately from damage to the boot itself. A deposit near the shaft needs investigation: identify whether it originates from the joint, an adjacent seal or another component.
Noise and vibration should trigger a wider diagnosis rather than an automatic cover replacement. Ask the technician to document joint and bearing condition, any nearby interference and the probable cause of the observed damage. A new protective part cannot reverse existing internal wear.
Build a clear parts enquiry across markets
Descriptions vary between catalogues and languages. A photograph and a marked diagram position are more useful than a translated name alone. In a distributor-to-workshop enquiry, distinguish the required shield or boot from a complete joint kit or shaft assembly, and request written confirmation of the proposed item and its contents.
Procurement checklist
- Record the VIN, production date and relevant engine, gearbox and drive configuration.
- Specify front or rear axle, left or right side, and wheel-side or transmission-side location as applicable.
- Identify the component on a vehicle-specific diagram and provide clear photographs.
- Check the current OE reference and any documented supersession against the actual application.
- Confirm whether the installed shaft is original or has previously been replaced.
- Ask which clamps, retaining parts, fasteners and lubricants are included or required separately.
- Obtain the applicable fitting instructions and record the supplied part reference and batch information.
A VIN or cross-reference supports identification but should not replace application checks. If the supplier’s illustration, listed restrictions or mounting details conflict with the vehicle, resolve that discrepancy before authorising installation.
Assess the complete repair package
For a boot repair, compare the supplied accessories as carefully as the boot. GKN’s boot-kit guidance explains that applications sharing a boot can still need different accessories. It also stresses material selection and appropriate tools for the clamp design. Check the chosen kit’s actual contents; do not assume that every supplier includes the same hardware.
For a rigid cover, establish whether it is separately serviceable and what fitting method the vehicle manufacturer specifies. Do not improvise a mounting method from its appearance. Compare genuine and independent replacement options using documented application coverage, installation information and traceability. A brand name or general quality certificate alone does not confirm that a particular component fits.
Control installation and final inspection
Use the vehicle-specific procedure for access, removal, installation and any disturbed connections. Protect adjacent boots and sealing surfaces during handling. Follow the specified orientation, seating position and replacement requirements for retaining parts. For boot work, use the prescribed lubricant and quantity, and the tool and tightening method intended for the supplied clamp. There is no single tightening value for all protective attachments.
Before returning the vehicle to service, verify secure seating, the required clearances and correct routing of nearby components. For a boot, check its position and freedom of movement under the prescribed inspection conditions. Investigate fresh leakage, interference, noise or vibration. Keep the diagnostic photographs, part identification and final checks with the job record; schedule any follow-up according to the relevant service instructions and findings.
Frequently asked questions
Is an axle dust cover the same as a CV boot?
Not necessarily. Catalogue terminology varies. Confirm whether the item is a rigid protective cover, a flexible joint boot or another component by checking its diagram position.
Can the attachment be replaced on its own?
Only where the specified repair permits it and the surrounding parts remain serviceable. Check parts availability, inspection findings and the manufacturer’s replacement requirements before choosing the repair scope.
Does grease nearby prove the cover has failed?
No. Trace the deposit to its source and inspect the joint enclosure, attachments and adjacent areas. An external mark alone does not identify the failed component.
What should a workshop send with a supplier enquiry?
Send vehicle and drivetrain identification, the exact location, a diagram reference and photographs. Include details of previous shaft replacement and request confirmation of the proposed part and required accessories.