
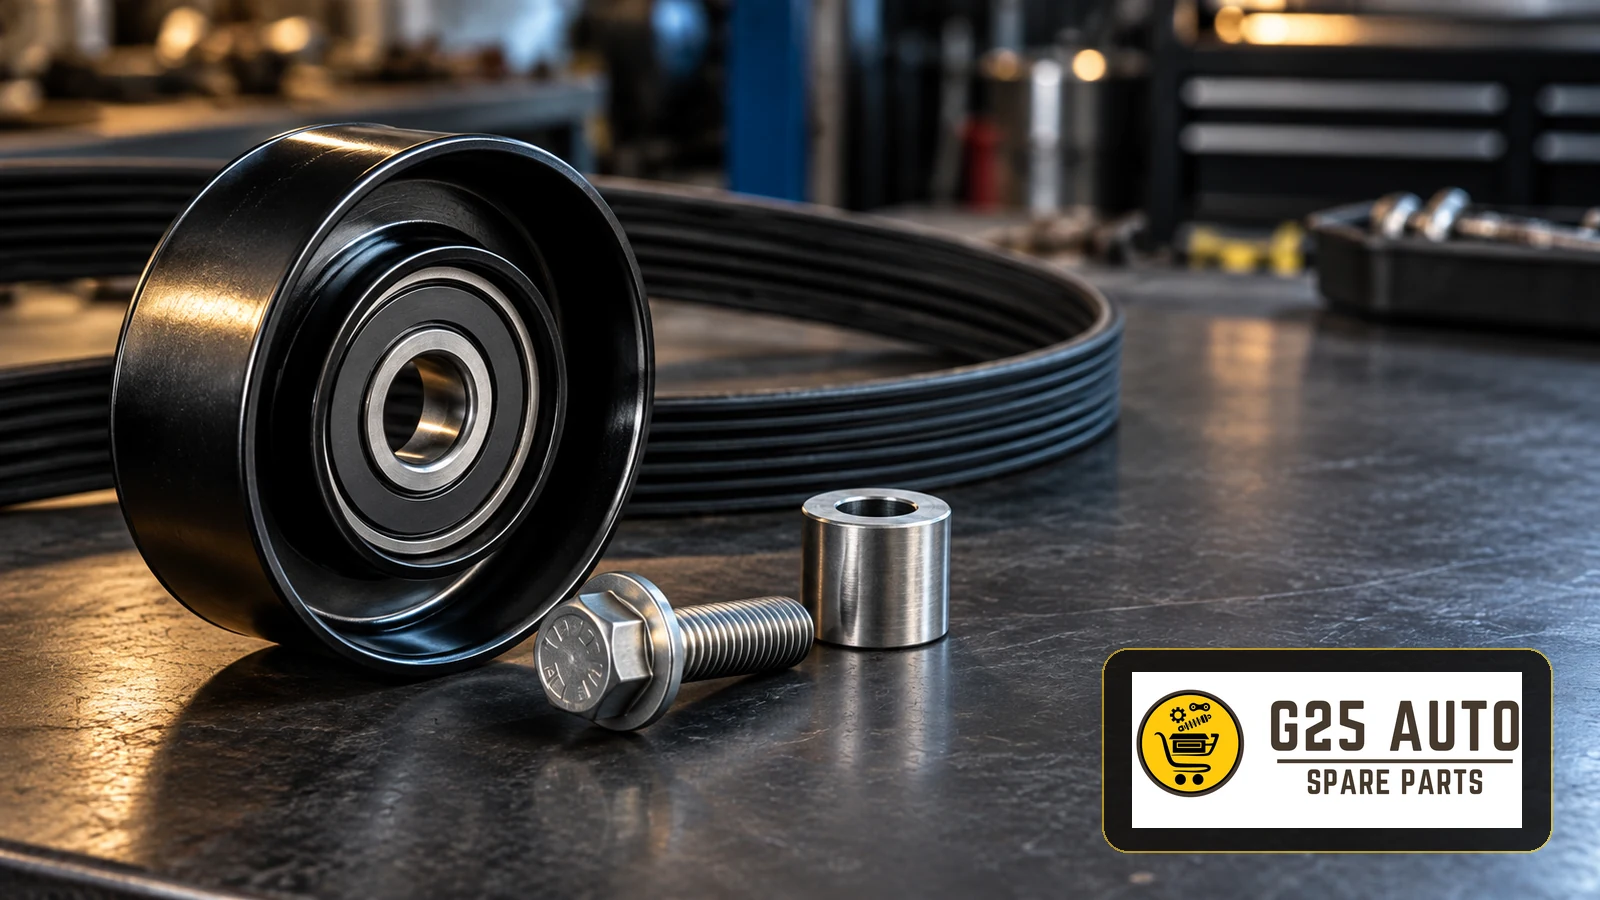
An accessory belt idler mounting bolt secures the pulley assembly to its support, while a spacer, where specified, establishes its mounting position and clearance. The pulley, bolt and spacer must match the exact application and assembly instructions. If belt noise or poor tracking appears, inspect the whole drive and its mounting points before ordering hardware; a similar-looking bolt or improvised washer stack is not a reliable replacement.
Identify the pulley and its mounting arrangement
European and Balkan workshops may describe the same component as an idler, guide pulley or deflection pulley. Begin the enquiry with a photograph of its location and the vehicle identification details. Establish whether the request concerns a fixed idler, a pulley on an automatic tensioner or an adjustable assembly. These descriptions should not be used interchangeably when selecting parts.
A fixed idler does not automatically regulate tension
A fixed idler guides the belt along its intended path. An automatic tensioner uses a moving mechanism to manage tension. Tightening an idler bolt is therefore not a method of adjusting an automatic tensioner. Identify the drive design and follow its prescribed installation and tensioning method.
Check the complete hardware arrangement
A spacer may be separate, retained in the assembly or incorporated into a mounting feature. Do not assume every pulley requires an additional loose sleeve. Record the specified order and orientation of the bolt, spacer, shield and any washers. Compare the replacement instructions with the removed assembly, particularly if the pulley design has changed.
Litens lists both idler assemblies with spacer, dust shield and bolt and separate instructions for applications reusing existing hardware. These examples underline why the instructions for the selected part matter; neither approach is a universal rule.
Investigate noise and belt wear before condemning the bolt
Chirping, edge wear, a rough bearing or visible pulley movement can help locate a fault, but do not identify its cause alone. A damaged support, incorrect assembly, bearing wear or another belt-driven component can produce related symptoms. Record whether the complaint began after previous belt or pulley work and retain photographs of the original arrangement.
With the engine stopped and secured against unexpected starting, a technician can inspect belt condition, pulley surfaces and mounting areas. Remove belt tension only by the vehicle-specific method. Check pulley rotation and play as instructed, and inspect accessible threads, seating faces and brackets for damage. Keep hands and tools clear during any prescribed running checks.
Dayco’s technical guidance distinguishes axial from angular misalignment and discusses checking pulley bearings and tensioner movement. Use appropriate alignment tools and the applicable repair criteria. If a mounting is loose, investigate the support and hardware rather than treating extra tightening as a diagnosis.
Prepare a precise B2B parts enquiry
For cross-border purchasing, make the application and quotation scope explicit. A photograph supports identification but cannot establish thread specification, material or suitability. Ask the distributor to document the catalogue match and resolve conflicting information before dispatch.
Workshop and distributor checklist
- Supply VIN, engine code, production date and relevant accessory equipment.
- Identify the pulley location and whether it belongs to a fixed or tensioning assembly.
- Verify the service reference and any supersession using the application catalogue.
- Confirm the specified bolt thread, length, shoulder, seating design and material requirements.
- Confirm whether a separate spacer is required, including its orientation and application-specific dimensions.
- List the pulley, bolt, sleeve, shield and other hardware included in the quotation.
- Obtain the fitting instructions and identify components requiring renewal.
- Keep the supplier’s confirmed reference and product identification with the workshop job.
Use these requirements for both genuine and independent aftermarket proposals. Establish suitability through application data and documented product identification. Do not substitute a generic strength grade or a matching thread for confirmation of the complete fastener design.
Control installation and verify the repair
Resolve mounting damage first
Check the support before fitting new hardware. A damaged thread, distorted bracket or incorrect seating surface needs an approved repair decision. As a specific example, BMW service information on an idler bracket describes bolts loosening because of inadequate bracket material hardness on affected vehicles. Its campaign scope and repair instructions apply only to those vehicles; it is not a general diagnosis for every loose idler.
Use the specified assembly and tightening procedure
Install the confirmed hardware in the documented order. Renew single-use or damaged components as required, and follow the instructions for thread condition, locking products, tightening torque and any angle stage. Do not add lubricant or threadlocker without that direction, or compensate for an incorrect spacer with extra washers.
Gates’ accessory tensioner installation guidance stresses that replacement procedures depend on the engine assembly. Its tensioner instructions are not a substitute for the selected idler’s repair procedure. After installation, confirm belt routing, seating, alignment and tension using the relevant instructions, then perform the prescribed functional check. Document the result before releasing the vehicle.
Frequently asked questions
Can an ordinary washer replace a missing spacer?
Do not improvise the mounting arrangement. Obtain the specified component or a documented approved replacement before assembly.
Must every idler bolt be replaced?
Follow the application and kit instructions. Single-use fasteners require renewal; reuse of other hardware depends on its condition and the permitted procedure.
Is there one torque value for idler pulleys?
No. Obtain the specification for the exact pulley, fastener and mounting arrangement, including any thread-condition or angle instructions.
Will a new bolt cure a chirping belt?
Only diagnosis can establish the repair. Inspect alignment, pulley bearings, tensioner operation and mounting condition rather than selecting a part from the noise alone.