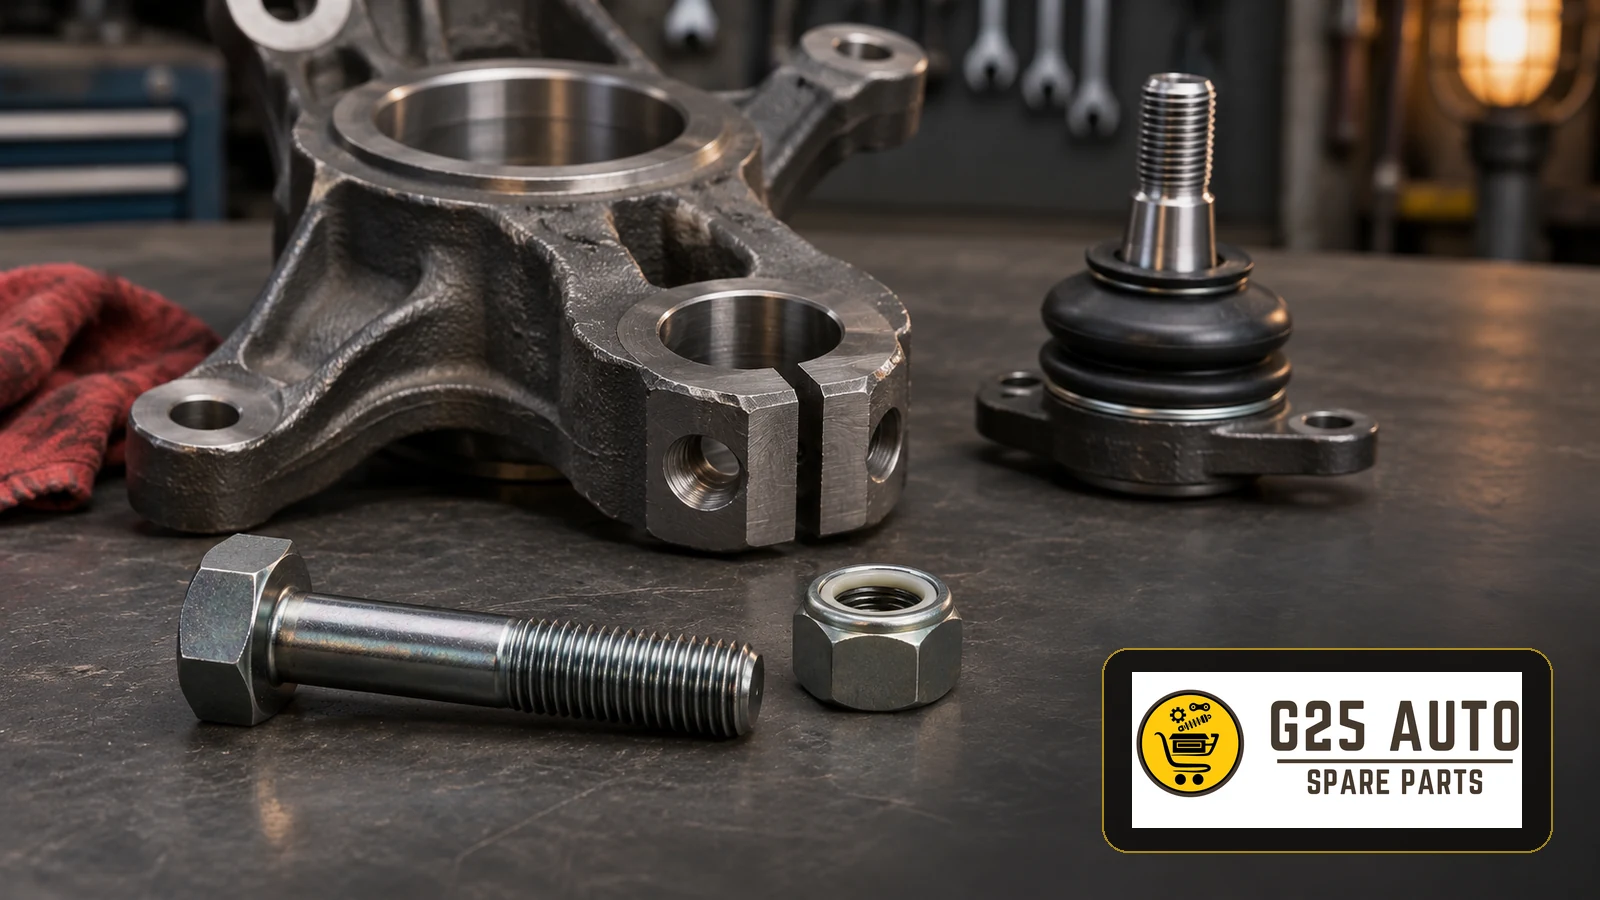
A control arm ball joint’s pinch bolt and locking hardware keep the joint secure at its suspension mounting point. The fastener, tightening procedure and locking parts vary by design. Use the hardware and tightening specification listed for the vehicle. A loose connection can allow the joint to move or separate.
What Is a Control Arm Ball Joint Pinch Bolt?
On a clamp-style connection, the pinch bolt secures the ball joint at its mounting point. Other designs use different fasteners, such as a nut on the ball joint stud. A replacement bolt must match the specified strength class, thread and dimensions. Some designs require new hardware whenever the connection is dismantled.
Types of Locking Hardware
The locking method depends on the vehicle and the joint design.
1. Cotter pin
Where specified, a cotter pin passes through a drilled stud and a slot in the nut to keep the nut from turning. Follow the service procedure for installing the pin.
2. Nylon-insert locknut
A nylon insert grips the threads and resists loosening. Use this type of nut only where the manufacturer specifies it.
3. Locking washer or tab
Some designs use a shaped washer or locking tab that mechanically limits rotation.
4. Deformed-thread locknut
Some nuts have a deliberately deformed thread section that grips the mating threads. Check the service instructions for any replacement requirement after removal.
Symptoms of a Worn or Loose Connection
- Steering vibration or shaking, including at low speed
- Clunks, clicks or metallic noises from the front when crossing bumps
- Steering pull or vibration under braking
- Uneven tyre wear or reduced stability
These symptoms can come from several suspension or steering faults. Have the vehicle inspected to identify the cause.
How a Technician Checks the Connection
Mechanical inspection
A technician supports or unloads the suspension as directed by the vehicle’s service procedure and checks the joint for play. The inspection covers joint seating, the condition of the locking hardware and whether the fastener and its mounting points are damaged. A loose or damaged connection calls for inspection of the surrounding parts before any tightening or replacement.
Visual inspection
- Check whether the specified pin, nut or other locking part is present and intact.
- Look for corrosion, cracks or deformation on the bolt and joint housing.
- Look for a torn ball joint boot or grease leakage.
- Inspect the control arm and mounting point for wear or damage.
Choosing the Correct Replacement
Verify the original equipment part number
Look up the fastener and its locking hardware in the manufacturer’s parts information. Check the markings on the removed part and confirm that the replacement matches the specified part number, fastener type and strength class.
Check by VIN
A model name can cover several suspension versions and production changes. Use the VIN in the parts catalogue to narrow down the applicable assembly and hardware.
Check the engine variant and build date
Confirm the engine variant and build date when the catalogue distinguishes between configurations. This helps identify any parts revisions that affect the joint or its fasteners.
Original Equipment and Aftermarket Options
| Check | Original equipment | Aftermarket |
|---|---|---|
| Part identification | Look up the original part number for the vehicle. | Verify the cross-reference against that original part number. |
| Fastener specification | Confirm the hardware listed for the assembly. | Confirm the listed dimensions, thread and strength class. |
| Locking hardware | Check which pieces the procedure requires. | Check what the kit includes and verify each required part. |
What to check before buying
Whether you choose original equipment or an aftermarket replacement, confirm the exact application and check that the required locking parts are included or available separately.
Installation and Tightening
Have a qualified technician install the fastener. The vehicle manufacturer’s procedure gives the correct sequence and tightening specification for that joint.
Installation checklist
- Remove the old fastener and locking hardware as directed.
- Clean and inspect the mating surfaces and check the new parts for damage.
- Confirm that the ball joint is correctly seated in its mounting point.
- Use a torque wrench and follow the specified sequence for tightening the fastener and fitting its locking hardware.
- If a cotter pin is specified, secure it as directed by the service procedure.
- Complete the post-installation checks and road test called for by the procedure.
Common Installation Mistakes
- Tightening by feel, which can leave the connection too loose or overload the fastener
- Reusing hardware the manufacturer specifies as single-use
- Installing a bolt with an incorrect strength class or leaving out required locking hardware
- Installing new hardware on a damaged joint or mounting point
- Leaving debris on the mating surfaces, which can prevent proper seating
Maintenance and Inspection
Include the joint and fasteners in routine suspension inspections. Arrange an inspection if new noises, vibration or handling changes appear, or if the suspension has taken a heavy impact. When replacing the ball joint, check the service instructions for which fasteners and locking parts also need to be renewed.
Finding Suitable Hardware
Give the parts supplier the VIN, engine code and build date where relevant. Ask for the fastener and locking parts listed for the exact suspension assembly.
Frequently Asked Questions
When should the ball joint bolt be replaced?
Follow the replacement instructions for the vehicle, including any single-use requirements. Have a corroded, cracked or deformed fastener inspected promptly.
What happens if the cotter pin breaks?
The nut loses its mechanical lock. Have the connection checked promptly and the missing or damaged locking hardware replaced as specified.
Why does the torque specification matter?
Too little torque can leave the joint loose. Too much can damage the fastener or threads. Follow the tightening specification for the exact connection.
Does every ball joint use separate locking hardware?
Some designs use a separate pin or tab. Others use a locknut that provides its own locking action. Match the original connection design.
How can I identify the bolt strength class?
The bolt head may carry a strength-class marking. Check that marking against the vehicle specification and also verify the part number and dimensions.
What should I check on an aftermarket bolt?
Check the original equipment cross-reference, the fitment for your suspension assembly and the listed fastener specification. Verify the locking hardware as part of the same connection.
Conclusion
The pinch bolt and locking hardware are small but important parts of the ball joint connection. Select them against the vehicle’s parts information, use the specified installation procedure and have new suspension noises or handling changes checked promptly.