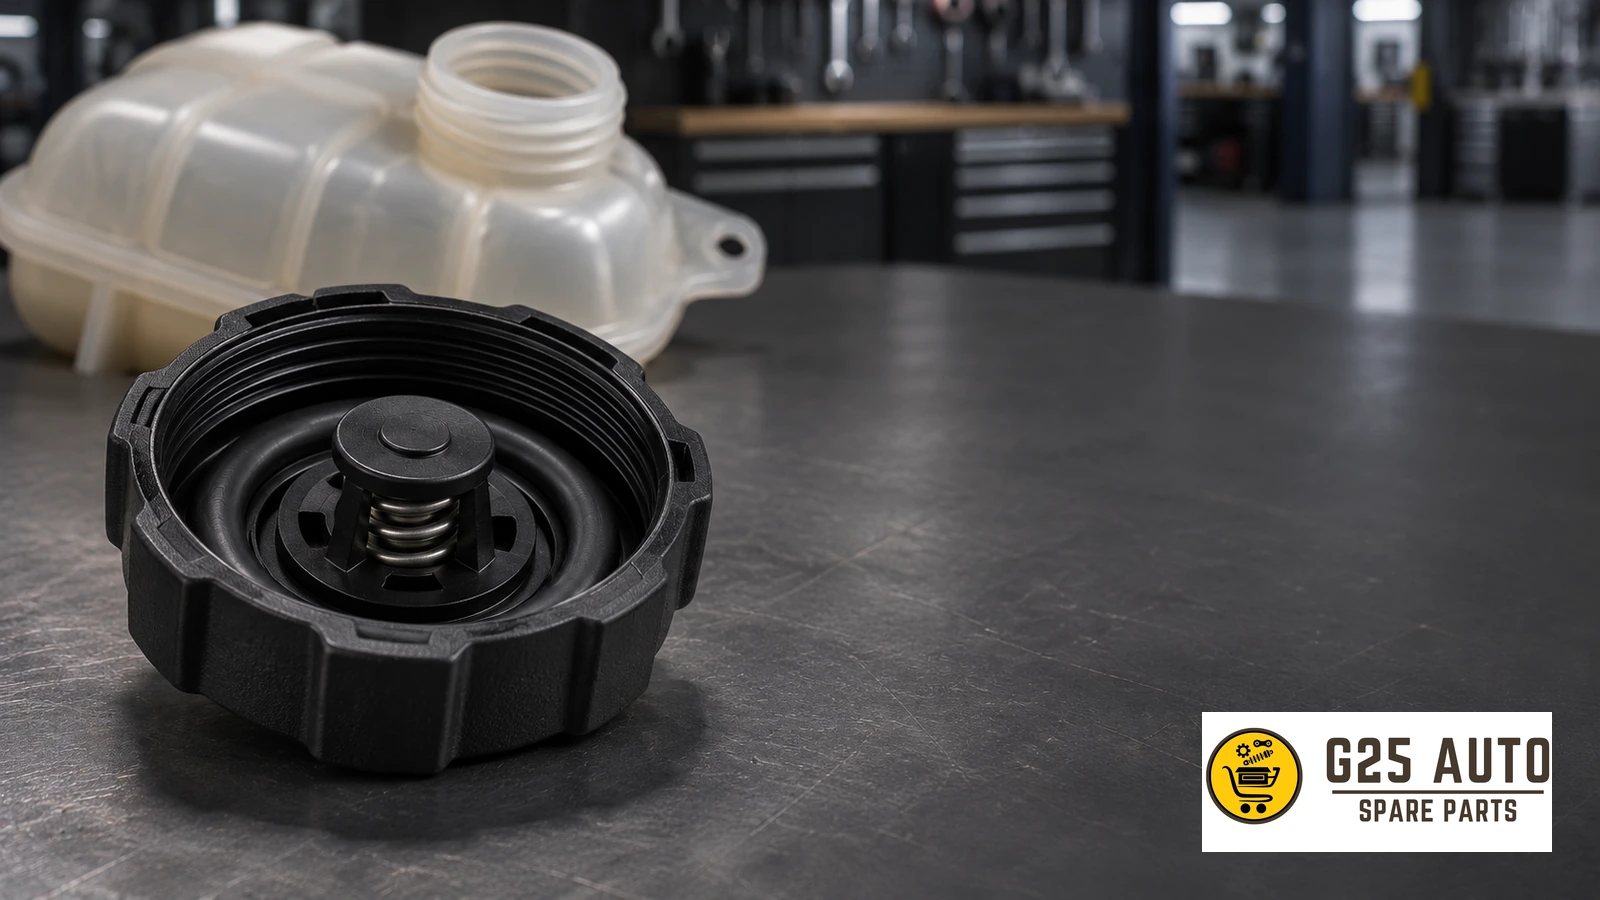
The coolant expansion tank cap controls pressure in the cooling system as the coolant heats up and expands. A cap that loses its seal or fails to relieve pressure can contribute to coolant loss, boiling or overheating. These symptoms can also point to faults elsewhere in the cooling system.
What Is an Expansion Tank Cap and How Does It Work?
On a pressurised expansion tank, the cap seals the cooling system and acts as a pressure relief valve. Keeping the system pressurised raises the boiling point of the coolant. As the engine warms up, the coolant expands and the pressure rises. The cap relieves pressure at its specified threshold. What happens during cool-down depends on the cooling system design. Where a recovery circuit is fitted, a return valve can allow coolant to flow back as the system cools.
Main Functions of the Expansion Tank Cap
Pressure Control
The cap maintains the pressure specified for the cooling system and allows excess pressure to escape. The higher boiling point helps keep the coolant circulating as a liquid at operating temperature.
Expansion and Contraction
Coolant takes up more space as it heats up and contracts as it cools. The tank accommodates those changes in volume. The pressure relief valve helps protect the radiator and hoses from excessive pressure.
Pressure Equalisation During Cool-Down
As the coolant cools and contracts, the pressure falls. Where fitted, a vacuum or return valve helps equalise the pressure. Air trapped in the cooling circuit can interfere with circulation and cause local hot spots.
Symptoms of a Faulty Expansion Tank Cap
A failing cap can produce several symptoms. A workshop can check whether the cap or another part of the system is responsible.
- Coolant overflowing from the tank: A cap that fails to regulate pressure can contribute to overflow.
- Unusually hard radiator hoses: A valve that fails to relieve pressure can leave the hoses under excessive pressure.
- Overheating: If the cap cannot hold pressure, the coolant can boil at a lower temperature.
- Abnormal coolant level after cool-down: On systems with a recovery circuit, a faulty return valve can interrupt coolant flow back into the system.
- Bubbling or gurgling: Coolant boiling at reduced pressure can produce bubbling sounds.
A faulty thermostat, water pump, blocked radiator, leaking head gasket or damaged hose can produce similar symptoms. Have the cooling system checked to establish the cause.
When Should the Cap Be Replaced?
Wear and corrosion can affect the cap, and its rubber seals can harden and lose flexibility.
Routine Maintenance
Follow the vehicle maintenance schedule. A coolant service is an opportunity to inspect the cap and check whether it needs testing or replacement.
Visual Inspection
Look for cracks, corrosion or deposits around the seal and signs of spring damage. Internal valve faults may leave the outside looking intact.
Pressure Testing
A workshop can use a cap tester and the appropriate adapter to check whether the cap holds pressure and opens at the specified setting.
Original and Aftermarket Caps
| What to check | Original cap | Aftermarket cap |
|---|---|---|
| Fitment | Confirm the correct part number for the vehicle. | Confirm the application against the vehicle details and original part reference. |
| Pressure rating | Check it against the vehicle specification. | Match the vehicle specification. |
For either option, verify fitment and the pressure rating before ordering.
How to Choose the Right Cap
Check the Original Part Number
Use the original part reference to verify the replacement. The part reference can help identify the required pressure rating, seal and mounting arrangement.
Check the Vehicle Identification Number
Vehicles sold under the same model name may use different caps. Use the VIN to confirm the application in the parts catalogue.
Confirm Engine Type and Production Date
Cooling system designs can change during a model’s production run. Check the engine code and build date where the catalogue lists more than one option.
Match the Pressure Rating
Compare the pressure marked on the cap with the rating specified for the vehicle. Using a different rating can affect cooling system operation and damage components.
Expansion Tank Cap Replacement Checklist
- Wait until the engine and cooling system are fully cold before opening the cap. Follow the vehicle’s service instructions.
- Check the coolant level and inspect the expansion tank and radiator for cracks or signs of leakage.
- Inspect the radiator hoses.
- Confirm the replacement cap’s rating against the vehicle specification.
- Check that the seal sits correctly and fit the cap as specified.
- Check for leaks after fitting. Recheck the coolant level once the system has cooled fully.
Common Questions About Expansion Tank Caps
Does a Higher Pressure Rating Help?
Cooling system components are designed for a specified pressure. A cap with a higher rating can expose the radiator and hoses to excessive pressure.
Is the Cap Only There to Prevent Overflow?
The cap also controls system pressure, which affects the boiling point of the coolant. A return valve can help equalise pressure during cool-down where the system uses one.
Will a Universal Cap Fit Any Vehicle?
A cap can fit the filler neck and still have the wrong pressure rating or valve characteristics. Check the vehicle specification as well as the physical fit.
Frequently Asked Questions
Can a Faulty Cap Cause Engine Damage?
A cap fault can contribute to overheating. Severe overheating can damage the head gasket or distort the cylinder head, so have the cause checked promptly.
How Often Should I Have the Cap Checked?
Follow the vehicle’s maintenance schedule. Inspect the cap during routine cooling system service and have it tested if there are signs of a pressure fault.
Should I Open the Cap When the Engine Is Cold?
Yes. Open it only when the engine and cooling system are completely cold. Hot coolant under pressure can spray out and cause serious burns.
Are the Radiator Cap and Expansion Tank Cap the Same?
The pressure cap may sit on the expansion tank or directly on the radiator, depending on the cooling system design. Check the vehicle handbook for the correct location.
Is Anything Else Required After Replacing the Cap?
Check the coolant level and follow the vehicle’s bleeding procedure if air needs to be removed. Check for leakage around the cap after the engine has run, then recheck the level once the system is fully cold.
Conclusion
The expansion tank cap helps the cooling system maintain the pressure it was designed for. If the vehicle loses coolant or overheats, include the cap in the diagnosis along with the thermostat, pump, radiator and hoses. When replacing the cap, use the vehicle details and original part reference to verify fitment and the correct pressure rating.