
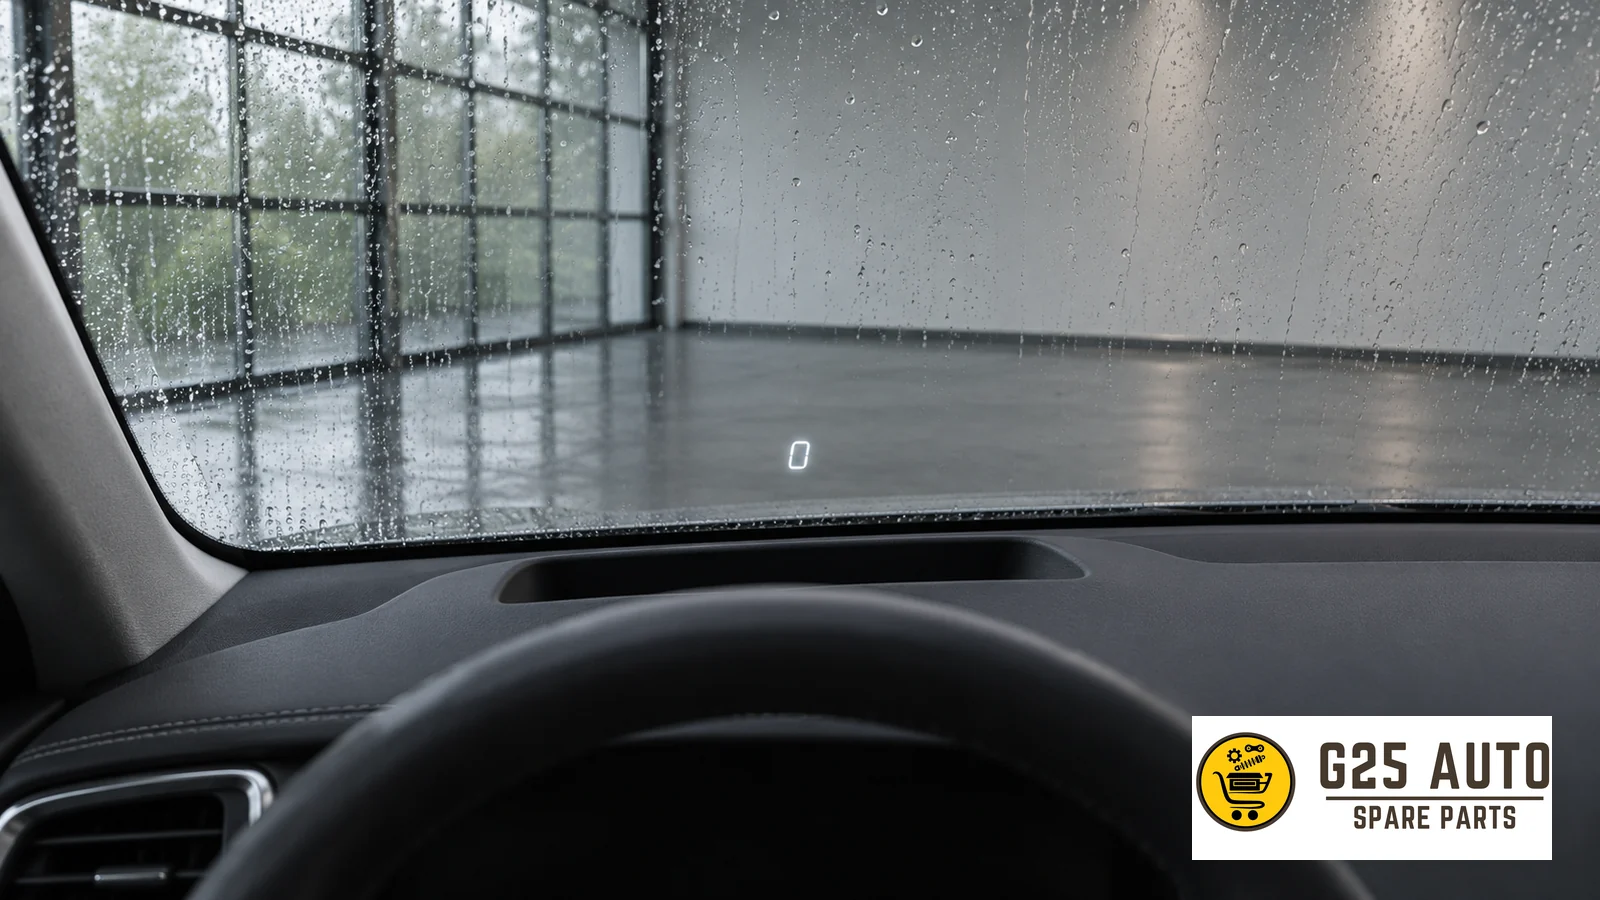
Short answer: The head-up display that projects information onto the windshield shows the driver certain information within the field of view if this equipment is present in the vehicle. If the image is not visible, first check that the display is on, the seat is in the normal driving position, and the projection is at the correct height. Evaluate brightness separately. Make adjustments while parked and verify vehicle-specific options from the owner’s manual.
Find the location of the projection on the windshield
The head-up display may be referred to in manuals as the head-up display, or HUD. When checking whether a vehicle has this equipment, do not rely solely on an opening above the instrument panel or a similar icon in the menu. Read what the manual says for the relevant model and equipment. For example, Volvo EX90 owner support explains brightness and position settings of the head-up display as separate options. Compare the menu name with the wording on your own vehicle’s screen.
If the vehicle was previously used by someone else, check the seat and display settings together. Changing the seat height changes the position of your eye relative to the projection on the windshield. As a result, information that the previous driver viewed comfortably may remain at the edge of your field of view in your normal sitting position. Instead of adjusting the seat according to the display, first establish the driving position from the manual, then evaluate the projection from that position.
Position and brightness solve different problems
| Observation | First check |
|---|---|
| Image not visible at all | Check the equipment and the setting that turns on the display from the manual. |
| Image only visible when you move your head | Return to your normal sitting position, then examine the position setting in the manual. |
| Information in the right place but faint | Evaluate brightness setting, ambient light, and glasses you are wearing separately. |
| Image partially visible in normal sitting position | Change position in small steps and check the entire information area. |
Find the location of the projection before increasing brightness. If you can see the edge of an information area and can only see it completely when you lean forward, changing brightness does not answer the main question. While the vehicle is parked, change the position setting one step and return to your normal sitting position again. Changing multiple settings at the same time makes it difficult to understand which change produced the result. Noting the order in which settings were changed makes it easier to return to the previous state.
When the projection is in the right place, evaluate brightness if readability issues persist. Do not assume that the setting you use during the day will provide the same comfort in a dark environment. Without moving your head or seat, evaluate the area where the projection is displayed with your normal gaze. If a setting appears too bright, return to the brightness control in the manual and select a level that does not disturb vision.
Test glasses and lighting conditions separately
The Volvo EX90 manual lists polarized sunglasses, not sitting in the middle of the seat, and unfavorable lighting conditions among examples that can make viewing the projection difficult. To understand the effect of glasses, make the comparison while parked. Look with glasses without changing your seating position or the display settings, then if possible check the view without glasses. Do not try to compensate for a setting by removing glasses you need while driving. Determine an arrangement you can use together with equipment that supports your vision.
When comparing lighting conditions, keep in mind that the same projection may appear different in a shaded place and in a brighter environment. Do not search for settings while the vehicle is moving to compare sunny and shaded conditions. It is sufficient to describe the change you see in two different parking spots. Is the faintness the same in both conditions, or does it only occur when the background in front of the windshield is very bright? This distinction makes it easier to understand what the brightness setting corresponds to.
Brief adjustment sequence while parked
- Verify your vehicle’s head-up display equipment and on/off option from the manual.
- Bring the seat to the normal driving position and look at the projection without leaning your head forward.
- Bring the position to a level where you can comfortably see the information area on the screen.
- Evaluate brightness in the current ambient light. If you are using sunglasses, check their effect separately.
- After completing changes, exit the settings menu and verify that you can read the main displays normally.
If two drivers share the vehicle, each driver can apply the same steps in their own sitting position. If the vehicle has a profile feature that saves settings, learn from the manual whether the head-up display is included in this profile. Do not assume that one driver’s settings will automatically apply to another driver. When the seat changes, checking the position of the projection is a simple observation that can be made before thinking the previous setting has been corrupted.
If there is no image despite verified settings
Check the on and off steps, position and brightness settings in the manual once more. If the problem just started, note what has changed. For example, was the vehicle used by someone else, did your glasses change, does the image disappear in all lighting conditions? The answer to these questions does not by itself make a fault diagnosis. However, when you request support, it helps you explain which setting you tried and in which situation the image changed.
If the view changed after maintenance or replacement of the windshield, tell the service center. The model, equipment, and display heading in the owner’s manual provide a more solid starting point for a service conversation. Do not compromise your normal driving position to see the projection. Follow the relevant vehicle indicators from the locations defined in the manual and report unresolved image problems to appropriate maintenance support.
Do not confuse the content in the projection with the instrument panel
Also read in the vehicle manual which information is displayed on the windshield. While some menus adjust the location and brightness of the screen, another section may explain which signs can be displayed. The absence of a sign you expect on the windshield and the disappearance of the entire projection on the screen are two different observations. For example, if information is available on the main display but does not appear on the windshield, first verify whether that information is projected in this equipment. The brightness setting does not add a sign to the image that the manual does not provide.
If you are going to take notes on the first attempt, record three things. The normal driving position of the seat, the area where the projection appears after position adjustment, and which glasses you are looking through provide a comparison later. When you take the vehicle to service, you can demonstrate the problem again while the vehicle is parked. If a photograph is to be taken under the same conditions, consider that the photograph may not show the projection seen from the driver’s eye one-to-one. The position of the phone and the sitting position are different. Give priority to your observation from the driver’s seat and the adjustment sequence in the manual.
Frequently asked questions
If the projection stays high, is it necessary to increase brightness?
First look at the position setting. After the image comes to the right place, evaluate readability and brightness separately.
Why can the image change with polarized glasses?
The manufacturer’s manual gives polarized glasses as one of the conditions that can affect visibility. With the same sitting position and settings, compare the two views while the vehicle is parked.
Does every vehicle have the same settings?
Options depend on model and equipment. See which options are listed in your own vehicle’s manual.