
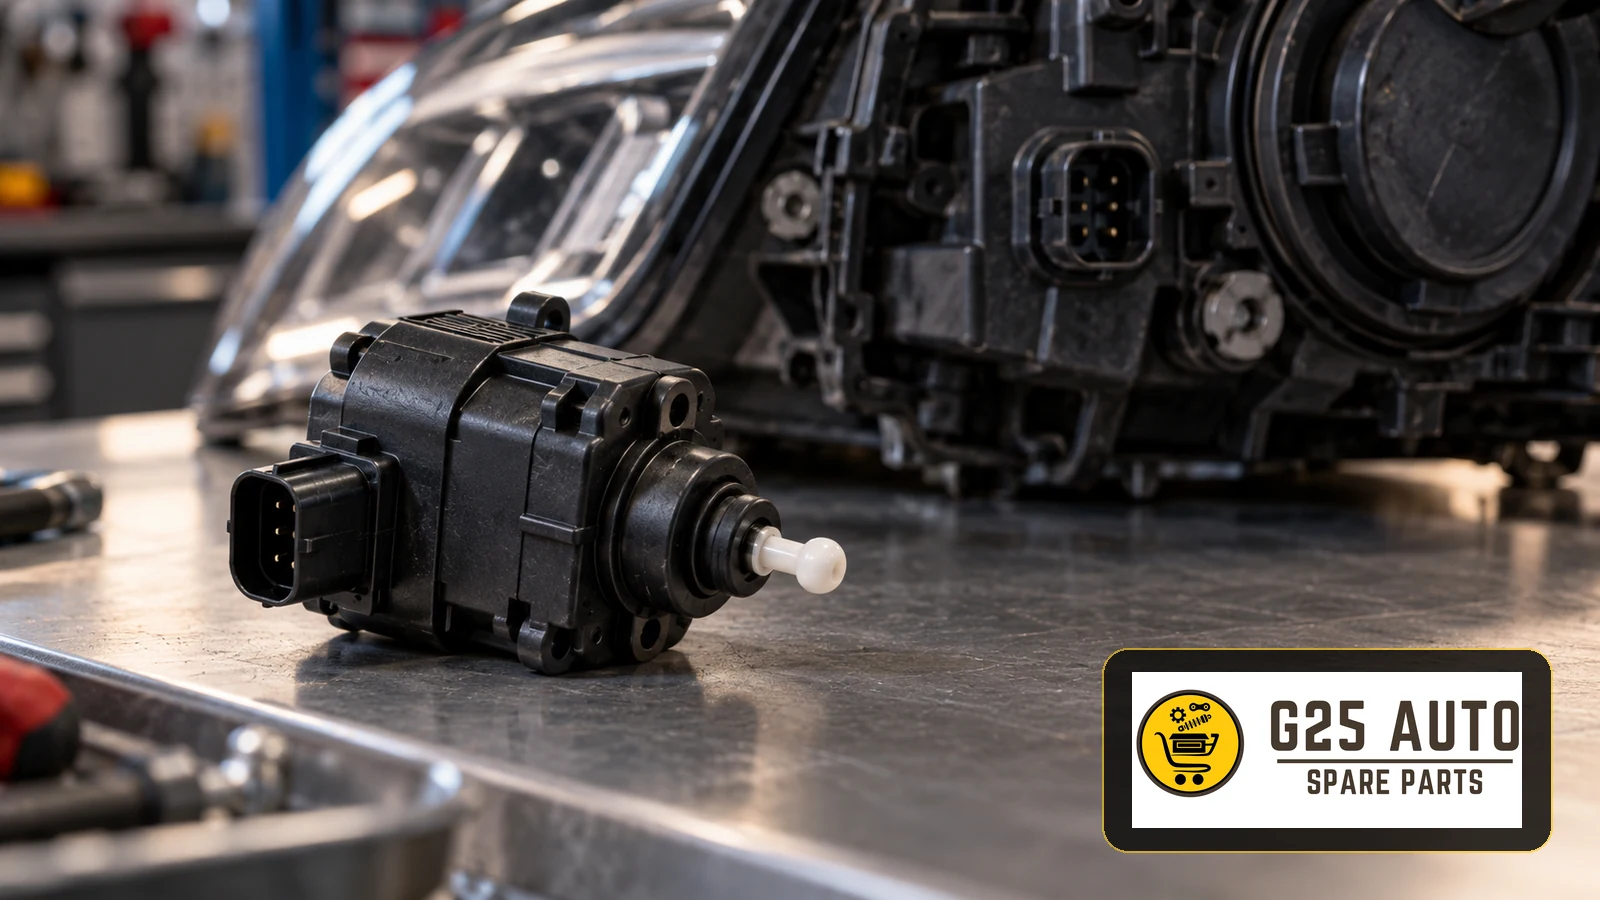
A headlamp levelling motor adjusts the vertical position of a vehicle’s headlamps. In automatic systems, adjustment responds to vehicle load and attitude. A fault may leave a lamp stuck, prevent adjustment or trigger a dashboard warning. Incorrect operation can reduce visibility and dazzle approaching drivers.
What Is a Headlamp Levelling System and How Does It Work?
Automatic levelling is used on some xenon and LED lighting systems. Depending on the vehicle, level sensors provide information used to adjust the beam angle. Loading the luggage compartment can lower the rear of the vehicle and direct the beams upwards. The levelling motor helps correct their position.
Motor arrangement and control vary by headlamp design. An electronic control unit may command adjustments using sensor information. Some lighting systems also turn the beams when cornering; this function should be distinguished from vertical levelling.
Symptoms of a Headlamp Levelling Motor Fault
Possible warning signs include:
Early Warning Signs
- A headlamp adjustment warning illuminates or flashes.
- The beams point higher or lower than usual.
- The expected headlamp movement at ignition is absent, where fitted.
- One beam sits at a different height from the other.
- Adjustment does not respond to load changes as expected.
- Clicking or buzzing comes from the actuator area.
More Advanced Symptoms
- The levelling function stops operating.
- Manual adjustment is restricted or ineffective, depending on the fault.
- Approaching drivers signal that the lights are dazzling.
- Night-time visibility becomes noticeably poorer.
- A lighting-system fault may affect the vehicle inspection outcome.
Arrange professional inspection if these symptoms occur. Diagnostic fault-code checks can help identify the cause, alongside electrical and mechanical checks.
Checks Needed for Diagnosis
A warning lamp alone does not identify a failed motor. Level sensors, wiring connections or the control unit may also cause the problem.
Professional Diagnostic Process
A qualified workshop or automotive electrician should consider:
- Reading fault codes with suitable diagnostic equipment.
- Checking level-sensor operation.
- Testing motor connections and wiring.
- Checking the motor’s supply and control signals against vehicle instructions.
- Inspecting mechanical movement using the specified procedure.
- Performing calibration where required.
Calibration or attention to a connection may resolve some faults. Diagnose the system before ordering a replacement motor.
Comparing Original and Aftermarket Levelling Motors
| Factor | Original part | Aftermarket part |
|---|---|---|
| Warranty | Check the applicable supplier terms | Check the brand and supplier terms |
| Compatibility | Verify the exact application | Verify the application and cross-reference |
| Quality specifications | Check the specified part documentation | Assess the manufacturer’s documented specifications |
| Availability | Confirm when ordering | Confirm when ordering |
| Technical support | Confirm the support offered | Confirm the supplier’s support |
| Cost | Depends on the application and offer | Depends on the application and offer |
Key Checks for Choosing the Correct Part
For European and Balkan B2B orders, use the following identification checklist:
Parts Selection Checklist
- Check the VIN: A model name and year may cover different actuator versions.
- Verify the original part reference: Record the existing motor’s identification and confirm the proposed replacement application.
- Record the engine code: Include it where relevant to catalogue identification.
- Provide production year and month: Changes may occur within a model year.
- Check the headlamp type: Halogen, xenon and LED assemblies may use different components.
- Identify the equipment specification: Lighting arrangements may differ between trim levels.
- Photograph the connector: Check its configuration against the replacement.
Before and After Installation
Replacing a levelling motor requires technical knowledge. Incorrect installation can damage the system or the actuator.
Preparation Before Installation
Follow the vehicle’s electrical isolation instructions before working. Access may involve removing wheel-arch trim, bumper components or the headlamp assembly. Photograph the existing motor’s attachment and orientation before removal.
Calibration After Installation
Check the vehicle-specific calibration and beam-setting requirements after replacement. Diagnostic equipment or another specified adjustment procedure may be needed. Omitted required calibration can leave the system operating incorrectly.
Original or Aftermarket: Making an Informed Choice
Selection depends on the vehicle, the documented application, budget and service requirements.
When Might an Original Part Be Preferred?
For a newer vehicle or one under warranty, check the applicable warranty conditions and repair requirements. Brand-specific electronic integration may influence the choice. Confirm the required part rather than assuming suitability from the vehicle’s market segment.
When Might an Aftermarket Part Be Considered?
An aftermarket motor may be an option for an older vehicle outside warranty. Assess the manufacturer’s documentation, application coverage and supplier reliability. Brand reputation alone does not establish identical performance or compatibility.
Headlamp Levelling System Care
The following checks can help identify conditions that contribute to faults:
- Inspect for water ingress around the headlamp.
- Keep motor connections clean and dry.
- Have vehicle electrical problems investigated promptly.
- Check for exposure to winter road salt and de-icing contamination.
- Have the system checked after an electrical fault or suspected surge.
- Check calibration requirements after accident-related headlamp replacement.
Frequently Asked Questions
Can a Levelling Motor Fault Affect Driving Safety?
Yes. Beams directed too high can dazzle other drivers; beams directed too low can reduce visibility, especially at night.
How Long Does Replacement Take?
Time depends on vehicle access, motor location and any required calibration. Confirm the work involved for the specific application.
Must Both Motors Be Replaced Together?
Not necessarily. Inspect both sides and base replacement on their condition and the diagnosis, rather than assuming the second motor will soon fail.
What Happens If Calibration Is Omitted?
Where calibration is required, the lamps may remain incorrectly positioned or the warning may persist. Some systems may restrict operation.
Can a Used Motor Be Fitted?
Its service history and remaining life may be uncertain. Check compatibility, condition and the supplier’s actual return terms before considering one.
Which Brands Have More Levelling Motor Problems?
The source does not support a brand ranking. Suppliers and systems vary between models; assess the individual fault and replacement specification.
Conclusion and Recommendations
Recognising abnormal beam height or a dashboard warning early helps workshops address lighting faults promptly. Arrange professional diagnosis before replacing components.
Use the VIN, relevant engine information, production date and verified part references to identify a suitable motor. Compare original and aftermarket options using documented specifications and supplier terms.
Correct installation, beam adjustment and any required calibration support proper operation. Headlamp maintenance matters to both the vehicle’s occupants and other road users.