
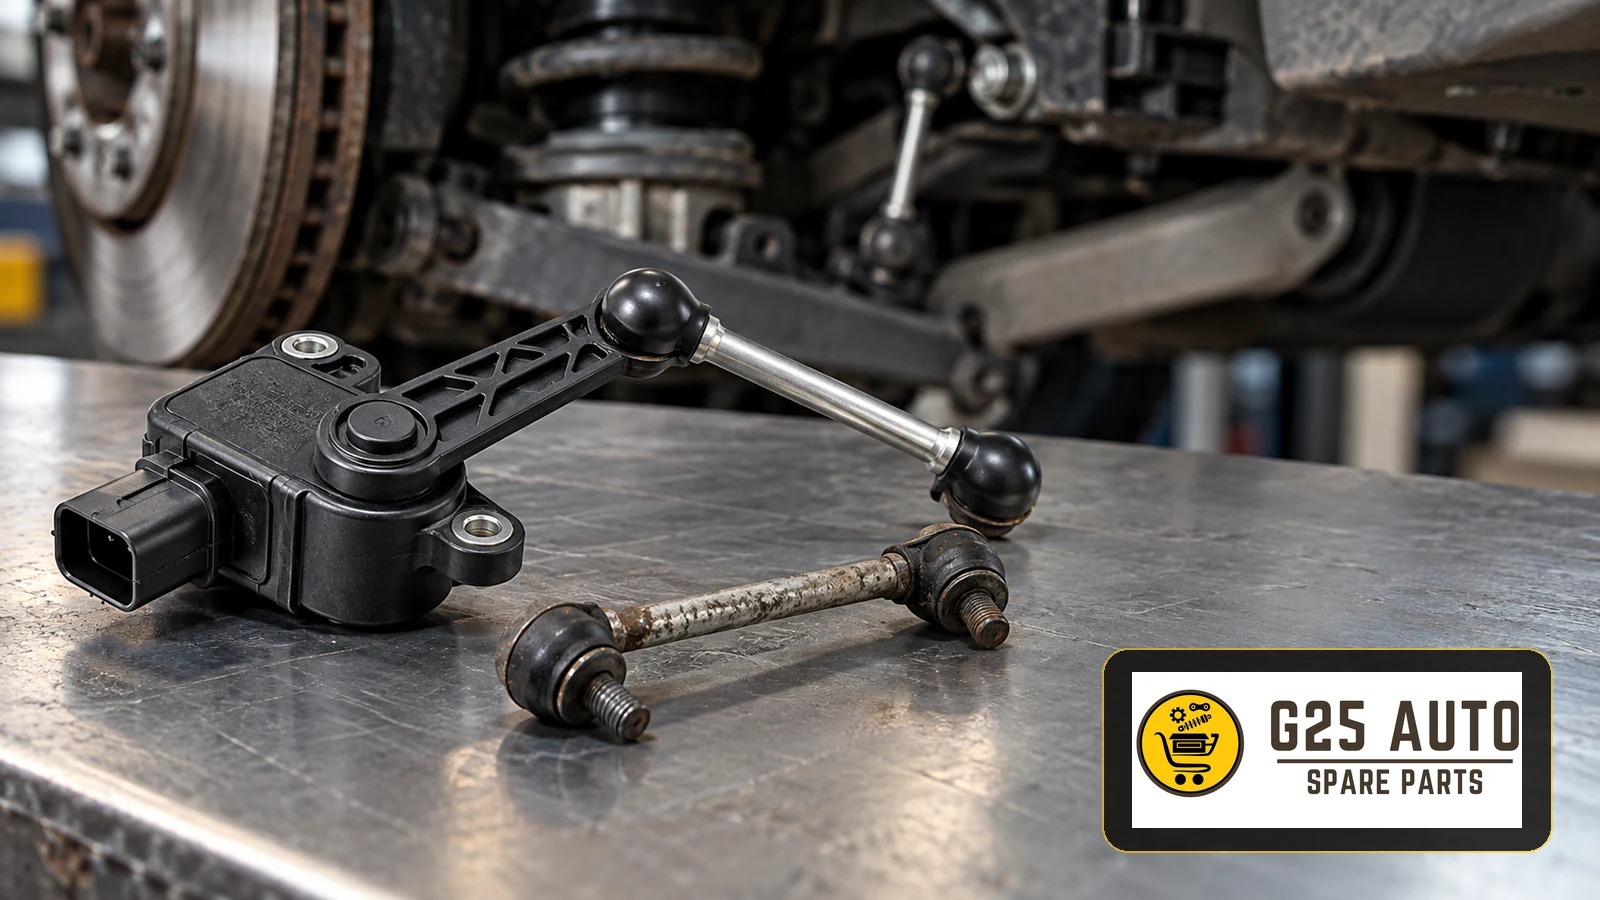
The headlamp level sensor and connecting link are important parts of a vehicle’s headlamp alignment system. A fault may trigger a dashboard warning, leave the lamps incorrectly aligned or reduce road illumination. Diagnosis requires system checks; part references, the VIN and vehicle specification help identify a suitable replacement.
What Are the Headlamp Level Sensor and Connecting Link?
On vehicles equipped with automatic headlamp levelling, the system adjusts beam angle as vehicle load changes. This helps maintain suitable road illumination and limit glare for oncoming drivers.
Main System Components
The electronic level sensor detects changes in suspension position. Depending on the vehicle, sensors may be fitted at the front, rear or both. The connecting link mechanically couples the sensor to suspension movement.
The link transfers upward and downward movement to the sensor, allowing the system to assess vehicle attitude. The resulting information is used to control the headlamp actuators and adjust beam angle.
Fault Symptoms and Observable Problems
Sensor or linkage problems can produce several symptoms. These are clues requiring investigation, rather than a diagnosis by themselves.
Common Fault Symptoms
- A headlamp levelling warning on the dashboard
- Headlamps remaining unusually high or low
- No adjustment when vehicle load changes
- Rattling or unusual noise during suspension movement
- Visible damage or separation of the connecting link
- A loose sensor mounting bracket
- Problems with electrical connections
Visual and Physical Inspection Tips
With the engine off and the vehicle safely supported for workshop inspection, check the link for breaks, cracks, wear or displaced joints. Check that the sensor is mounted securely and that its wiring connections are sound.
A Professional Approach to Diagnosis
Visible symptoms still require appropriate diagnostic methods. Initial observations can guide the investigation, but identifying the cause requires suitable equipment and knowledge.
How Does the Diagnostic Process Work?
A suitably equipped workshop reads the system’s fault codes, then checks sensor supply voltage, signal output and mechanical connections using the vehicle’s service information.
The technician also checks whether the link transfers suspension movement correctly. The fault may lie in the actuators or wiring rather than the sensor itself.
OEM Part References and Compatibility Checks
Correct part selection matters when replacing a sensor or link. Different production years and equipment versions of the same vehicle model may use different designs.
Why Is the OEM Reference Important?
An OEM, or original equipment manufacturer, part reference identifies a component in the manufacturer’s catalogue. It helps with:
- Identifying a candidate part for the vehicle
- Reducing ordering errors
- Checking technical specifications
- Comparing mounting points and connections
Verification Using the VIN
The vehicle identification number helps a supplier consult vehicle-specific catalogue information, including production details, engine and equipment where available.
Because both electronic and mechanical compatibility matter, a VIN-based catalogue check helps reduce the risk of choosing the wrong sensor or link.
Engine Code and Production Date
Sensor systems can vary with engine version and production date. Provide these details when ordering rather than assuming that all versions of a model use the same arrangement.
Comparing Genuine and Aftermarket Parts
| Factor | Genuine Part | Aftermarket Part |
|---|---|---|
| Manufacturer | Supplied through the vehicle manufacturer’s parts programme | Supplied by an independent component manufacturer |
| Compatibility | Check the application and vehicle specification | Check the cross-reference and vehicle specification |
| Quality Standards | Review the part specification | Review documented specifications and any relevant certification |
| Supply Time | Confirm for the actual order | Confirm for the actual order |
| Warranty | Check the applicable terms | Check the supplier’s or manufacturer’s applicable terms |
| Brand Marking | Usually vehicle-brand identification | Usually component-manufacturer identification |
Which Option Suits Your Needs?
Both routes can be considered. Assess the actual part’s application and documented specification rather than assuming that its branding alone establishes suitability or quality.
For aftermarket procurement, choose a traceable supplier and verify the reference match and supporting product documentation. Equivalent quality or a shared production origin should not be assumed.
Part Selection Checklist
- Have the VIN ready: Use it for the catalogue check.
- Identify the OEM reference: Consult the existing component or service records.
- Confirm the engine code: Use the vehicle’s identification information.
- Record the production year and month: Application changes can occur within a model year.
- Identify the lighting equipment: For example, xenon, LED or conventional headlamps.
- Check the existing sensor type: Its front or rear position matters.
- Check the link length: Different lengths may be used.
- Review warranty terms: Check both genuine and aftermarket offers.
- Confirm installation requirements: Special tools or calibration may be needed.
Installation and Calibration Requirements
Replacing the sensor or connecting link requires careful installation and may require calibration afterwards. Correct mechanical attachment is essential for the sensor to follow suspension movement properly.
Checks After Installation
After fitting the parts, follow the vehicle-specific calibration procedure. Depending on the system, this may involve a diagnostic tool or another procedure specified by the manufacturer.
Where required calibration is omitted, beam alignment and system operation may be incorrect. Installation should therefore be handled by a technician familiar with the system.
Choosing a Reliable Aftermarket Supplier
For European and Balkan B2B procurement, assess reference matching, relevant product documentation and after-sales support when selecting a supplier for sensors and links.
Frequently Asked Questions
Does a level sensor fault affect vehicle use?
Incorrect beam alignment can reduce road illumination or dazzle other drivers. Have the fault assessed before relying on the lighting system; inspection requirements vary by market.
Can only the connecting link be replaced?
If diagnosis confirms that the sensor works and only the link is faulty, separate link replacement may be possible, depending on the component design.
Must both front sensors be replaced together?
Not necessarily. Sensor number and location vary by vehicle. Inspect the fitted components and base replacement decisions on their condition and diagnosis.
Can an aftermarket sensor match genuine-part quality?
Assess the individual manufacturer’s documented specifications and the correct application. An OEM cross-reference alone does not establish equivalent quality.
Does a level sensor fault affect fuel consumption?
A direct effect is not normally expected. The concern described here is reduced visibility and driving comfort from incorrect headlamp alignment.
Conclusion
The level sensor and connecting link support correct headlamp operation. Investigate fault symptoms professionally and use part references, the VIN, engine code and production details to guide replacement selection.
Compare genuine and aftermarket options using documented suitability and applicable warranty terms. Complete any required calibration after installation.
Accurate identification, suitable parts and professional installation help restore correct system operation.