
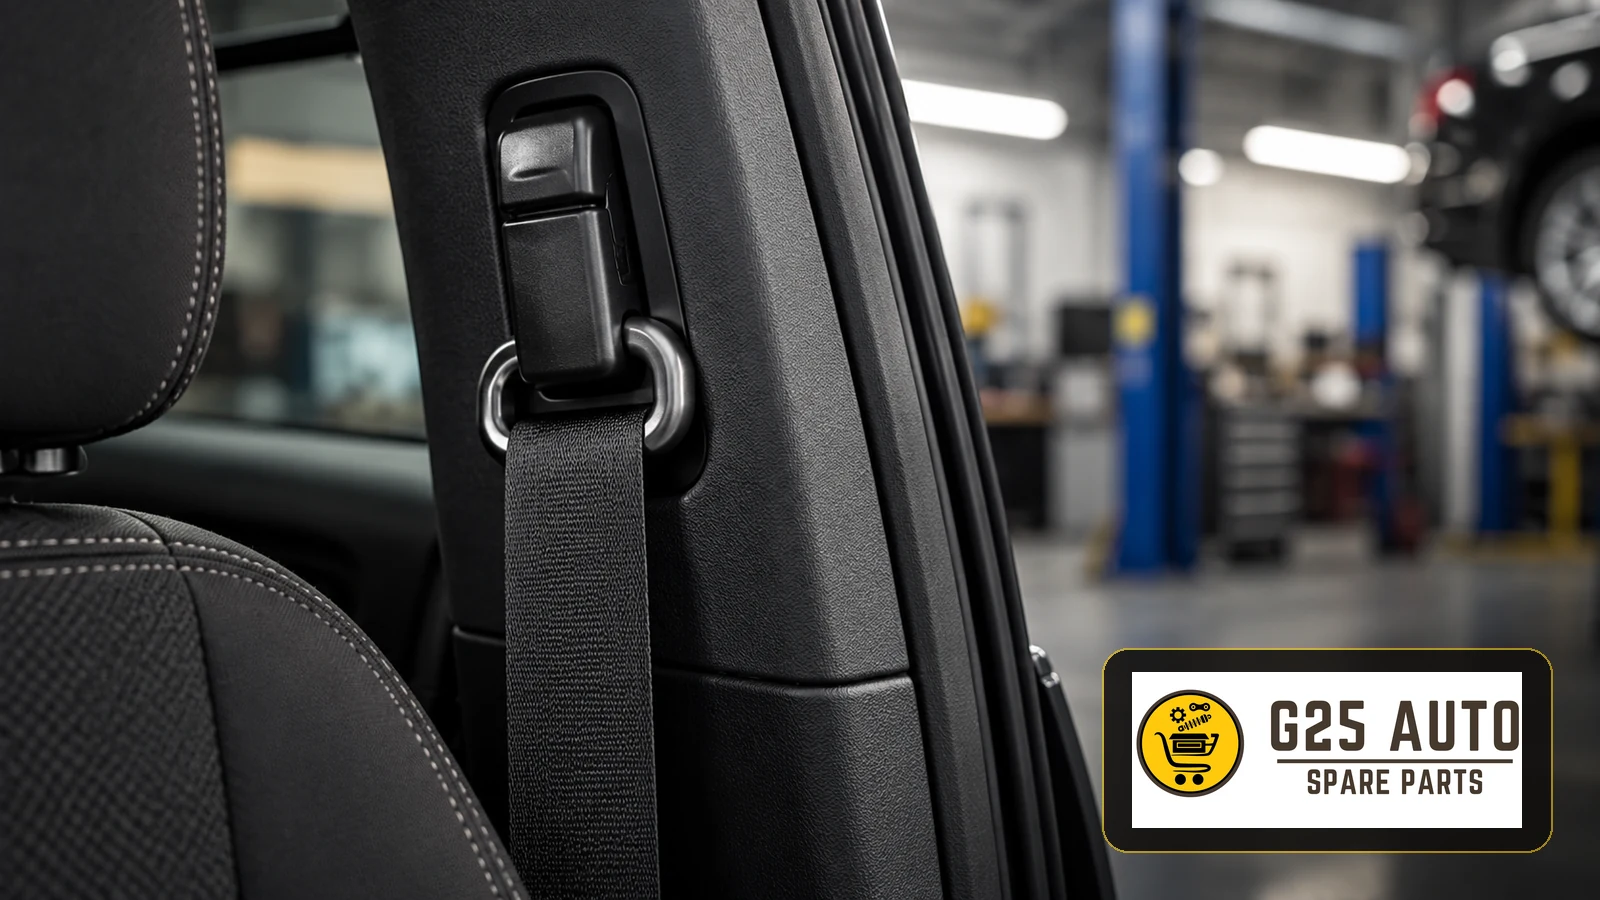
A seat-belt height adjuster positions the upper shoulder anchorage to suit the occupant. Correct adjustment supports comfortable belt routing. This guide explains mechanisms, adjustment, faults and replacement checks for European and Balkan workshops and parts buyers.
Why Is Seat-Belt Height Adjustment Important?
A seat belt is a fundamental restraint, but occupants may overlook its height adjustment, particularly in shared vehicles.
An anchorage set too high can bring the belt against the neck; too low, and the shoulder section may sit incorrectly.
The shoulder belt should cross the shoulder rather than the neck or face, following the vehicle handbook.
Seat-Belt Height Adjustment Mechanisms
Standard Mechanical Adjustment
A typical manual arrangement uses a guide rail and release button on the B-pillar to move the upper anchorage.
A sliding carriage, spring and latch allow movement when released and secure the selected position afterwards. Details vary by vehicle.
Powered Adjustment
Where powered height adjustment is fitted, a control operates a motor. Confirm the actual equipment and operation in vehicle documentation.
Memory Systems
Where position memory is provided, consult the handbook for its relationship with other stored settings. Do not assume this feature is fitted.
How to Adjust Seat-Belt Height
For a manual system, follow the handbook’s procedure:
- Sit normally: Set the seat and steering wheel to your driving position.
- Find the control: Identify the release near the upper anchorage.
- Release it: Operate the button as instructed.
- Adjust the height: Move the anchorage without forcing it.
- Check routing: Keep the belt across the shoulder, clear of the neck.
- Check locking: Release the control and confirm engagement as instructed.
Common Height Adjuster Problems
Common Fault Symptoms
Watch for these symptoms:
- No movement: The mechanism may remain latched or be obstructed.
- Failure to lock: Latch components may be damaged or worn.
- Unwanted movement: The anchorage slips from its selected position.
- Unusual noises: Squeaking may indicate wear or another fault.
- Sticking: Movement requires excessive force or catches.
Professional Diagnosis
These symptoms require qualified inspection. Incorrect restraint-system repairs can compromise safety.
Depending on the vehicle procedure, workshop checks include:
- Latch condition and engagement
- Rail and carriage wear
- Springs and retaining components
- Anchorage fasteners
- B-pillar structural condition
Parts identification: Check references, VIN and production details against the applicable catalogue; these identifiers alone do not guarantee suitability.
Replacement Parts: Original or Aftermarket?
Assess either option against the vehicle’s restraint-system requirements.
Original Parts
For vehicle-manufacturer parts, verify:
- Documented application
- Applicable warranty terms
- Relevant specification and approval information
- Condition and service requirements
Aftermarket Parts
For third-party alternatives, check:
- Applicable safety and approval documentation
- Manufacturer and supplier traceability
- Application against VIN and production details
- Physical configuration before installation
Adjustment Across Vehicle Types
Comparison Table
Vehicle class alone does not establish the equipment or adjustment range:
| Vehicle type | System to check | Adjustment range | Feature to verify |
|---|---|---|---|
| Compact cars | Manual mechanism | Vehicle-specific | Release-button operation |
| Saloons | Manual or powered, if fitted | Vehicle-specific | Memory availability |
| SUVs and crossovers | Manual mechanism, if fitted | Vehicle-specific | Available travel |
| Luxury vehicles | Actual fitted system | Vehicle-specific | Powered or memory functions |
| Commercial vehicles | Actual fitted mechanism | Vehicle-specific | Anchorage configuration |
Maintenance and Inspection Checklist
Use the manufacturer’s inspection schedule rather than universal calendar intervals.
Routine User Checks
- Check normal button operation.
- Check smooth adjustment.
- Confirm secure locking.
- Notice unusual noise or vibration.
- Look for visible cracking around the anchorage.
Further Checks When Specified
- Keep the accessible guide free from debris as instructed.
- Use lubricant only if expressly specified for this mechanism.
- Have fasteners assessed to the workshop procedure.
- Leave trim removal and internal inspection to qualified personnel.
- Inspect webbing for visible wear.
Professional Inspection
- Assess the complete restraint system.
- Check tensioning components as specified.
- Check locking operation using the prescribed procedure.
- Inspect structural anchorage points.
Special Situations
Adjustment During Pregnancy
Pregnancy requires particular attention to belt positioning. Follow the vehicle handbook’s specific guidance.
Use with Child Restraints
Follow both vehicle and child-restraint instructions for belt routing and attachment. Do not assume an adult height adjustment suits every child restraint.
Comfort on Long Journeys
Recheck belt routing after seating-position changes, especially when fatigue affects posture.
Replacement and Compatibility Checks
An unsuitable replacement can compromise the restraint system.
Identification Steps
- Part reference: Record the existing reference and check the catalogue.
- VIN: Use it to establish the vehicle application.
- Production date: Check for changes within the model range.
- Further vehicle identifiers: Supply engine information if the catalogue requires it.
- Equipment level: Confirm fitted features, particularly powered systems.
Complete identification helps workshops and B2B buyers avoid ordering errors.
Frequently Asked Questions
Must the height be changed before every journey?
Reassess routing when occupants or seating settings change. An unchanged suitable setting may need no adjustment.
What if the adjuster does not lock?
Arrange qualified inspection before using the affected seating position. Another position is not a repair.
How should the belt be adjusted for children?
Use the appropriate child restraint and follow its instructions together with the vehicle handbook.
Why might powered adjustment stop working?
Possible causes include the motor, fuse, wiring or control system. A qualified workshop should diagnose the actual fault.
How long does replacement take?
Time depends on the model, access and prescribed procedure; there is no universal estimate.
Are aftermarket restraint parts safe?
Verify the specific application, traceability and relevant documentation. A generic quality claim cannot establish suitability.
Conclusion
Correct height adjustment supports proper belt routing and comfort. Understand the controls, check locking and seek professional inspection when faults appear.
Whether selecting original or aftermarket parts, verify references and vehicle details. Each occupant should check the setting against their seating position and the handbook.