
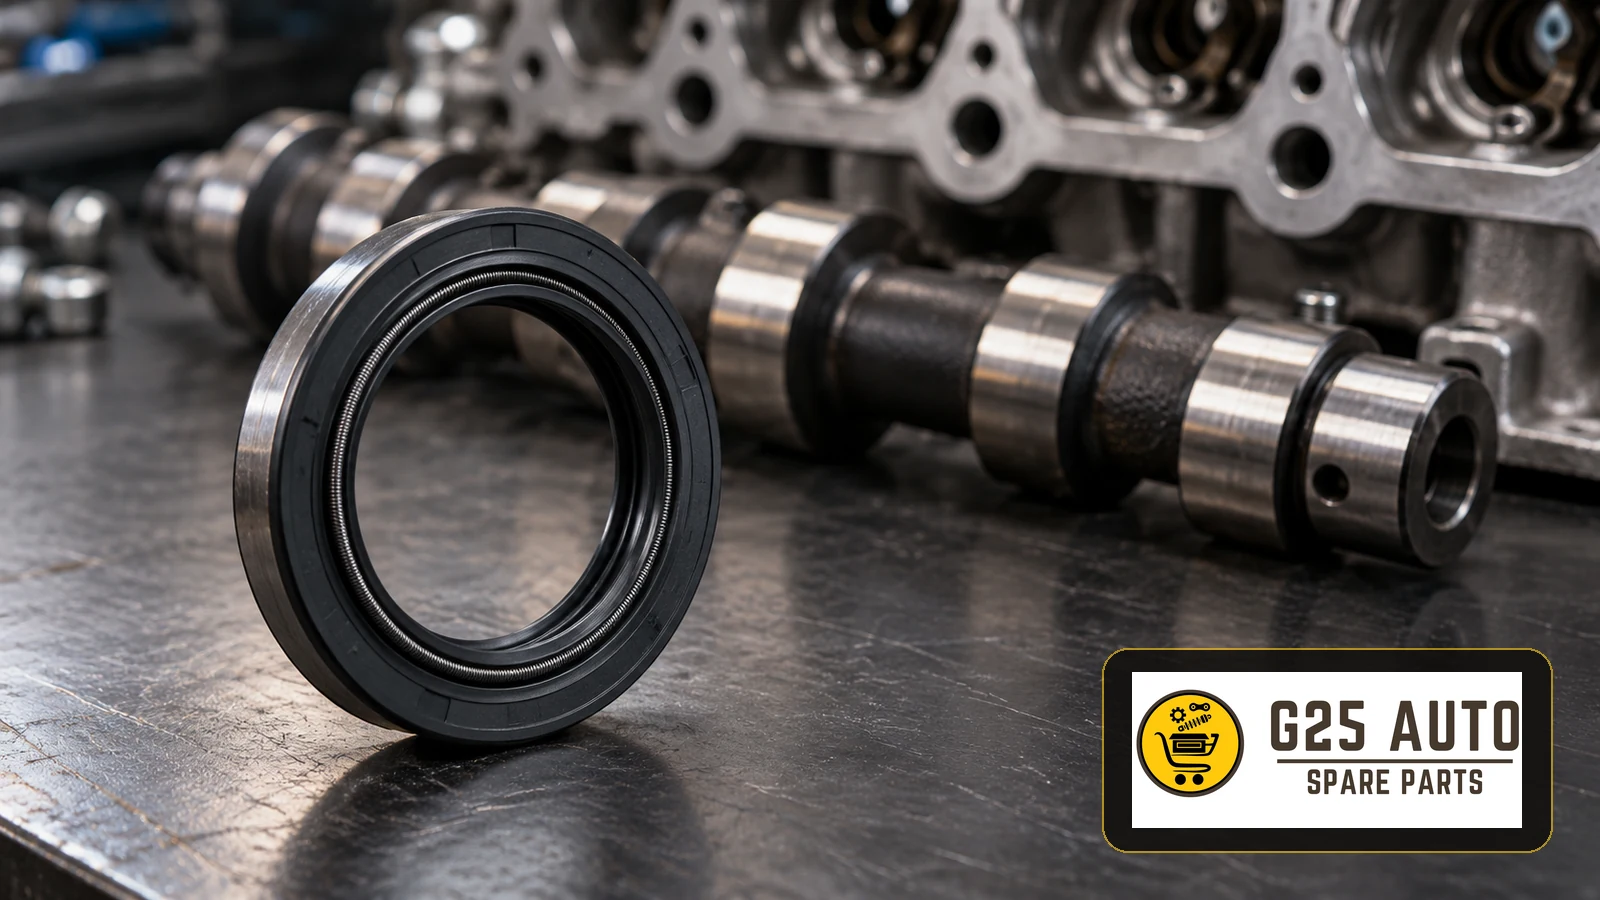
A camshaft oil seal helps retain engine oil around the rotating shaft. Seal materials and construction depend on the application. Wear, heat and vibration can affect sealing over time, making inspection and replacement necessary when leakage is confirmed.
What Is a Camshaft Oil Seal and Why Is It Important?
This sealing element works around a rotating shaft to limit oil escaping from the engine. Its location and arrangement depend on engine design.
Identify the exact shaft and seal before ordering or planning repairs. Camshaft and crankshaft seal locations must not be confused; access requirements depend on the particular engine.
Functions of the Seal
- Limit external engine oil leakage.
- Provide dynamic sealing around the shaft.
- Help retain oil within the engine.
- Help keep external contamination away from the sealed area.
- Reduce oil escaping into the environment.
Symptoms of Oil Seal Problems
Seals can deteriorate with use. Recognising leakage early allows inspection before oil loss causes further problems.
Common Warning Signs
- Oil beneath the engine: marks appearing after parking.
- Oily engine surfaces: localised wetness requiring investigation.
- Oil on belts: contamination where a nearby seal leaks.
- Falling oil level: repeated losses requiring investigation.
- Increased fuel consumption: a general concern that does not identify a faulty seal.
- Exhaust smoke: investigate separately; it does not establish an external seal leak.
- Burning oil smell: possible contact between leaking oil and hot components.
Checks Needed for Diagnosis
These symptoms do not prove that the camshaft seal has failed. Professional inspection should include:
- A visual examination to locate the actual leak.
- Suitable cleaning, where needed, followed by observation for fresh leakage.
- Checks of other seals and gaskets, including the sump and valve cover.
- Inspection of nearby belts and pulleys.
- Examination of the surrounding engine and transmission areas where relevant.
- An underside inspection with the vehicle safely supported.
Original and Aftermarket Oil Seals Compared
Both original and aftermarket options require application checks. Compare the specific products and commercial terms.
| Factor | Original Part | Aftermarket Part |
|---|---|---|
| Fitment | Check the exact vehicle application. | Check dimensions, specification and application. |
| Cost | Request current quotation terms. | Compare the particular offer. |
| Supply | Confirm availability with the supplier. | Confirm availability with the supplier. |
| Quality | Review the specified product requirements. | Review product documentation and manufacturer information. |
| Warranty | Check the applicable written terms. | Check the applicable written terms. |
| Range | Check the relevant catalogue. | Compare documented alternatives. |
Choosing an Aftermarket Seal
A poorly matched seal may lead to repeat leakage and labour. Check:
- The manufacturer’s identity and product traceability.
- Documented specification against the required application.
- The correct sealing material; avoid assuming one material suits every engine.
- The supplier’s written warranty terms.
- Any claimed certification and its relevance to the product.
Why OEM and Part Reference Checks Matter
Incorrect selection can cause leakage after installation. Use the available identification details together.
Information Needed for Selection
- OEM or part reference: check the catalogue application and any supersession.
- VIN: use it to support vehicle identification.
- Engine code: distinguish engine variants.
- Production date: check for specification changes.
- Engine capacity and output: verify the particular version.
- Transmission type: include it where the catalogue requires it.
Finding the Part Reference
Possible sources include:
- Relevant vehicle documentation, where references are provided.
- Previous service and replacement records.
- A VIN enquiry through a service provider or electronic catalogue.
- Legible markings on the removed part.
- Supplier catalogue or VIN lookup services, with results checked.
Replacing an Oil Seal
Access, tools and labour vary considerably. Plan the work using the procedure for the identified seal.
Replacement with More Direct Access
General replacement stages require application-specific instructions:
- Support the vehicle safely and remove relevant covers where required.
- Remove belts only as specified by the repair procedure.
- Remove obstructing pulleys using the prescribed tools.
- Extract the old seal carefully.
- Clean and inspect the sealing location appropriately.
- Install the correct seal with suitable tools and specified positioning.
- Reassemble and set belt tension or timing where required.
Replacement Requiring More Extensive Access
Additional dismantling depends on the actual seal location:
- Establish whether engine or transmission separation is required.
- Remove obstructing assemblies only where specified.
- Remove further components needed to expose the seal.
- Extract the old seal without damaging mating surfaces.
- Install the replacement using the specified method.
- Reassemble and complete the required adjustments.
Maintenance and Prevention Checklist
Include sealing checks in routine maintenance.
Routine Checks
- Inspect for oil leakage during servicing.
- Follow the specified oil and filter service schedule.
- Use the specified oil grade and approval.
- Check belt condition.
- Use an appropriate engine-cleaning method.
- Monitor oil level and unexplained losses.
- Assess seal condition without assuming a universal replacement mileage.
Driving Habits
- Avoid excessive engine speed when cold.
- Avoid unnecessary abrupt acceleration and braking.
- Follow the vehicle’s warm-up guidance.
- Maintain a smooth driving style.
Frequently Asked Questions
When should a camshaft oil seal be replaced?
When leakage is confirmed or the applicable maintenance procedure calls for replacement. There is no universal mileage interval.
Should multiple shaft seals be replaced together?
One failure does not establish another. Inspect related seals and assess replacement according to condition and access.
Can a leaking seal damage the engine?
Oil loss and belt contamination require prompt assessment. The consequences depend on leakage severity and engine design.
How long does replacement take?
Timing depends on the vehicle, seal location and dismantling required. Obtain an application-specific labour estimate.
Does an aftermarket seal affect warranty?
Check the applicable vehicle, repair and product warranty terms before selection.
Is replacement needed only after failure?
It may be considered during related work when access is available, subject to condition and the relevant procedure.
Conclusion and Recommendations
Oil beneath the engine, contaminated belts or falling oil levels warrant professional inspection.
Compare original and aftermarket products using references, vehicle details and documented specifications.
Use an experienced workshop, appropriate tools and the correct installation procedure. Follow the prescribed maintenance schedule.
For European and Balkan B2B buyers, accurate identification and documented supplier information support appropriate selection and repair planning.