
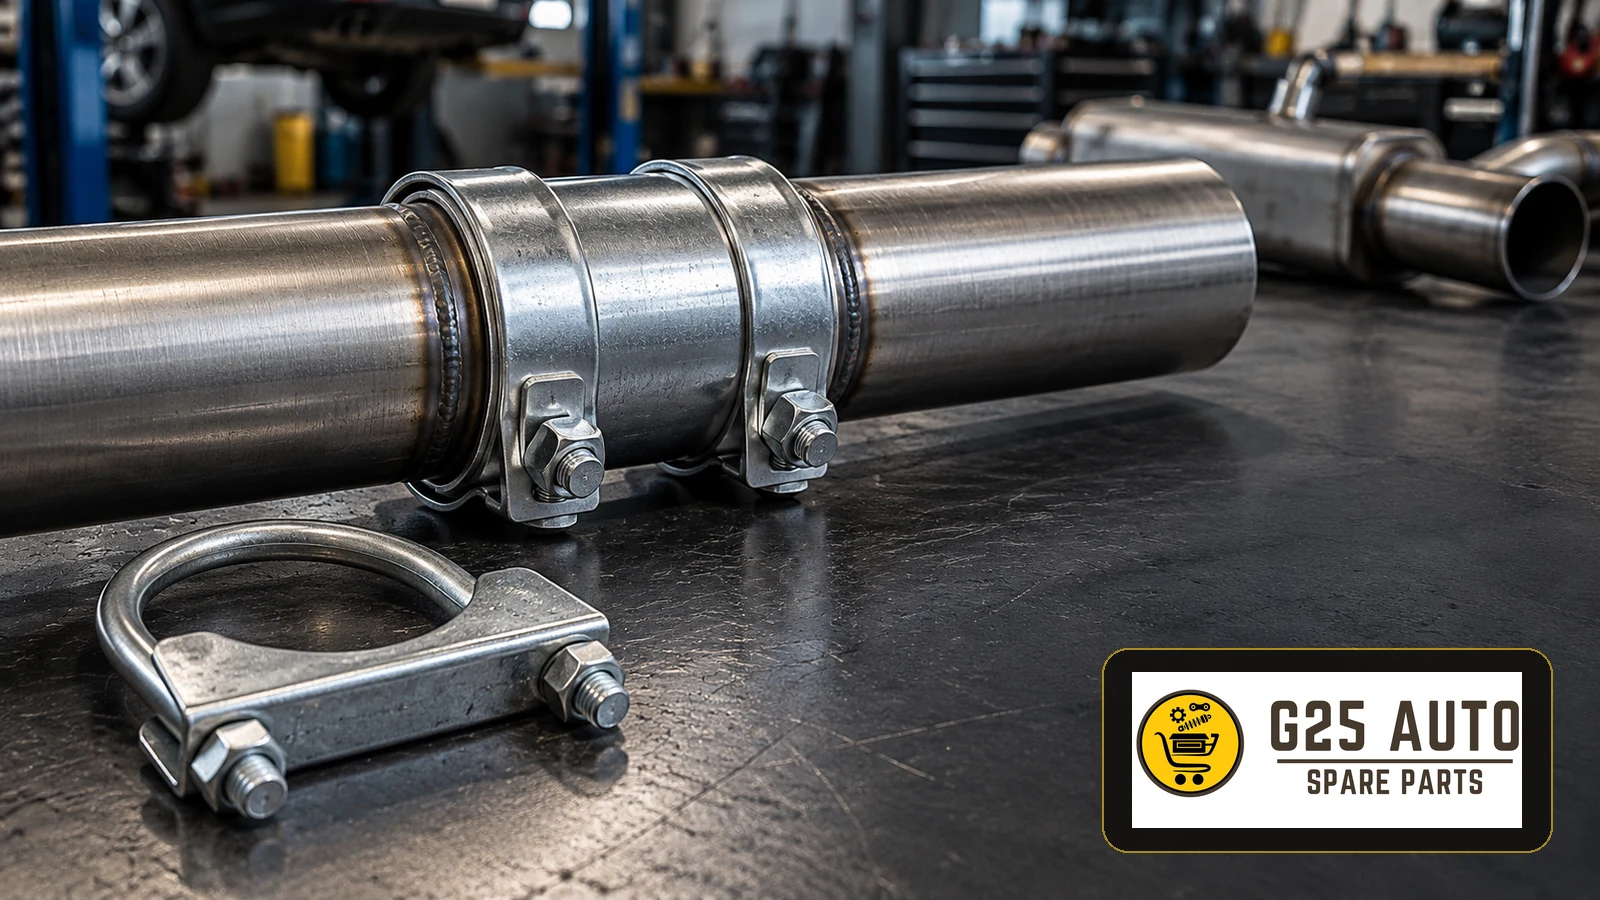
Choose an exhaust pipe clamp or coupling sleeve by the joint design, the condition of the pipe ends and the documented application. A matching nominal diameter alone is insufficient. Establish whether the pipes overlap, meet end to end or use formed flanges, then confirm the required connection hardware before ordering. For European and Balkan workshops, distributors and fleet buyers, this turns a vague request for an exhaust clamp into a traceable parts enquiry.
Identify the connection before comparing products
A clamp and a sleeve are not interchangeable descriptions. A sleeve may bridge pipe ends, while a clamp applies the fastening load; some replacement products combine these functions. A gasket is a separate sealing component where the particular joint requires one. Do not assume every exhaust connection needs a separate sleeve and gasket.
Overlapping and end-to-end pipe joints
A slip-fit connection has one pipe entering another. An end-to-end connection brings pipe ends together and needs a joining product intended for that arrangement. Walker’s clamp selection chart distinguishes lap-joint, butt-joint and coupler designs. It also shows saddle clamps for slip-fit connections and V-band clamps for formed flanges. These categories help describe the joint; they do not confirm a particular vehicle application.
Specify function, not a universal quality ranking
A V-band is not a direct upgrade for plain pipe ends. Traditional saddle clamps can deform the pipe as they secure it, affecting later dismantling. Select the documented connection system rather than ranking every clamp by price, appearance or assumed strength. Where service access matters, include that requirement in the enquiry.
Inspect the whole joint before authorising a repair
Exhaust noise or a visible damaged fastener warrants inspection, but it does not establish that a clamp alone is the repair. Walker’s exhaust inspection guidance covers leaks at welds, pipe connections, clamps and flexible sections, as well as damaged supports. Record the actual leak location and the condition of the adjoining components. Suspected exhaust fumes in the cabin require prompt professional assessment.
Ask the technician whether there is sound pipe available for the proposed connection. A new sleeve should not be treated as evidence that a corroded or damaged section is repairable. Keep the diagnosis, proposed repair boundary and parts request together so that purchasing does not substitute an attractive connector for the repair the workshop has specified.
Build a clear B2B enquiry
Record the vehicle identification, engine variant, production details and the precise position in the exhaust system. If previous repairs or replacement sections are present, disclose them. Walker’s installation troubleshooting guide explains that different aftermarket manufacturers may divide an original assembly at different points. A catalogue match for the vehicle therefore still needs checking against the installed system.
Use the workshop’s measurements and photographs to supplement the catalogue. Label inner and outer pipe diameters explicitly, identify which end each measurement describes and request the supplier’s corresponding drawing. Include sleeve length, joint profile and hardware details where relevant to the selected design. Do not turn an uncertain measurement on a distorted old part into an exact order specification.
For enquiries moving between languages, retain the verified manufacturer reference unchanged and attach a labelled image of the connection. Ask the supplier to state the proposed product reference, documented application, material description, package contents and any installation restrictions. Request commercial terms separately; availability and delivery should be confirmed for the actual order.
Purchase and receiving checklist
- Identify the vehicle and exact exhaust joint location.
- Confirm overlapping pipes, end-to-end pipes or formed flanges.
- Document the adjoining pipe condition and the approved repair scope.
- Match labelled measurements to the proposed product drawing.
- Verify the manufacturer reference and all catalogue notes.
- Confirm whether the package includes fasteners, sleeves and any required seals.
- Obtain the instructions for the specific connector and application.
- Inspect received parts and resolve discrepancies before installation.
Installation control and workshop handover
Keep installation decisions with the technician using the relevant vehicle and connector instructions. The job record should identify the required positioning, pipe engagement, tightening method and specified torque. Avoid copying a generic torque or applying sealant simply because another product uses it.
Record the final connection, checks performed and any unresolved findings before closing the work order. Use the applicable service information to determine follow-up requirements. There is no replacement interval in this guide: the repair decision should reflect inspected condition and documented instructions.
Frequently asked questions
Does the same pipe diameter mean two clamps are interchangeable?
No. The joint arrangement, pipe profile, product design and application instructions must also match.
Does every clamp need a separate gasket?
No. Check the specified joint design and package contents instead of assuming a universal gasket requirement.
Can a coupling sleeve repair any corroded pipe?
No. The workshop must assess the pipe condition and establish an appropriate repair scope before choosing the connector.
What torque should the workshop use?
Use the documented value and tightening method for the actual application and connector. Do not borrow a figure from another clamp type.