
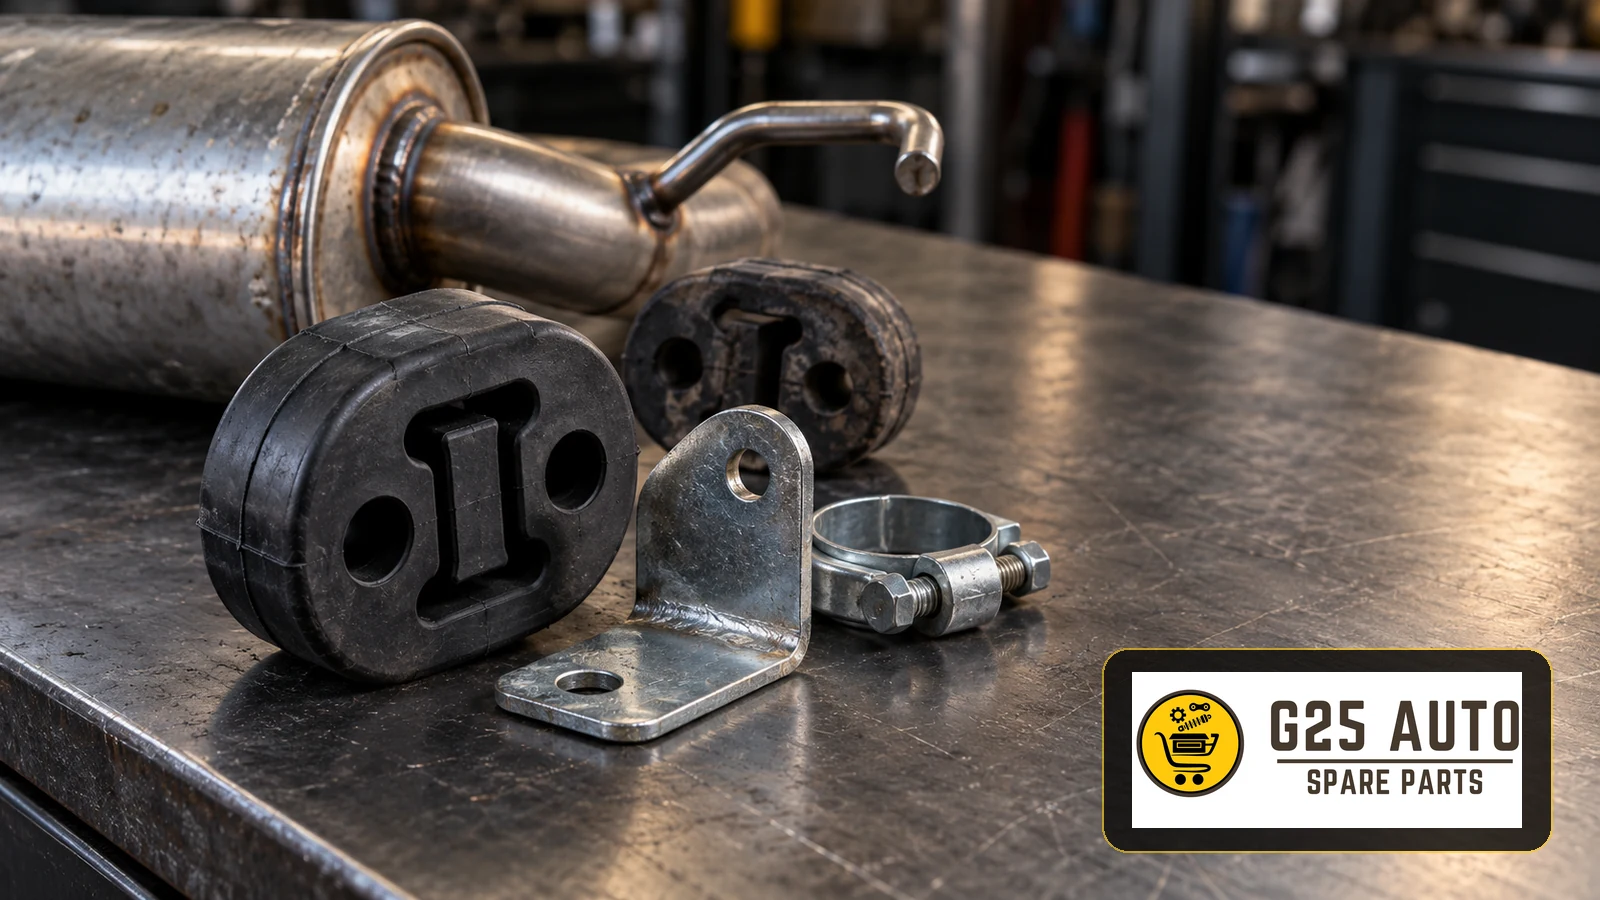
Exhaust rubber hangers support the exhaust through flexible mounting points. A damaged isolator, failed bracket or poorly aligned assembly can leave the system hanging incorrectly or transmitting unwanted noise. For workshops and B2B buyers, the right response is to inspect the mounting assembly, identify the exact installation position and confirm the replacement against application data before ordering. A similar-looking rubber loop is not sufficient evidence of compatibility.
Start with the fault, then define the parts request
A customer report of knocking, vibration or a low tailpipe should become an inspection request rather than an immediate order for a hanger. Record when the symptom occurs and whether exhaust work preceded it. Separate the customer’s description from the technician’s findings so a purchasing team does not treat a suspected component as a confirmed failure.
Inspect beyond the visible rubber
Walker advises checking exhaust hangers and isolators for wear and loose, damaged or missing parts. Its exhaust inspection guidance also covers welds, pipe connections, clamps and flexible sections. This supports a wider inspection when a mounting problem is reported. Cabin fumes require investigation for leakage; they do not identify a rubber hanger as the cause.
Ask the workshop to document the failed position and surrounding assembly with clear photographs. Include the vehicle-side attachment, exhaust-side rod or bracket and any associated hardware. If the bracket has failed, an enquiry naming only the rubber can omit the component actually needed to restore support.
Build an application record that crosses language barriers
European and Balkan parts teams may describe the same item as a rubber hanger, mounting rubber, exhaust support or isolator. Put the installation position and catalogue reference alongside the description. Keep original identifiers unchanged when translating an enquiry between a workshop, distributor and supplier.
Collect the VIN, vehicle build information, engine identification and details of the installed exhaust. Record whether the assembly is original, previously replaced or modified. Give the supplier those facts and ask for documented application confirmation; do not present a photograph or an unverified cross-reference as approval.
Compare the complete mounting arrangement
Request the candidate part’s drawing or technical description. Compare its mounting layout and supplied hardware with the required assembly. Any measurements should come from reliable application documentation or the workshop’s recorded inspection, with units stated. A visibly stretched old rubber should not become the only dimensional reference.
Do not specify a different material simply because it is advertised as stronger or longer lasting. Ask whether the proposed replacement is intended for the identified exhaust and mounting position. Material names, a supplier’s general quality certificate and visual similarity answer different questions from vehicle compatibility.
Workshop-to-purchasing checklist
- Record the vehicle identity and the configuration of the installed exhaust.
- Identify the failed mounting position and distinguish rubber, bracket, rod and fastening requirements.
- Attach photographs of both attachment points and the surrounding assembly.
- Provide verified existing references, marking uncertain or unreadable identifiers clearly.
- Ask the supplier to confirm the exact application and any exclusions in writing.
- Check the supplied scope: isolator alone, bracket assembly or a kit with named hardware.
- Obtain the actual quotation, availability and commercial terms for that enquiry.
- Carry the inspection findings and installation-document requirements into the workshop handover.
Address installation stress before closing the repair
Walker explains that an exhaust assembled under unnecessary tension can overload hangers and isolators, contributing to premature failure, noise or vibration. Its hanger stress guidance highlights alignment and thermal movement. A hanger’s cold angle alone is therefore not a universal rejection criterion. The relevant vehicle and exhaust manufacturer’s instructions should determine the workshop’s procedure.
Include alignment assessment in the job scope when there has been previous exhaust replacement or repeated hanger failure. Ask the technician to report the reason for any further components required. Avoid automatically ordering every mounting or assuming a fresh isolator will correct an installation problem.
At receiving, reconcile the package reference and contents with the confirmed order. Record discrepancies before fitting and retain the supplier’s confirmation with the job. After installation, the handover should state which mounting was repaired, whether alignment or adjacent defects were addressed and whether the reported symptom remains. An unresolved noise should reopen diagnosis rather than become evidence that another rubber is needed.
Frequently asked questions
Can a hanger be selected by shape alone?
No. Use shape as supporting information and obtain application confirmation for the actual installation position.
Should every hanger be replaced together?
Inspect the assembly and follow the applicable instructions. Document why additional mountings are needed instead of assuming an automatic complete-set replacement.
Why might a replacement fail again?
Excessive installation stress is one documented possibility. Recheck the application and inspection findings before attributing the problem to the replacement material.
Does a hanger order include brackets and fasteners?
Confirm the itemised supply scope. Keep required hardware on the order and handover record; do not infer kit contents from a product photograph.