
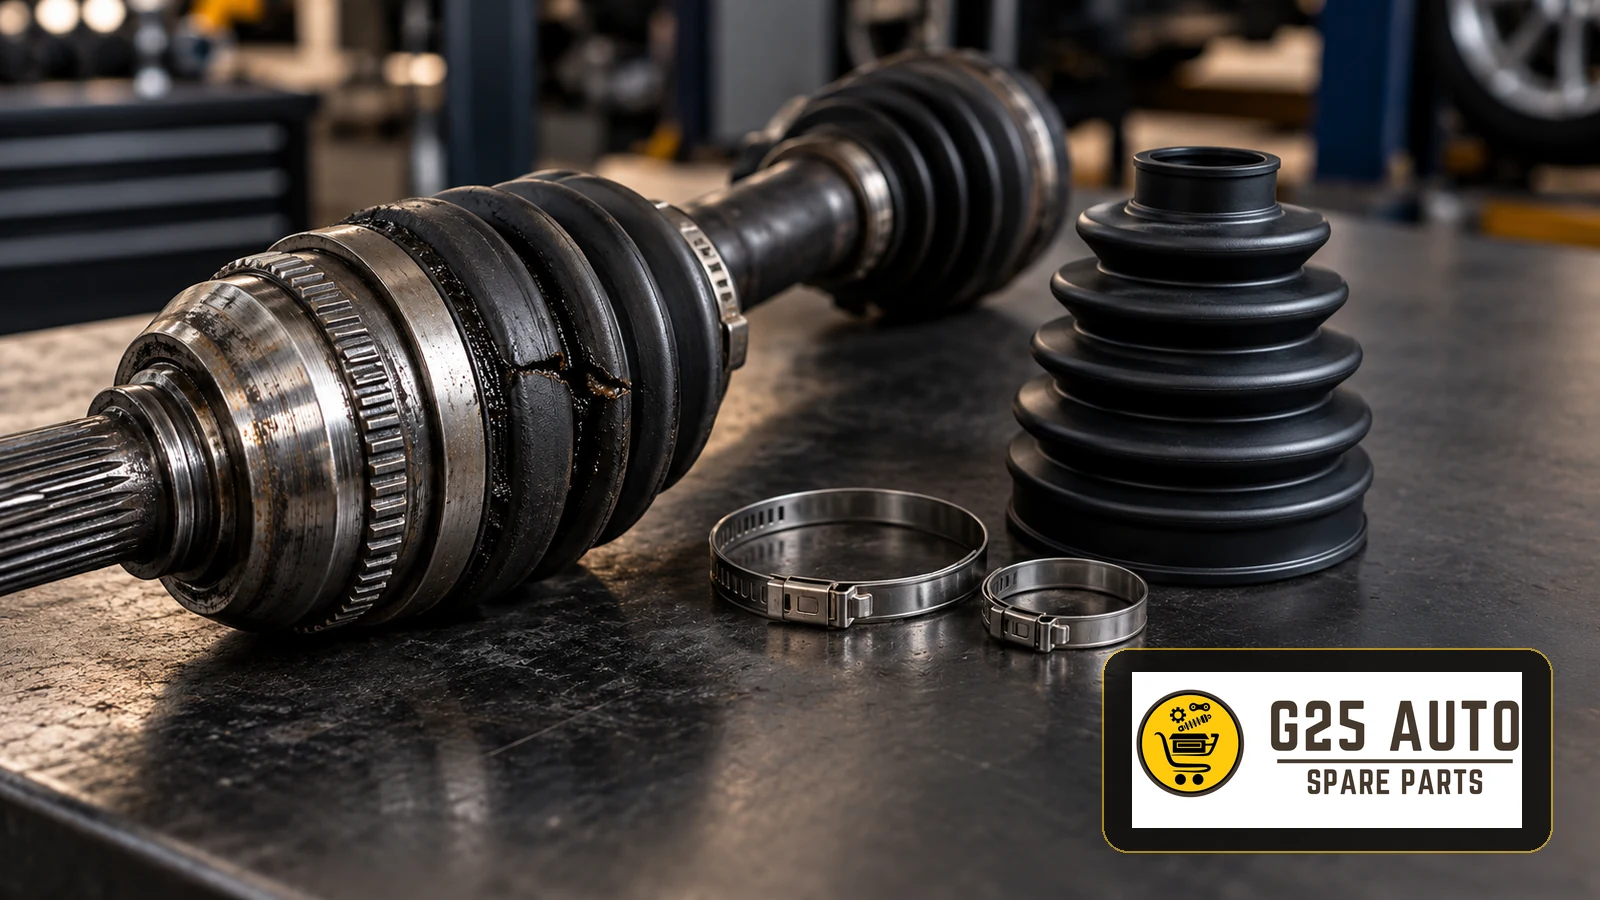
A torn CV boot needs prompt inspection because it can release joint grease and admit water or grit. Replacing the boot may be sufficient if the joint remains serviceable; a new boot cannot repair internal wear. For European and Balkan workshops, the sound approach is to document the defect, assess the joint and order a boot kit matched to the exact driveshaft application before authorising the repair.
What the CV boot protects
The flexible bellows around a constant-velocity joint retain lubricant while accommodating movement. Wheel-side and gearbox-side joints can use different boot shapes, materials and attachment arrangements. A similar-looking boot from another application is not evidence of suitability.
A boot is a protective seal, not a cure for vibration or a worn joint. Inspection should distinguish its condition from the condition of the components inside it. That distinction helps a workshop explain why one job needs a boot kit while another requires a joint or complete driveshaft.
Recognise damage without overdiagnosing it
Inspect the bellows and retaining clamps
With the vehicle safely supported using approved workshop equipment, examine the full accessible circumference and the valleys between the folds. Look for splits, punctures, displaced sealing ends and missing or insecure clamps. Clean the exterior using the vehicle or component manufacturer’s approved method so that dirt does not conceal a defect. Avoid unapproved cleaners that could attack the boot material.
Fresh grease thrown onto nearby components deserves investigation, but a dirty exterior alone does not prove a failed boot. BMW’s front-axle diagnostic bulletin, for its listed models, distinguishes surface deposits from damage or active grease loss. Apply the relevant vehicle guidance rather than extending that bulletin’s repair decisions to every vehicle.
Treat noise as a separate diagnostic finding
Clicking during turns or vibration under load warrants a wider driveline assessment. Record when the symptom occurs and check other plausible causes before attributing it to the joint. A quiet joint is not proof that contamination has caused no damage, and noise alone does not identify which boot kit to order.
Choose between a boot repair and component replacement
Where the manufacturer’s procedure permits servicing, inspect the joint and lubricant after opening the assembly. Contamination, damaged bearing surfaces, rough movement or wear outside the specified limits can change the repair decision. Use the applicable inspection criteria; there is no universal mileage or time limit that guarantees a joint is recoverable after its boot tears.
A boot-only repair is appropriate only when the joint passes that assessment and an approved repair method exists. If it does not, establish whether a separate joint or a complete shaft is the supported replacement. Document the finding before requesting customer authorisation. Inspect the other boots while access is available, but base additional replacement on their condition and the vehicle instructions.
Build a precise parts enquiry
For a distributor supplying workshops across several markets, the useful enquiry is an identifiable application with an explicit kit requirement. A registration description or an isolated photograph can leave important variants unresolved. Use this checklist:
- Vehicle VIN, model, production information and relevant engine or transmission identifiers.
- Front or rear axle, left or right side, and wheel-side or gearbox-side joint.
- Existing driveshaft or joint identification, where readable, including any previous replacement.
- Catalogue-confirmed boot reference and specified material, profile and mounting arrangement.
- Required grease, clamps, retaining parts and any fasteners designated for renewal.
- Installation instructions and the tools needed for the supplied clamp design.
Check the offered kit’s contents before scheduling the job. An OE reference is a useful cross-reference, but neither that number nor a VIN alone guarantees that an already modified vehicle still has its original shaft. Resolve any mismatch through the supplier’s catalogue and the actual assembly.
Control the installation details
Follow the vehicle removal procedure and the instructions supplied for the selected kit. Keep exposed joint components away from dirt, use the specified lubricant and quantity, and follow the stated grease distribution method. Do not mix unidentified greases or transfer a filling instruction from a different joint design.
Seat the boot correctly without twisting or overstretching it, and perform any specified pressure-equalisation step. GKN’s boot-kit technical guidance emphasises material selection, suitable new accessories and the correct specialist clamp tools. Use the tightening requirement for the actual clamp and tool combination; a generic torque value is not a substitute.
The SNR wheel-side boot tutorial illustrates why clamping matters: insufficient tension can allow leakage, while excessive tension can damage the boot. Its illustrated assembly sequence remains specific to the repair shown. Renew vehicle fasteners where required and use the current vehicle tightening procedure.
Verify the repair and record the handover
Check seating, clamp security and clearance through the movement prescribed by the repair instructions. Complete any required fluid checks when the job has disturbed a transmission connection. Recheck for grease escape and investigate unresolved symptoms after the permitted functional checks or road test. Record the fitted reference, kit contents, inspection decision and checks completed so the workshop and distributor can trace the repair.
Frequently asked questions
Can a torn boot wait until the next service?
Arrange prompt assessment. No general remaining-distance figure can establish how much lubricant has escaped or whether contamination has entered.
Will any universal boot fit?
Confirm the manufacturer’s application and fitting requirements. Shape, material, joint movement and clamping all matter; stretching an unsuitable boot does not establish compatibility.
Must both sides be replaced together?
Inspect both sides, then follow their condition and the applicable repair requirements. A defect on one side is not evidence that the other boot has failed.