
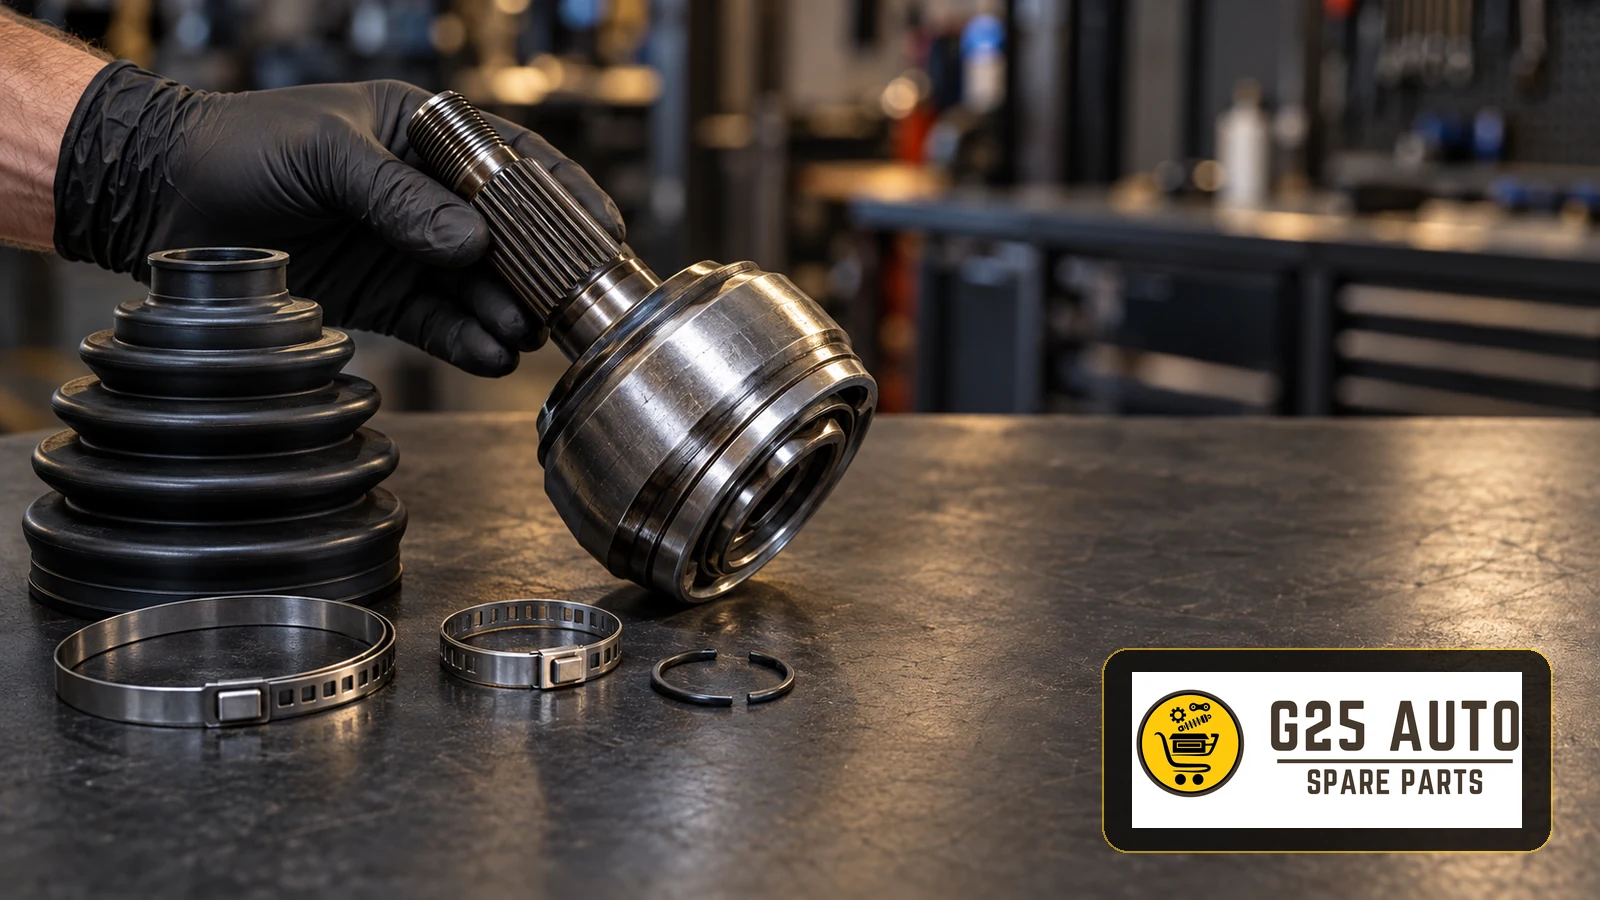
Choose a replacement CV joint by verified vehicle application, joint position and installation requirements, then compare the documented contents and support behind each offer. A vehicle-branded box or an aftermarket label alone does not establish suitability. For European and Balkan workshops, a sound decision combines catalogue confirmation, inspection of the existing driveshaft and a clear repair plan covering the joint, boot, grease and retaining hardware.
Understand the component before comparing offers
A constant velocity joint transmits torque while accommodating changes in driveline angle. A typical front driveshaft uses an outer fixed joint near the wheel and an inner plunging joint that accommodates length changes during suspension movement. Configurations vary, so identify the actual assembly rather than ordering a generic “axle head”. GKN illustrates these differences in its sideshaft configurations and CV-joint range.
Record whether the enquiry concerns the inner joint, outer joint or complete shaft, and which side of the vehicle needs repair. Joint design names do not replace an application reference: a fixed joint describes a function, while ball and tripod describe construction. A parts request should be specific enough that the workshop and distributor are discussing the same component.
Compare genuine and aftermarket CV joints using evidence
Confirm the application first
Ask for the VIN and the vehicle details required by the supplier’s catalogue, including engine, transmission and drivetrain variant. Use any verified original part reference as a cross-check. Where catalogue information remains ambiguous, resolve it before accepting the order. A photograph can help identify a joint layout, but should accompany the application data.
Before fitting, compare the supplied component with the removed assembly. Relevant interfaces can include spline connections, stub geometry, sealing surfaces and the wheel-speed sensing arrangement where present. For a complete shaft, compare its compressed length as directed by the manufacturer. TrakMotive’s installation bulletin highlights these checks. Visual differences should be resolved through documented application information.
Check what the quotation actually includes
Ask each supplier to identify the manufacturer, product reference, application listing and kit contents. Establish whether the offer includes a boot, specified lubricant, clamps, retaining rings and any required fastening parts. GKN’s joint range illustrates why a joint kit can include several associated repair components; the exact contents must still be confirmed for the product being quoted.
For trade purchasing, compare like-for-like repair scopes. A bare joint and a complete kit need different preparation before workshop use. Request written warranty and returns terms, traceability information and confirmed availability for the specific order. Evaluate those answers alongside the quoted cost and fitting labour. General descriptions such as “premium” or “OE quality” should prompt a request for supporting product information.
Match the repair scope to the inspection findings
Boot repair, joint kit or complete driveshaft?
A split boot calls for prompt inspection because the sealing system protects the joint. It does not establish the internal condition by itself. GKN’s boot guidance stresses matching the seal design and material to the joint. The technician should assess contamination, grease loss, movement and visible damage before deciding whether a boot repair remains appropriate.
Where a joint or shaft is damaged, establish which approved repair options exist for that application. A complete shaft may be considered when the inspection identifies wider assembly damage or a suitable separate joint repair is unavailable. Record why the chosen scope addresses the fault, and confirm the required parts before dismantling further.
Use condition-based maintenance
Include boots, clamps and driveshaft condition in routine service inspections following the vehicle’s maintenance guidance. Look for tears, displaced boots, grease escape and damaged components. Investigate new clicking or vibration rather than assigning a replacement date from mileage alone. GKN’s workshop guide describes inspection of installed and removed assemblies. A symptom should lead to examination, not an automatic parts order.
Workshop and distributor purchasing checklist
- Identify: confirm VIN, catalogue application, vehicle side and inner or outer joint position.
- Document: record inspection findings and the reason for selecting a boot, joint kit or complete shaft.
- Compare: confirm interfaces and any application-specific sensing features before installation.
- Complete: check lubricant, boot, clamps and required replacement hardware against the fitting instructions.
- Prepare: obtain vehicle-specific tightening information and the specified tools before work begins.
- Close: retain the fitted part reference, repair record and supplier documentation for future enquiries.
During installation, support the shaft and follow the vehicle and component manufacturer’s procedures. TrakMotive warns against leaving the shaft hanging from the transmission and requires the correct original-equipment spindle-nut tightening specification. After assembly, complete the prescribed seating, fastening and operational checks. The handover record should show what was fitted and which checks were completed.
Frequently asked questions
Is a genuine CV joint always the best purchase?
Assess the exact application and supporting documentation for each option. Compare confirmed kit contents, fitting requirements and written support terms before deciding.
Does a torn boot mean the whole joint must be replaced?
The joint needs inspection. A boot repair decision depends on its condition and the manufacturer’s repair guidance; a new boot cannot remedy existing internal damage.
Is there a universal replacement mileage?
Use the vehicle’s maintenance instructions and inspection findings. This guide does not assign a single service life to every CV joint.